Posted on 2 Comments

New Art Studio Curtains

This was a very fun project.  I hand-painted new curtains for my New Art Studio.  I wanted something fun and artsy for the Art Studio, so I created them.

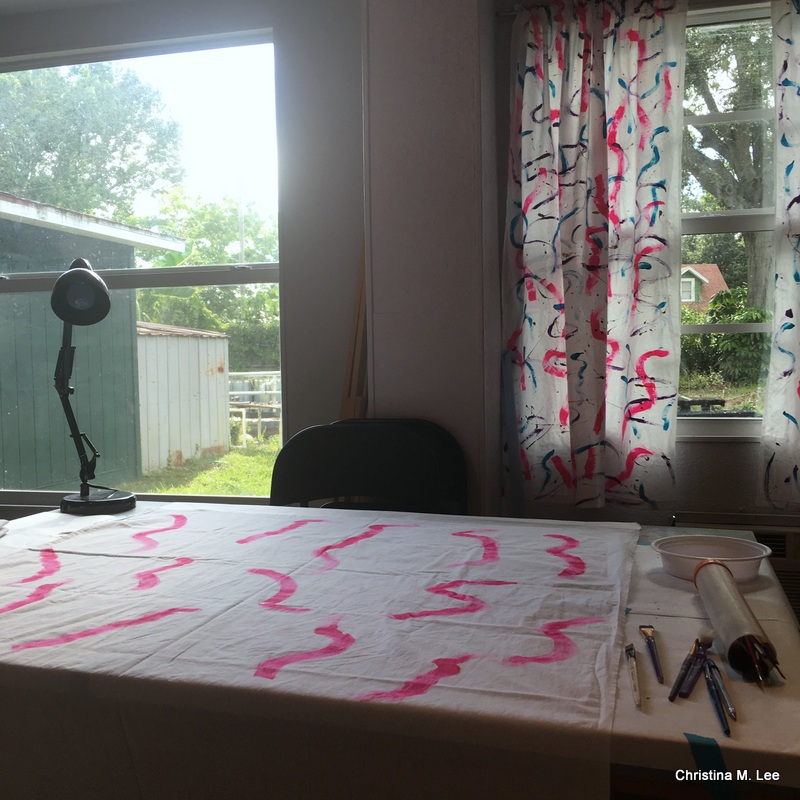
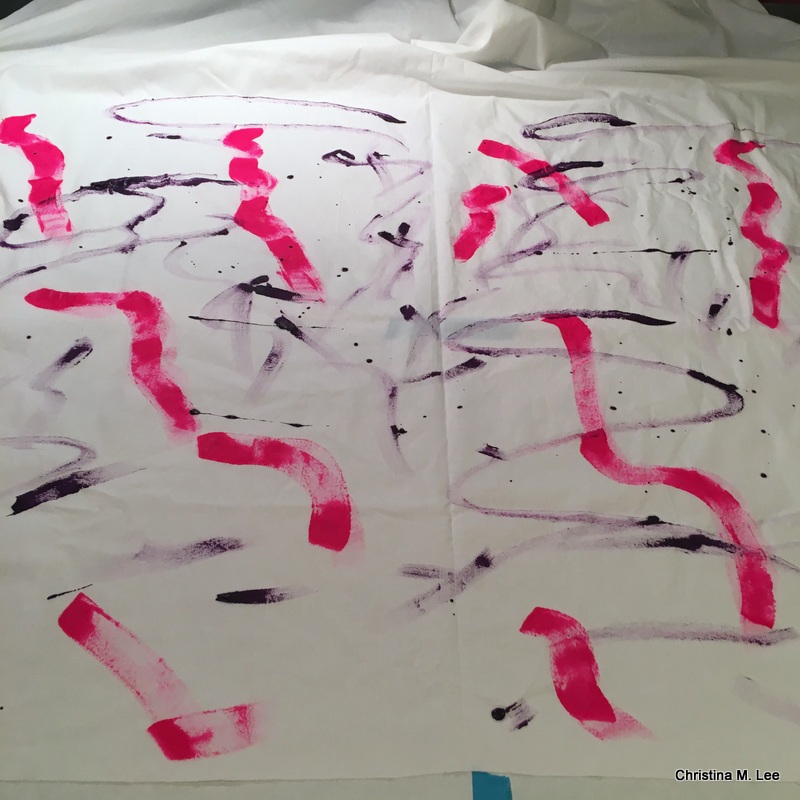
I started with some white sheeting fabric.

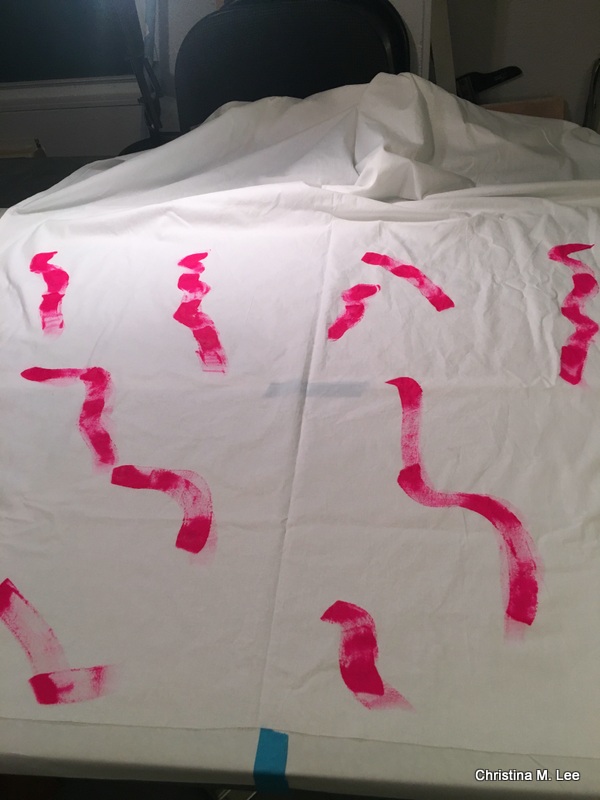
Then I dug out some textile paint I had from previous projects, and brushed on some hot pink.

I went to a smaller sized paint brush and brushed on some violet, used brush strokes and some spatters, and I am liking it so far.

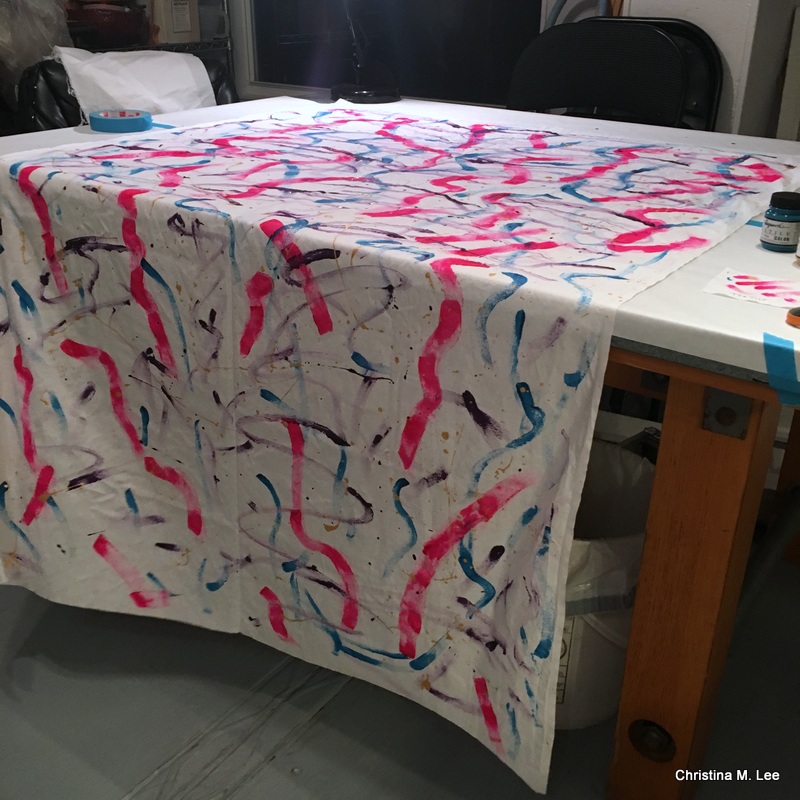
Next I applied teal, and then threw on a splattering of gold.

Curtain #1 of 4 drying.

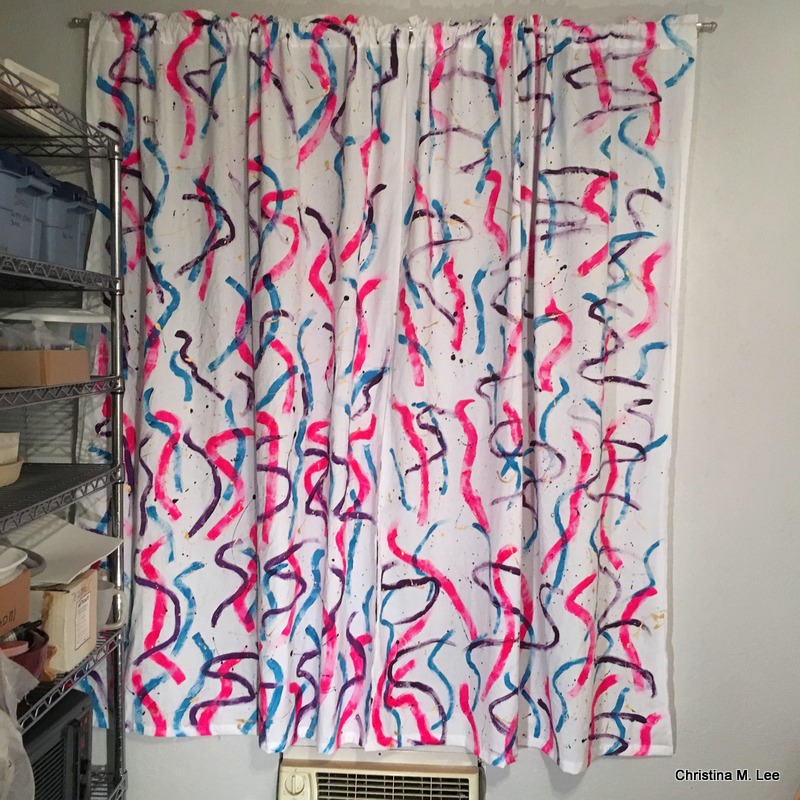
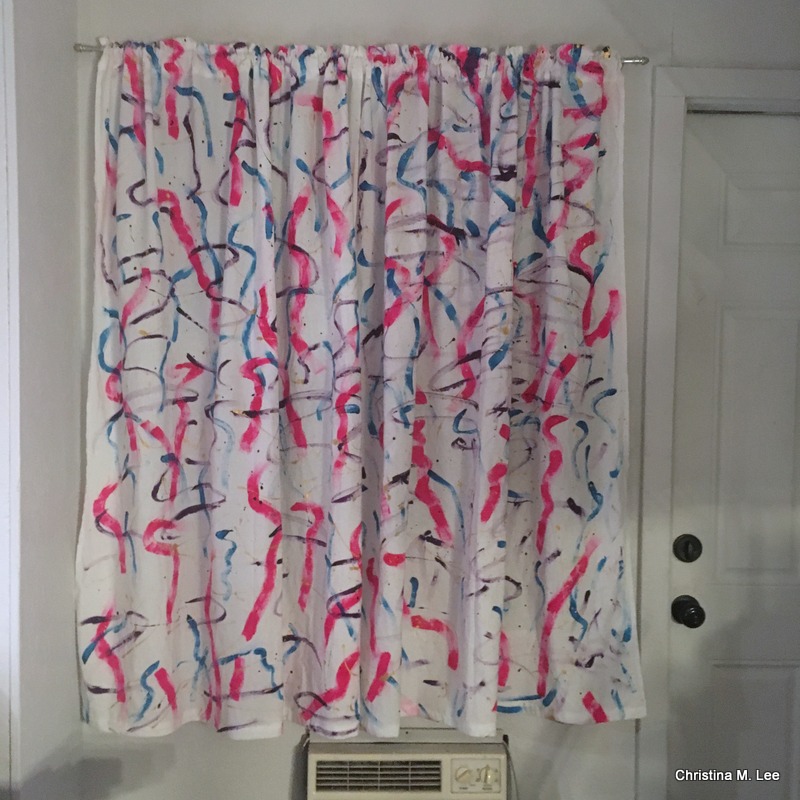
I repeated the process for curtain #2, sewed the rod pockets, the hems and mounted the curtain rod on the wall and tada!!!  One set of curtains done!!

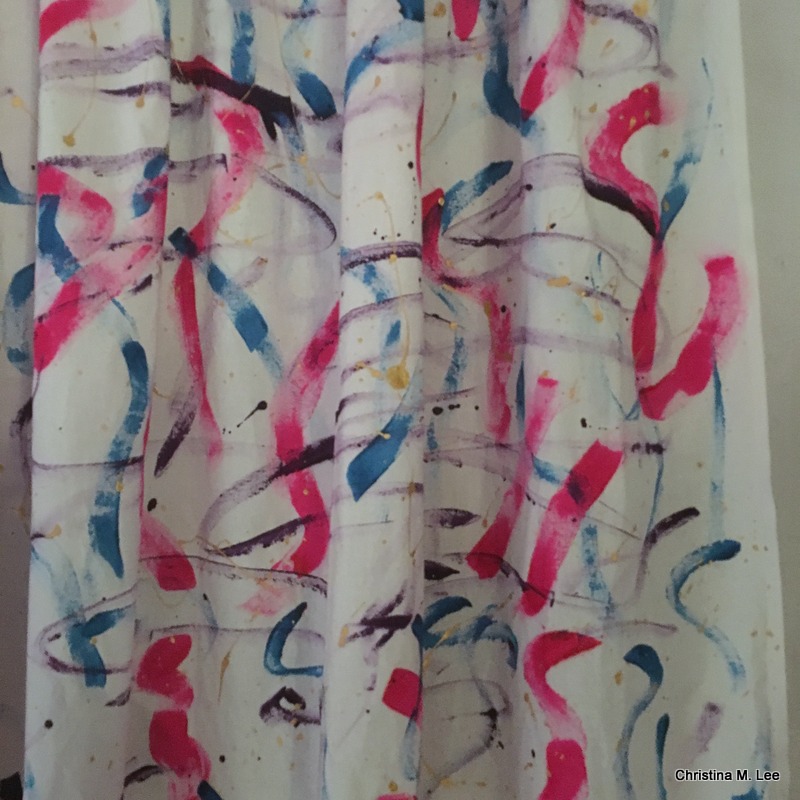
Here is a close up of the painting.

I started curtain #3 for Window #2 and ran shy of paint.  After several days of looking and several trips to local art supply stores, I found more paint in Sarasota.  Yay!!!

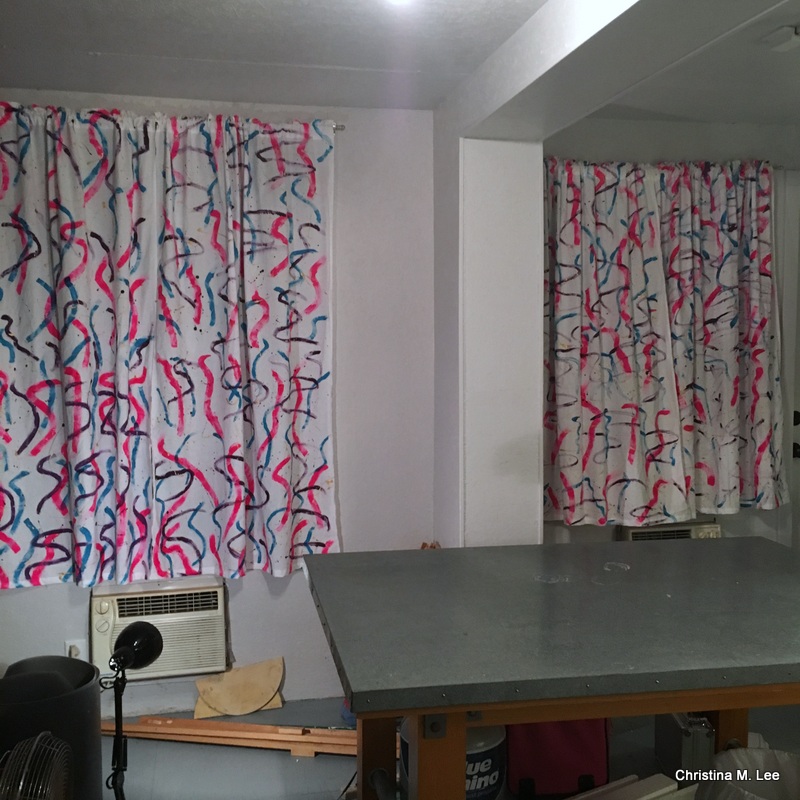
Here are the completed set of curtains for Window #2, painted, rod pockets and hems sewn; and curtain rod mounted.

I am loving my new artsy curtains for my New Art Studio.  I did not like being out back after dark with no curtains.  It is also going to help keep it a little cooler in there for the summer too.

Loving my new studio, and loving my new artsy, hand-painted curtains.  Having fun being creative.

#artstudio #newartstudio #florida #floridaartist #art #artist #awesome #christinamlee #christinamleedesigns #leeshorestudio #floridalife #followme #picoftheday #instalike #instagood #lampworkbeadartist #fiberartist #jewerlydesignartist #curtains #paint #handpainted

Posted on Leave a comment

New Art Studio Deck

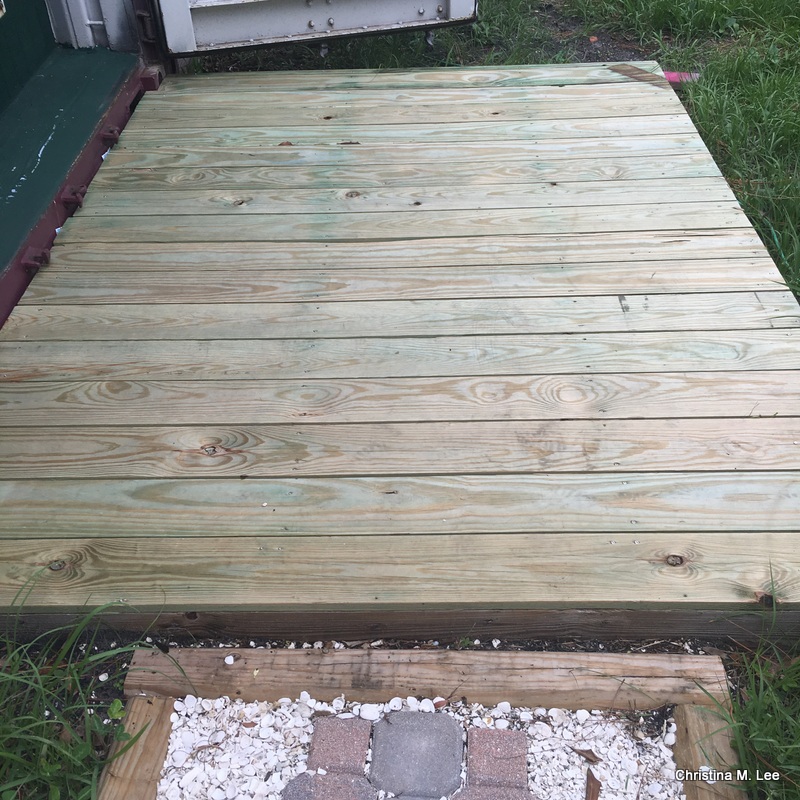
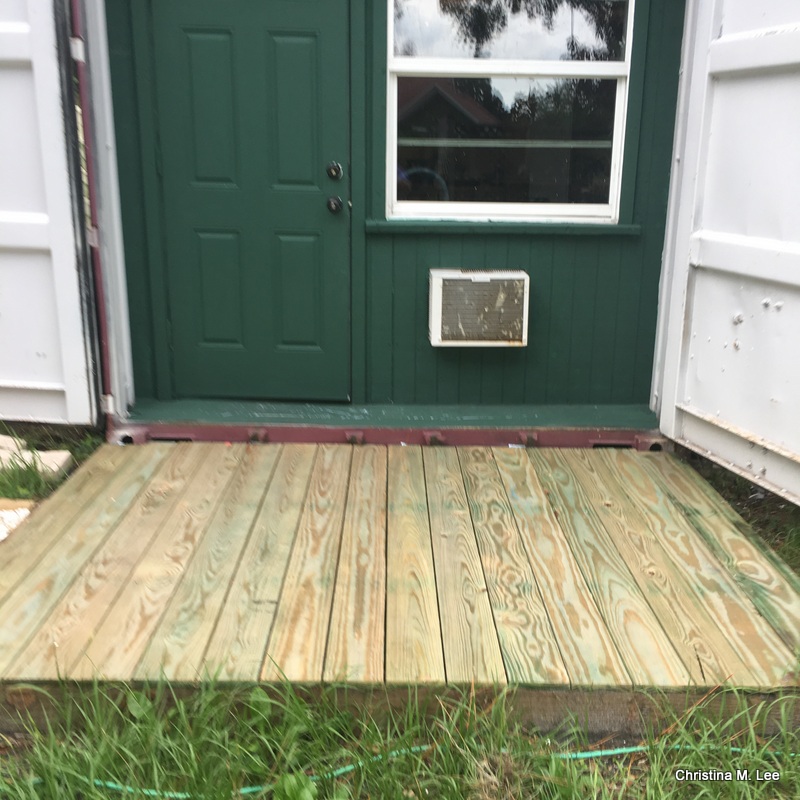
Here is the new my deck we built out back in front of my New Art Studio.  It has sure been nice having the new deck and the new stepping stone walkway.

With all the torrential rains and thunderstorms we have been having for weeks. I am so loving not having to walk through puddles and wet grass to get to my New Art Studio!!!


#artstudio #newartstudio #florida #floridaartist #art #artist #awesome #christinamlee #christinamleedesigns #leeshorestudio #floridalife #followme #picoftheday #instalike #instagood #lampworkbeadartist #fiberartist #jewerlydesignartist #deck #rain #thunderstorms


Posted on Leave a comment

Life Has Been Crazy Busy

It has been a crazy busy month.  I haven’t posted in quite a while.  So much has happened.
First, we had our house tented for termites.  It is a Florida thing you have to do every few years if you live in Florida.

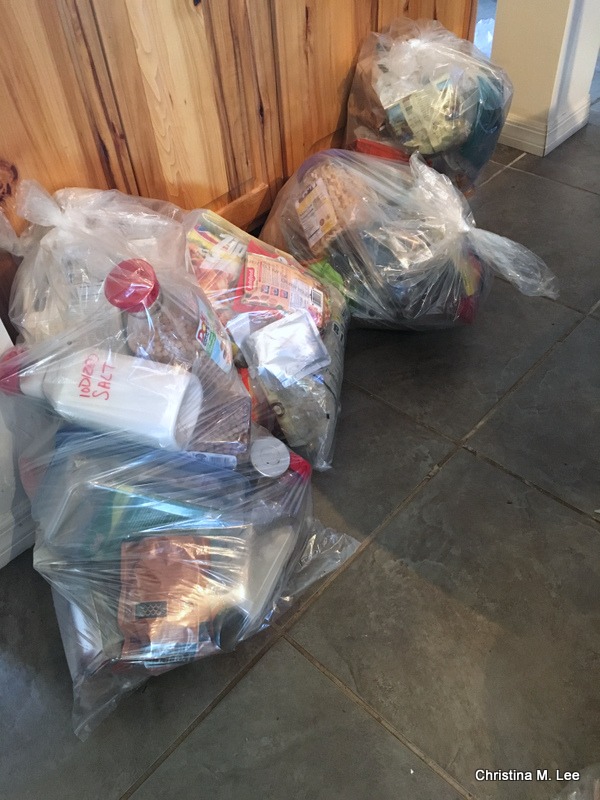
It was a ton of work to prep for the tenting the whole week before.  We had to double bag up all the food in the pantry, in the fridge and the freezer; all the spices, teas, and coffees, all the box goods, all the medicines in both bathrooms.  We have a very large pantry full of stuff.  The above pic only shows a few bags.  Anything that was not factory sealed had to be double bagged.  Then after getting the house bagged up we had to leave for two and a half days.  So we took our laptops and a bunch of files and went to a Motel and worked.  We had 4 days back home trying to un-bag all that stuff and put it away after the tenting.  What a mess we had to undo, and of course keep working at our day job, our law practice, and pack for our trip.  We did not get the un-bagging finished before leaving, so we took off and still left a mess in the house.  Such is life sometimes.

Then it was off to South Carolina to our see our Daughter and Son-in-Love to spend Mother’s Day.  Yay, time for some fun and a much-needed short break.

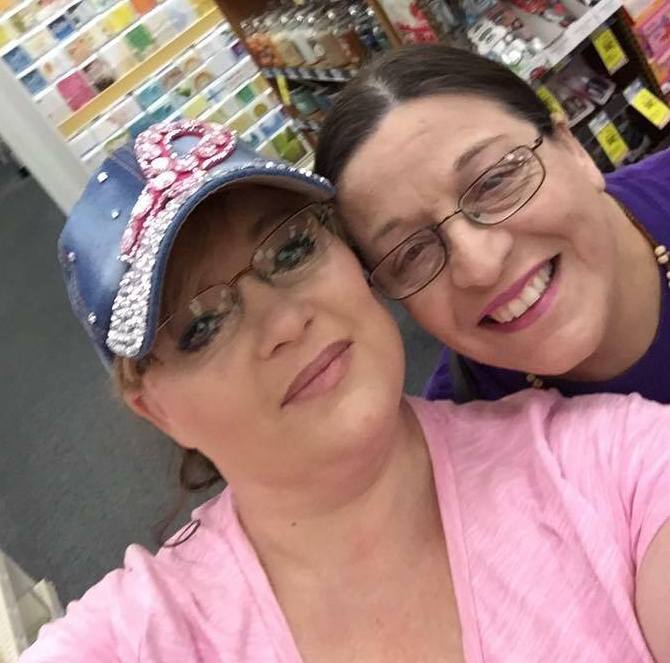
Above is a pic of my beautiful baby girl, Beckie, and I having fun, our first Mother’s Day together in 20 years!

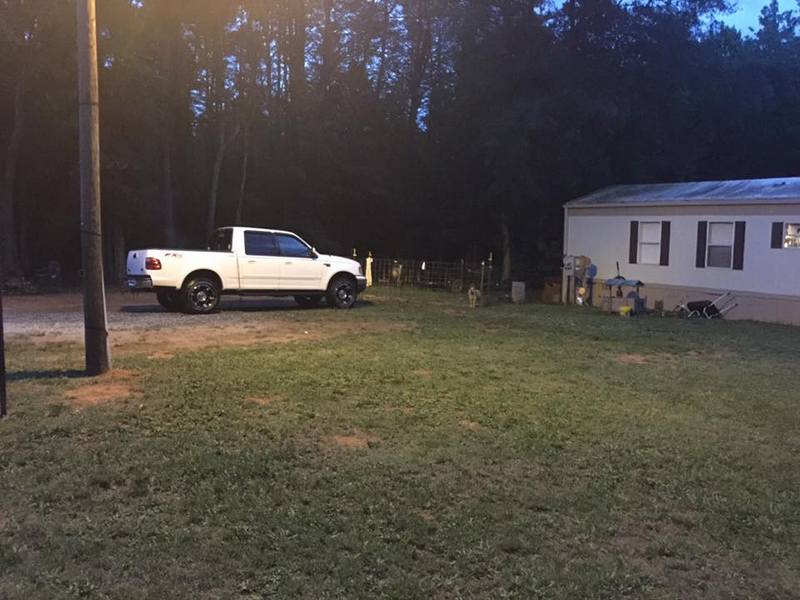
Above is Beckie and Richard’s lovely wooded 3 1/2 acres in South Carolina.  Such a wonderful place they have, out in the country.

On Saturday the day before Mother’s day, we went to Cooley Farms, Strawberry Hills, which was just a few miles up the road from the kids house.  Oh my, what yummy stuff they had there.

Love this shirt, just had to click a pic of it.

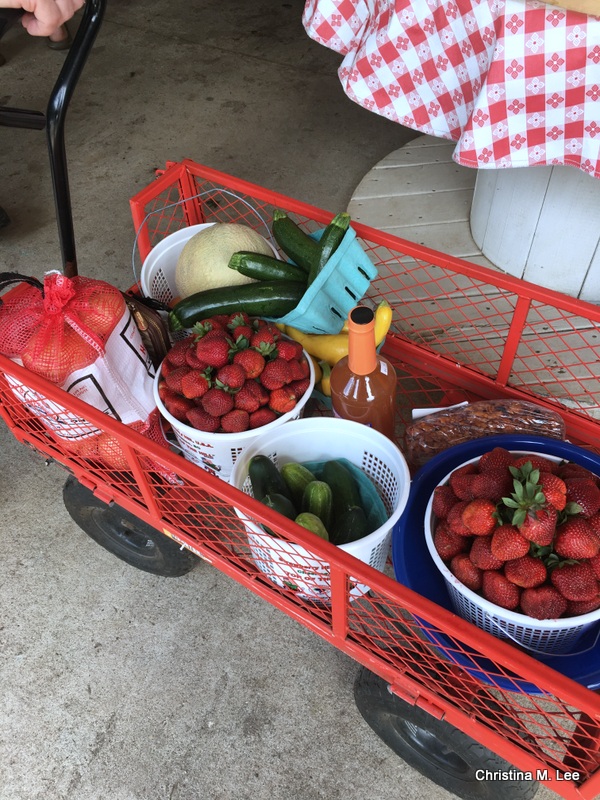
We bought some strawberries and fresh produce, some peach cider and blueberry bread.  Beckie cooked the fresh veggies for dinner and we drank the cider, it was sooo good.  Munched on the blueberry bread for a couple of days.

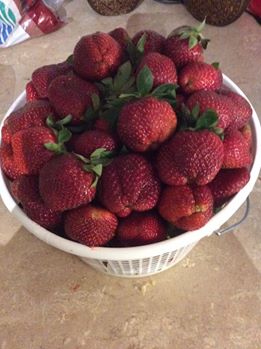
See the big buckets of Strawberries (above), they were having a special, buy 1 bucket, get 1 free.  They were literally fresh picked from the farm.  People were lining up waiting for the tractors to bring the fresh berries in from the strawberry fields on the rolling hills.  They were soooo very yummy!!!

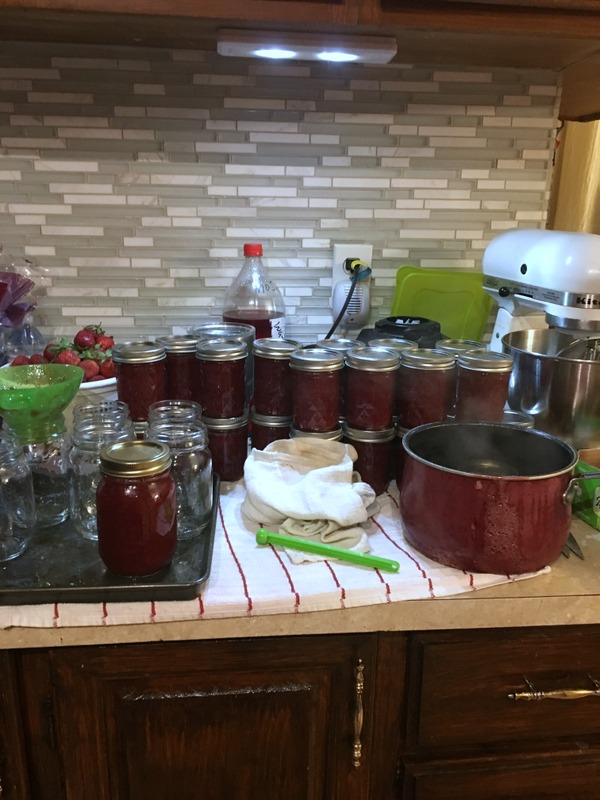
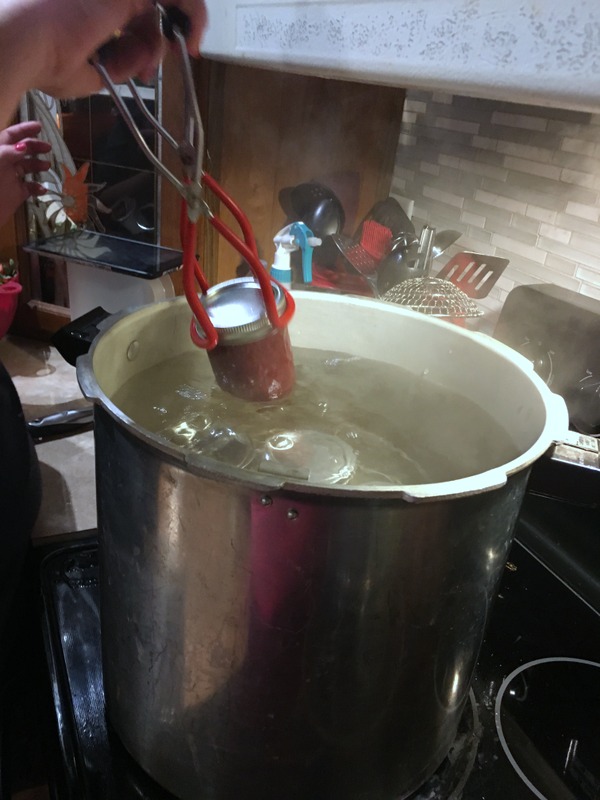
Then we made jam on Saturday evening.  Beckie did most of the work, I helped.

Above, cooked jam going in the jars, below putting the jars in the water bath.

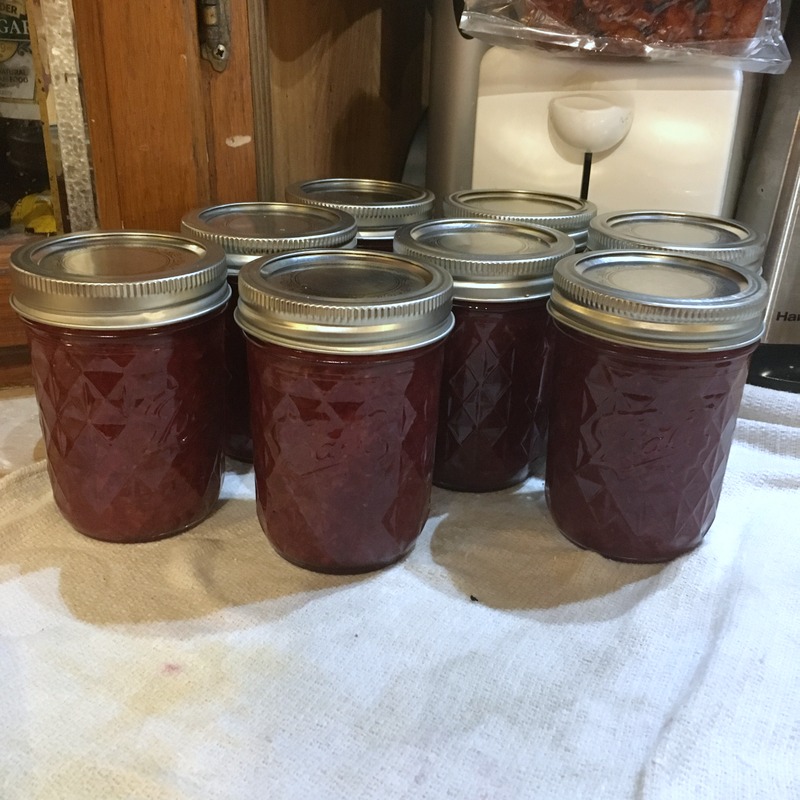
Below the canned strawberry jam.  We had about a full case of jam when we got done.

We got a nice surprise Mother’s Day morning.  My wonderful Granddaughters sent my Daughter and I Shari’s Berries for Mother’s Day.  Sooo very yummy, and we so enjoyed them!!


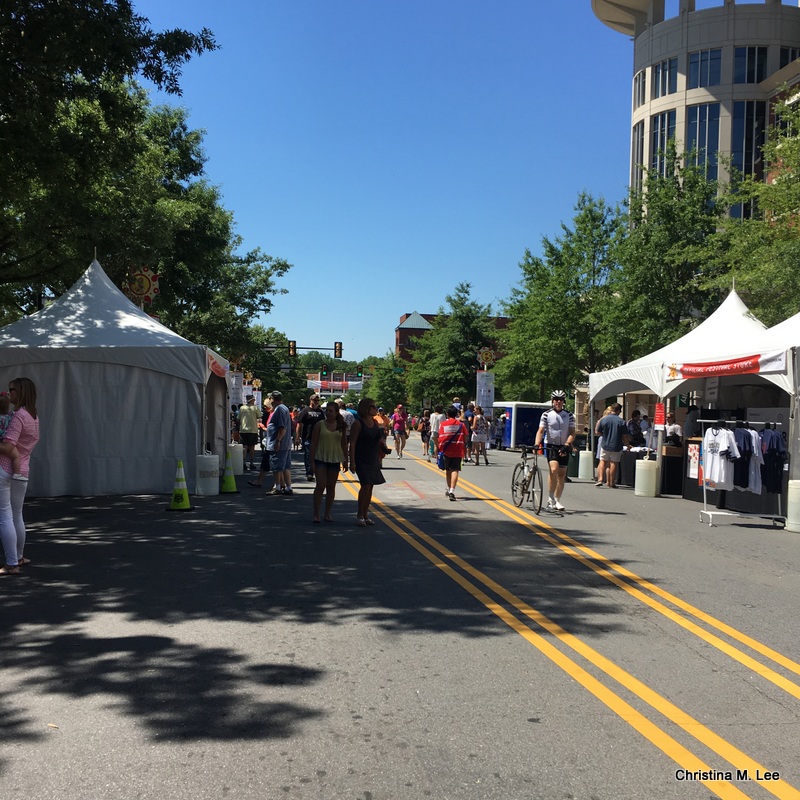
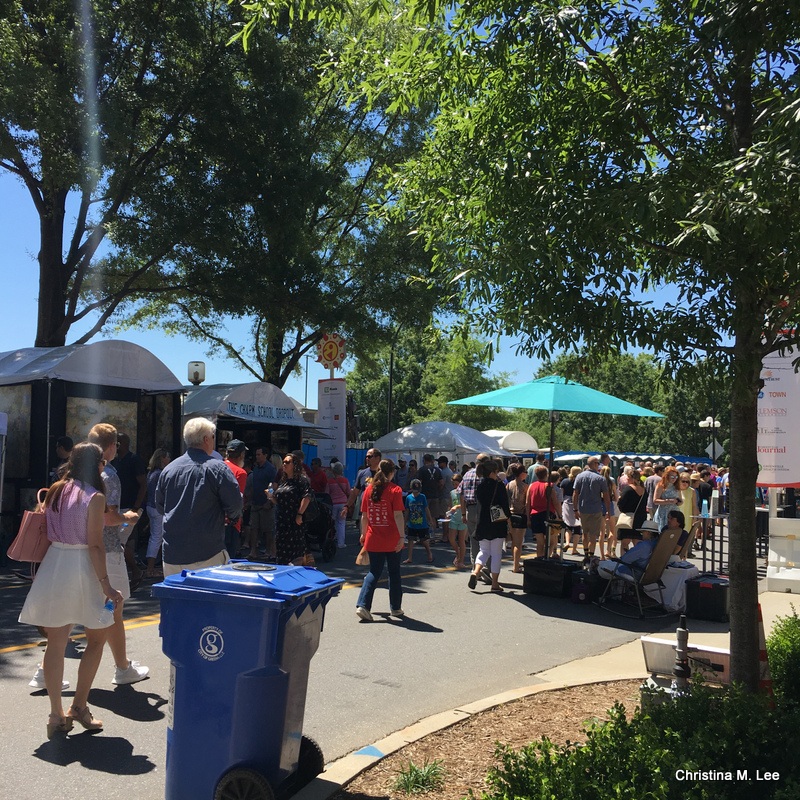
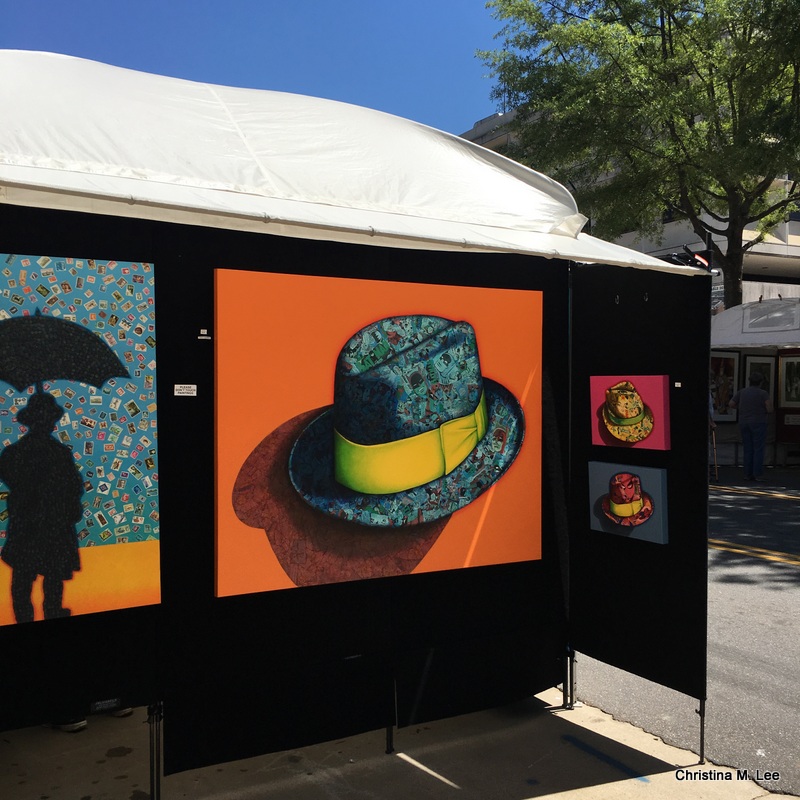
Then we went to Spartanburg, where we picked up my Grandson, Devin, and the 5 of us all headed for Greenville to the Artisphere Art Festival.  It was a beautiful day for it and we walked and walked seeing all the fantastic artists.

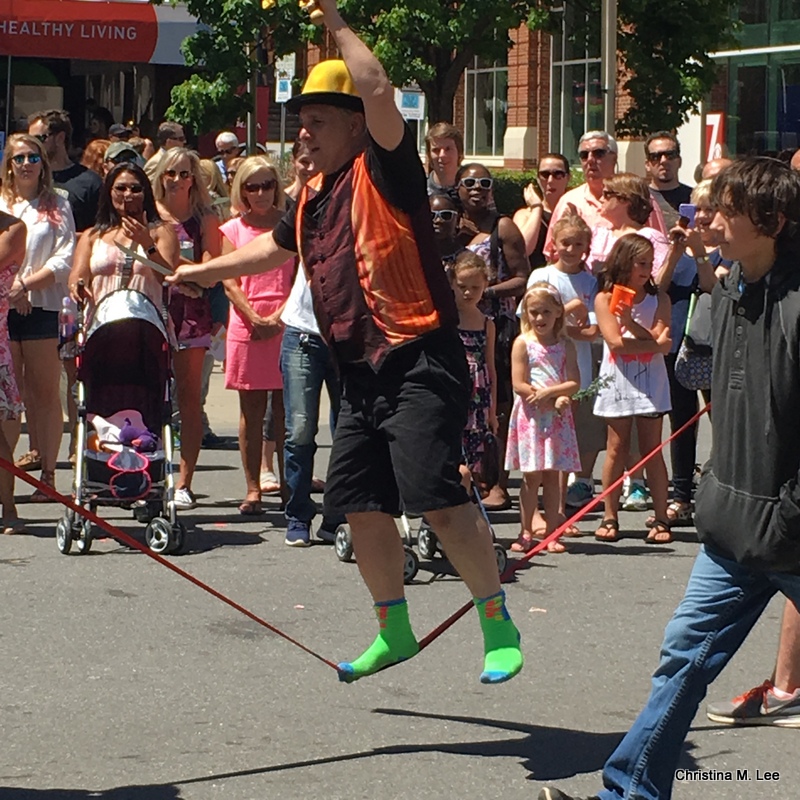
Which included the street performers.  Love those socks. 

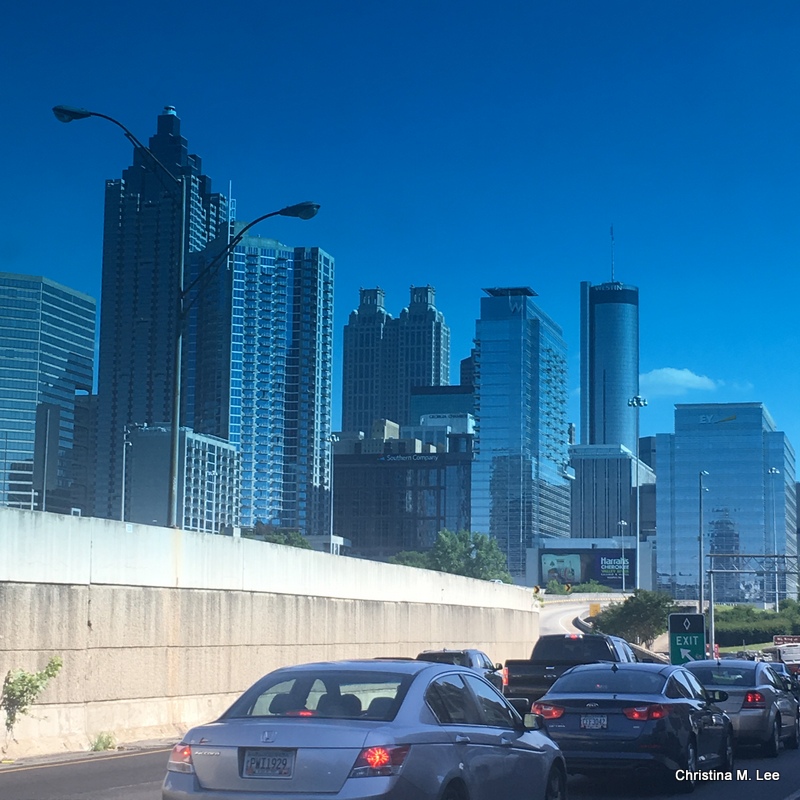
All in all it was a wonderful extended weekend, but all good things must come to an end and Monday morn we were on the road again for the return trip to Florida.  We drove a different route than normal as we had to stop in Marianna, Florida for a court hearing (our day job, law practice).  On the way to Marianna we went through downtown Atlanta during the evening rush hour, not good at all!!!

The blue tent of my truck window made the sky look a bit bluer.  Two and a half hours later we finally got out of Atlanta.  Oh my, it was awful!!!

 We finally made it to Marianna about 10 pm and found our motel and crashed.  We were very tired to say the least.  My Hubby got up and headed to the Courthouse Tues morn and took care of his Client’s legal matter, and came back to the motel to get me.  We were loaded by 11 am and on the road for home.  Arrived home about 8:30 pm to the messy house we had left behind, back to reality and the rest of the un-bagging, the putting stuff back in the pantry, and cleaning the house.  It was a fun trip, but we could have done without the Atlanta traffic.

#Mothersday  #greenville #artisphere #strawberryjam #strawberries #jam #daughter #picoftheday #instalike #instagood #followme #awesome #florida #southcarolina #floridaartist #fiberartist #lampworkbeadartist #jewelrydesignartist #silkpaintingartist #christinamlee #christinamleedesigns #sharisberries #greenville #artisphere #Atlanta #trafficjam #granddaughters


Posted on Leave a comment

Walkway Created from the House to the New Art Studio

This is so nice!!  Backyard Getaway came and created me a flagstone walkway from the front patio around the side of the house and out back to the New Art Studio.

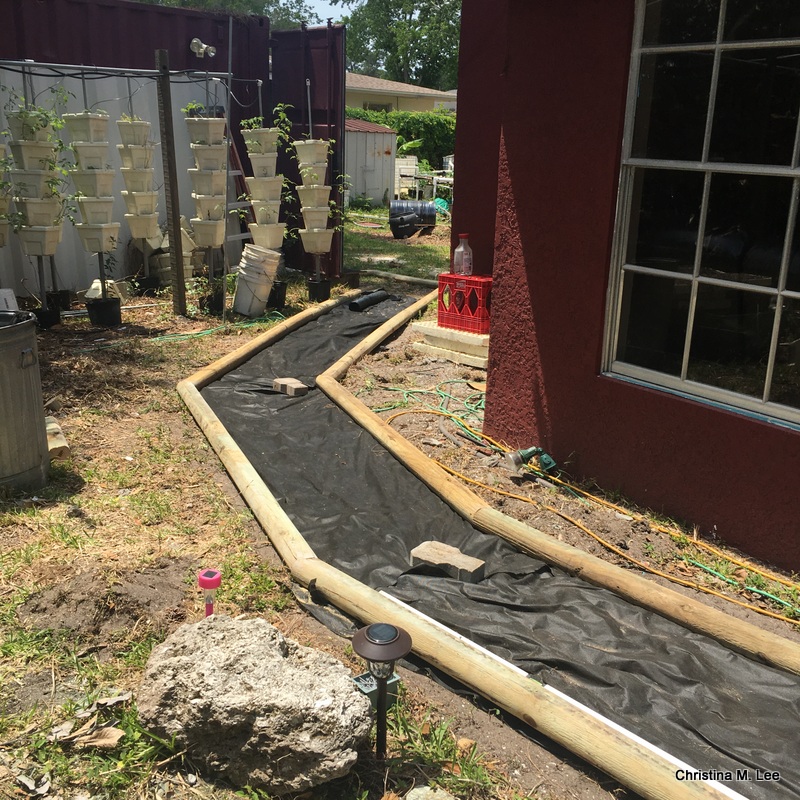
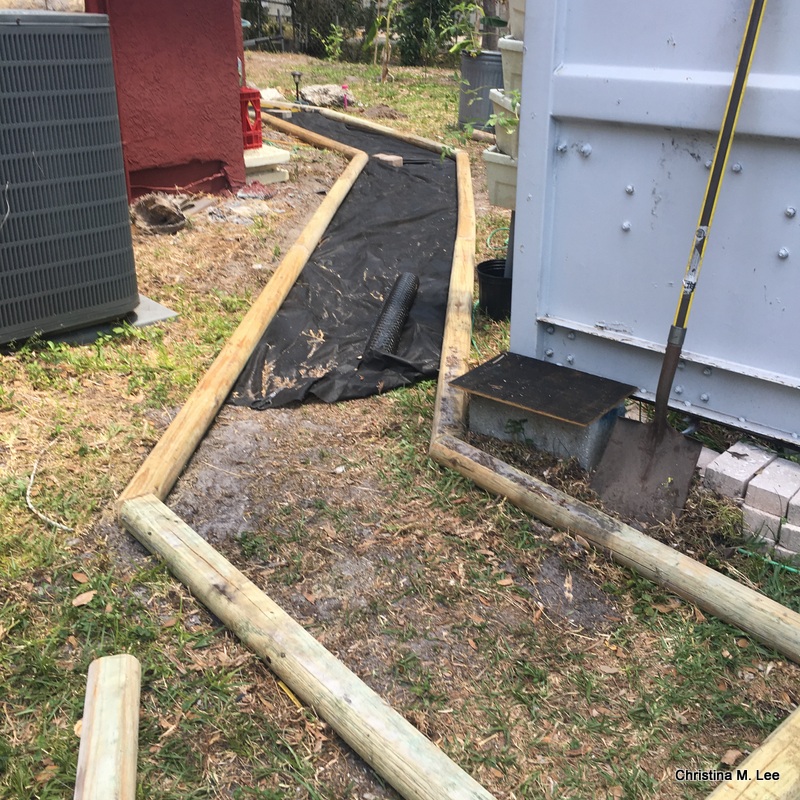
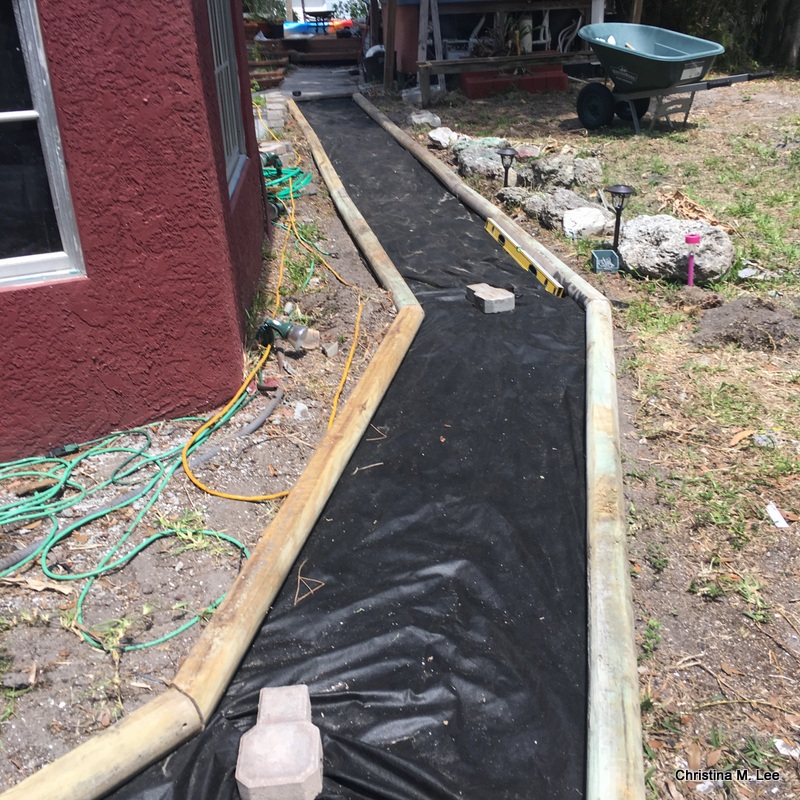
Dave and Lisa did an awesome job and if you need landscaping done, I highly recommend Backyard Getaway!!  Below they laid out the walk, put the landscape timbers in and laid the fiber cloth.

Heading past the living room windows and past my Hubby, Rick’s Hydroponic garden out to the New Art Studio.

This is a pic looking from the New Art Studio back towards the house.

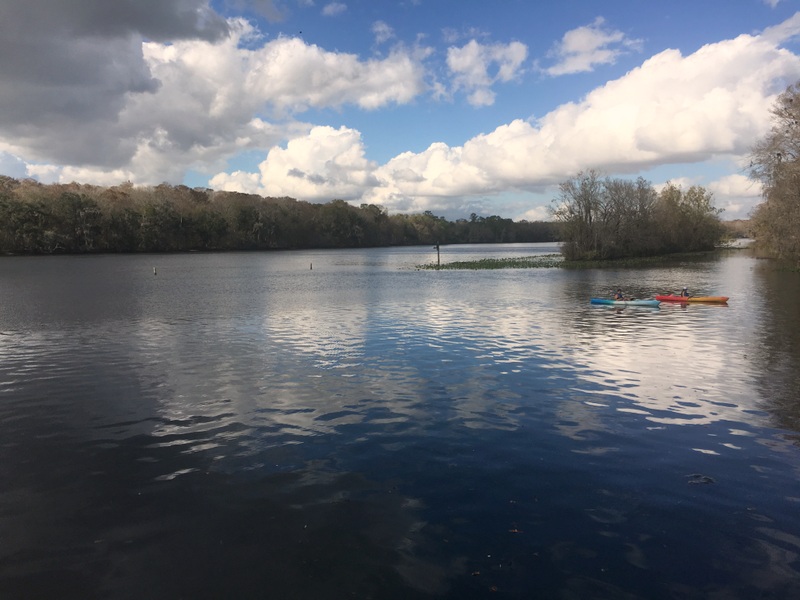
Again looking the opposite direction, from the New Art Studio to the house, the deck, and the river.  You can see the kayaks in the background. (That is where I take the awesome pics of the river, from the deck.)

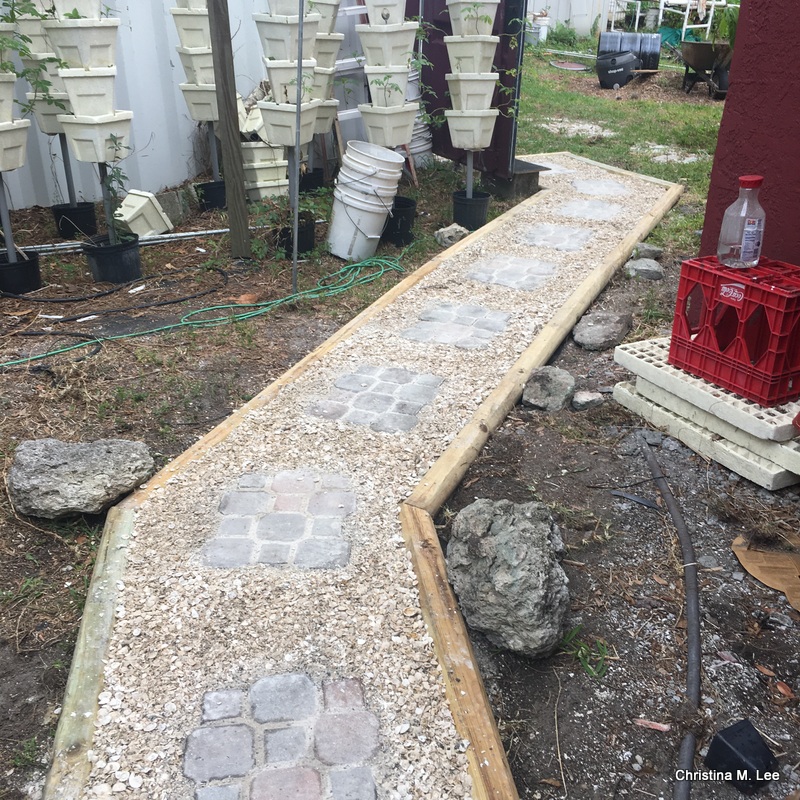
  Here we are, day two, the completed flagstone walkway, the stones are surrounded by shell.

This is going to be so nice during the rainy season.  It will also help to keep some of the sand from being tracked into the house.

The rest of the walk and Rick’s Hydroponic garden.  As you can see, we still have a lot of construction clean up we are doing in they yard, but we are getting there.

So very happy with my new walkway!!!!  Cannot thank Dave and Lisa enough.

#walkway #awesome #newartstudio #artstudio #christinamlee #christinamleedesigns #fiberartist #lampworkbeadartist #fusedglass artist #floridaartist #picoftheday #instalike #instagood #flagstone

Posted on Leave a comment

Finishing Up The New Art Studio

I am down to all the finishing touches on the new art studio.

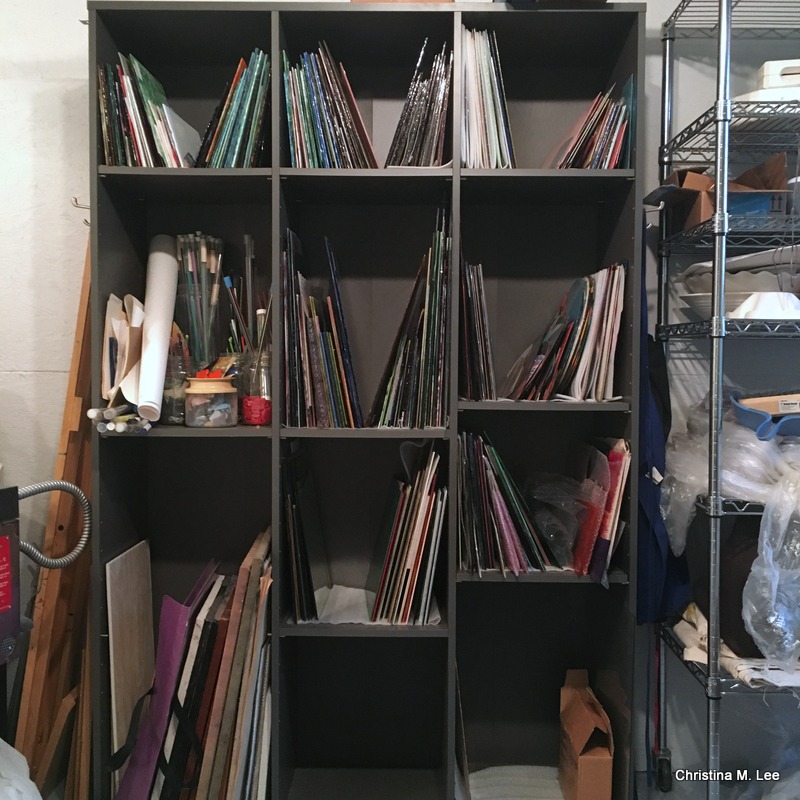
Here you can see I finally got all my sheets of stained glass out of the house and back into the cabinet where they belong safe and sound!  Yay!!  Only chipped the corner of one piece.  I thought that was a pretty good accomplishment.  It took me months and months of carrying a few sheets out at a time every time I went out back.   As you can see I have a lot of beautiful stained glass to work with.  I have it all organized by brand and by fusible and non-fusible, and have one cubby for my glass rods for lampwork or flamework glass bead making.  This will make everything very easy to access when I want to create!!

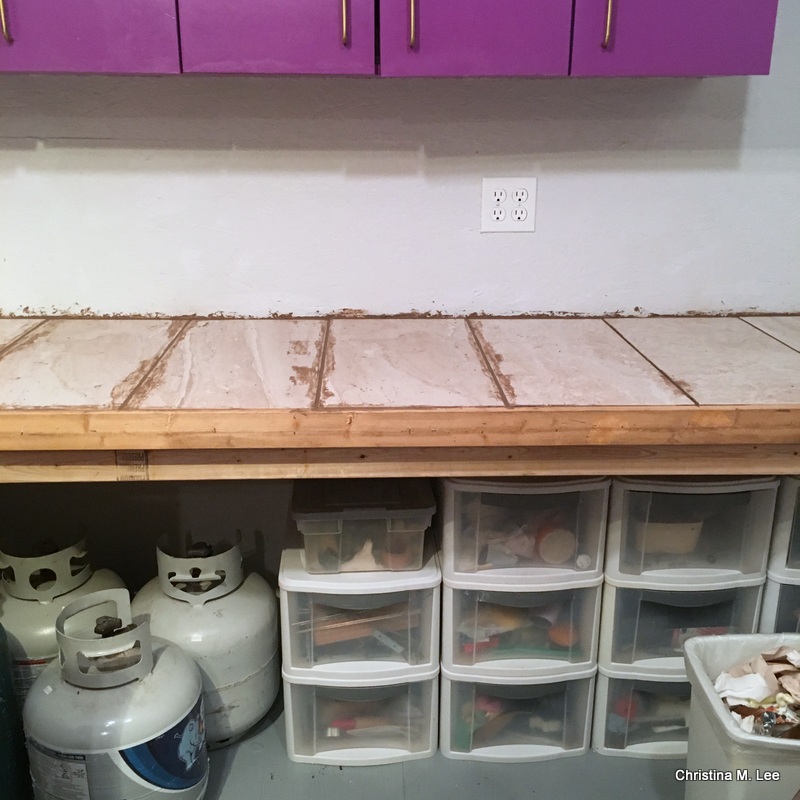
I started grouting the tile on the new counter top, messy, but a necessity.  My wonderful Hubby, Rick, got the trim board mounted on the front of the counter top.

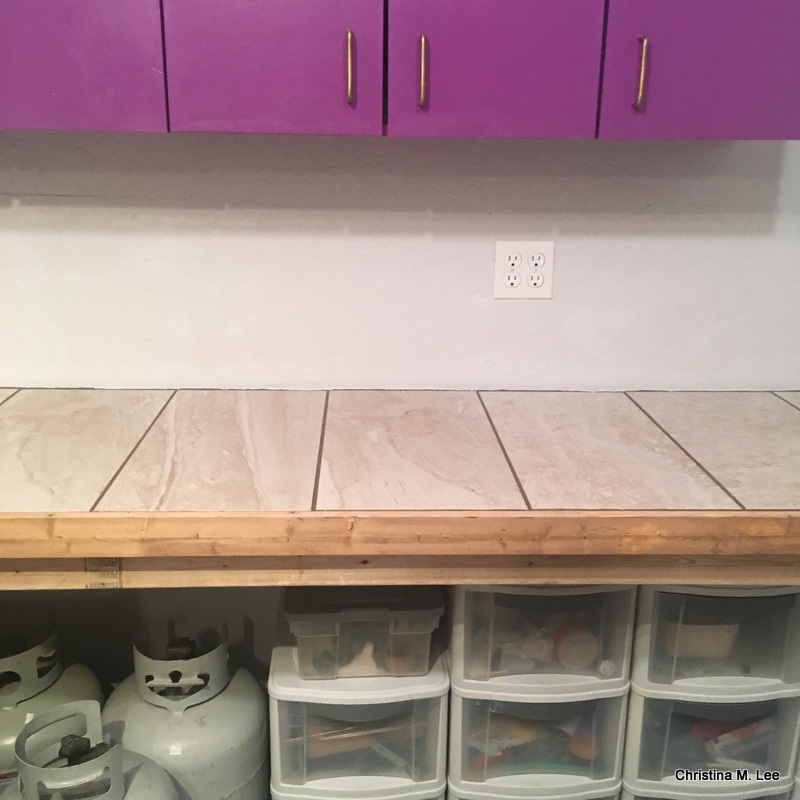
Finally all the grouting mess is done and the tile cleaned!!!  Yay!!!

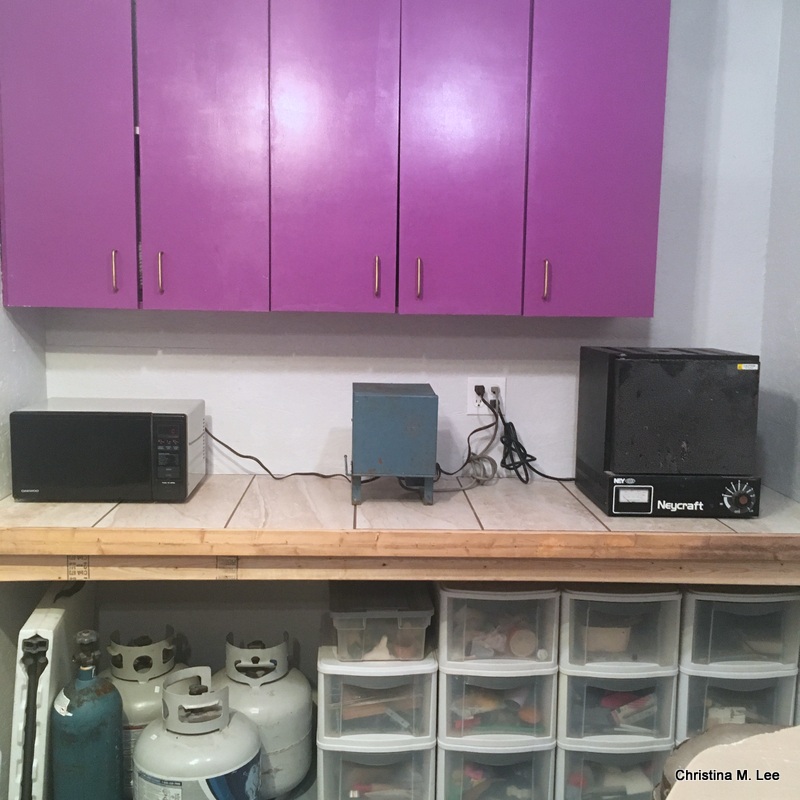
My two 110 Kilns and my microwave are now reposing on the new counter top in their new home.

Now I am back to finishing the painting of the floor!  You can also see I put spray foam in the crack in the floor between the two units to seal it up.

Prepping the next section of the floor for paint, under the window on the South side.

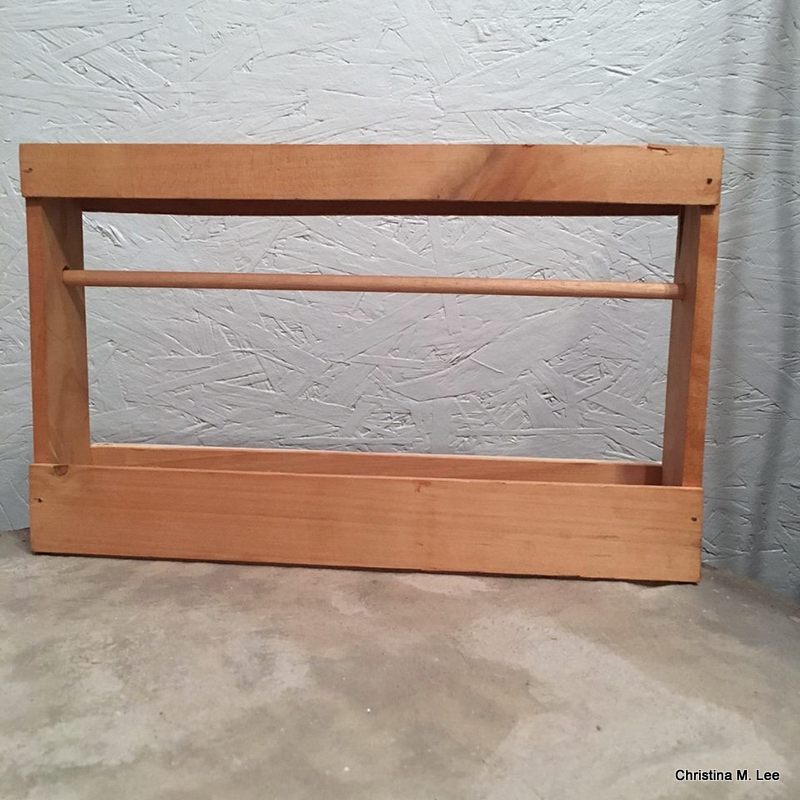
In between waiting on paint, grout and caulk to dry, and while cleaning out the old art studio upstairs in the house, I found this old Dave’s Insanity hot sauce bottle rack.  I stuck it away some years ago on a shelf and forgot I had it, thinking I could use it for something.

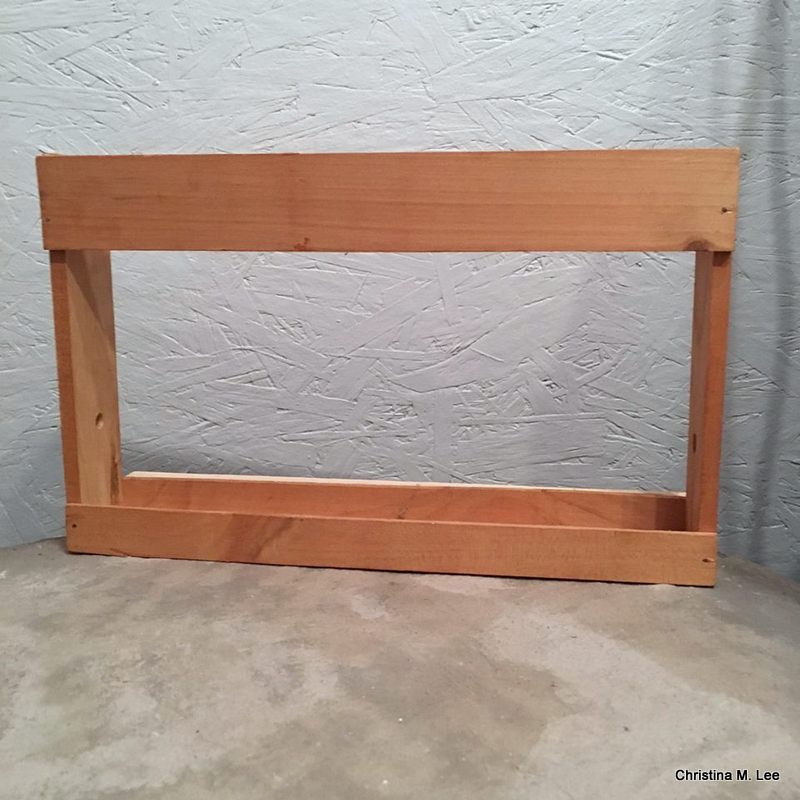
I flipped it upside down, and got my wonderful Hubby to cut a dowel and drill holes in it for the dowel.

I put a couple of coats of some pretty blue paint on it and, presto change o, I now have a new “upcycled”/”recycled” rack for my spools of bead stringing wire and my small pliers, cutters and crimping tools!!!  I love my little rack!!

Things are progressing nicely!!

#stainedglass #cabinet #fusedglass #fusible #art #artist #artstudio #newartstudio #instalike #instagood #picoftheday #dreamcometrue #awesome #upcycled #recycled #davesinsanitysauce #beadstring #beadstringingwire #countertop #grout #paint #pliers #crimpingtool #painting #lampwork #flamework


Posted on Leave a comment

Our Trip to Texas

Here are pics of our trip to Texas for Rick’s Mom’s 90th Birthday celebration.

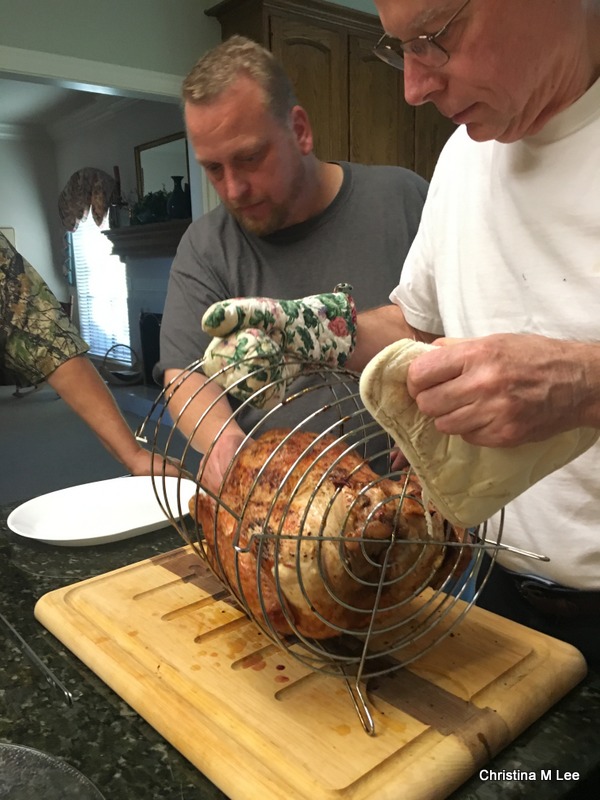
Here is my son, Robert, and brother-in-law, Rick, pulling out the air roasted turkey my Hubby cooked.

IMG_1652

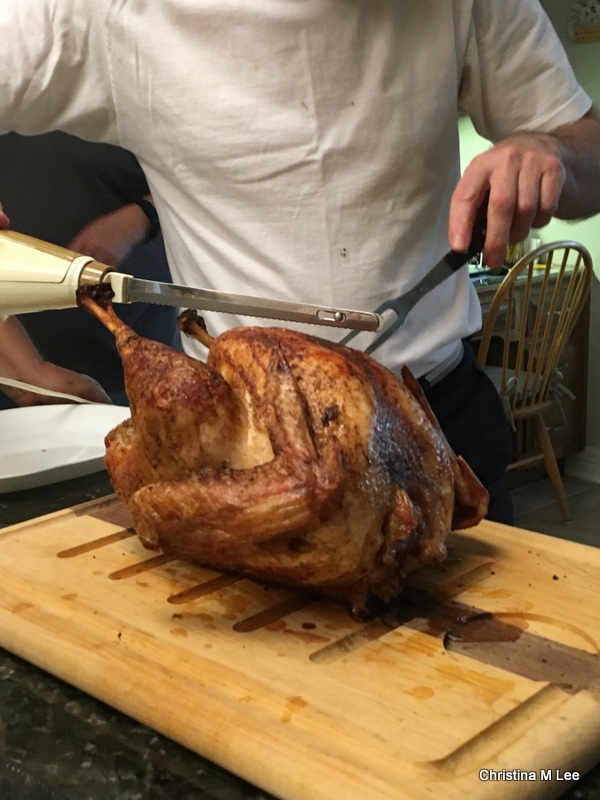
More pics of the Turkey.  It was real yummy!!!IMG_1654

Carving the bird.IMG_1661

Mom opening her birthday gifts with some of the great grandkids watching her.IMG_1683

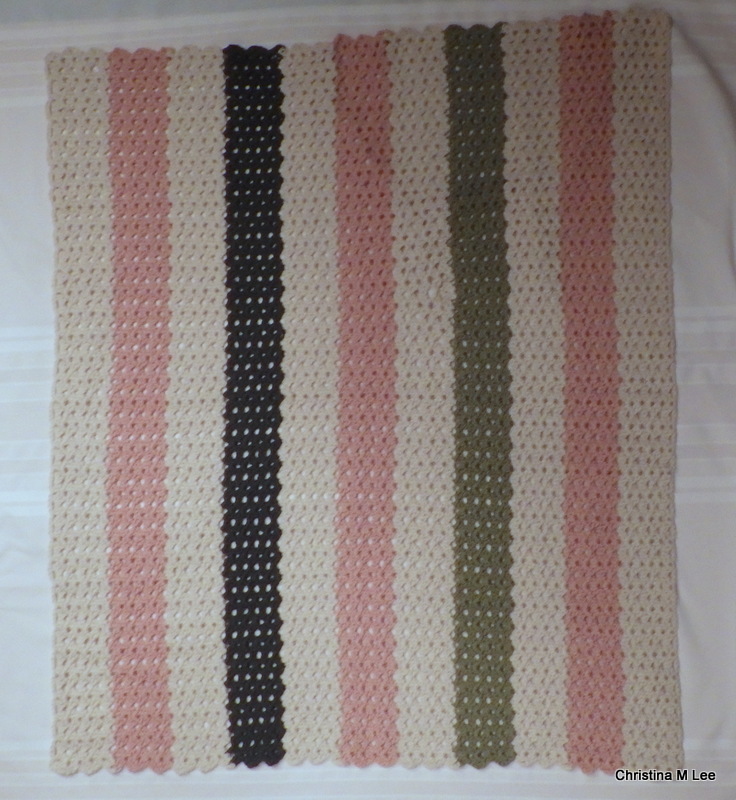
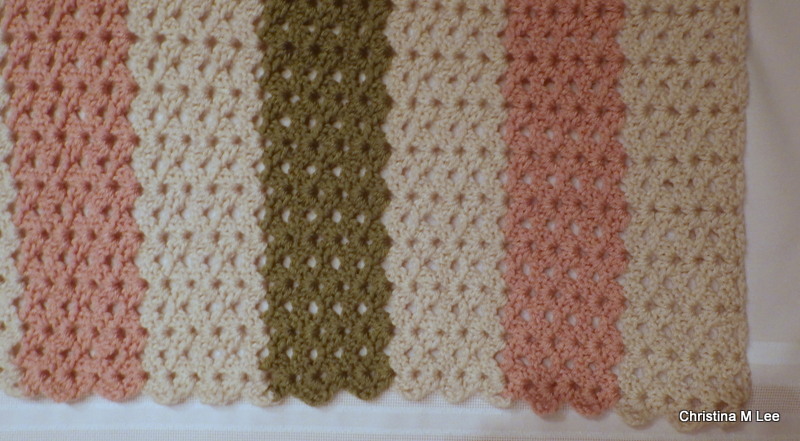
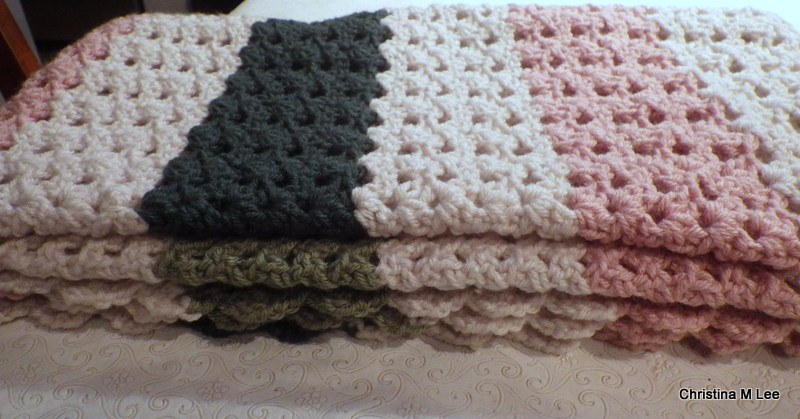
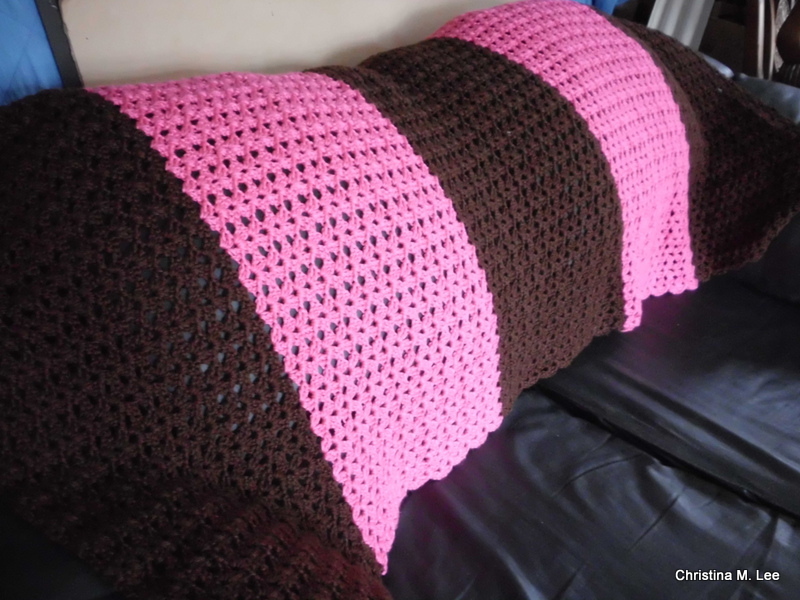
Mom with her gift, the lapgan blanket, I crocheted for her sitting in her lap.IMG_1686

Some close up pics of the lapgan blanket.

RIMG0810

RIMG0814

I chose the colors to match Mom’s couch.

RIMG0818

We had a wonderful time!!!

#crochet #lapgan #mom #90thbirthday #awesome #picoftheday #instagood #instalike #birthdaygirl #katytexas #turkey #airroastedturkey


Posted on Leave a comment

Manatee Co Fair Winners 2017

Wow, my entries at the Manatee Co Fair won awards!!

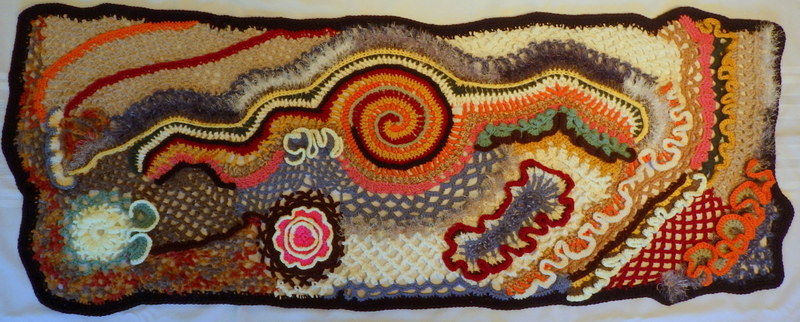
My Free-Form Crochet Shawl (without a pattern).RIMG0904

They did not display it very well, but you can see the Red Rosette Second Place Ribbon on the Shawl at the Fair.IMG_1539

My handmade (lampwork) bead necklace hung on my handmade sterling silver neck wire won First Place.

IMG_1552Excited and happy!!

#lampwork #ManateeCoFair #blueribbon #artstudio #picoftheday #instalike #instagood #winner #crochet #freeformcrochet #newartstudio #fiberarts #flamework #shawl #redrosetteribbon


Posted on Leave a comment

New Art Studio, Almost Done

Here is the next installment of the New Art Studio progress.
Down to the finishing touches, the nitty gritty tedious stuff, like caulking seams and corners.  img_1243

Final coat of paint going on the two front walls around the windows and the cased opening. img_1407

Starting to put my shelves back into my cabinet, and every time I come outside from the house I carry some of my stained glass out and am putting it back in the cabinet.img_1419

Close up of some of my pretty stained glass and glass rods.img_1421

Another close up of some glass.img_1422

Since I took the cabinet out to the New Art Studio a couple of months ago, all my beautiful stained glass collection has been resting against the wall in the old art studio upstairs in the house.  I hold my breath when I am in there around it, will be glad to get it all transported outside and back into it’s cabinet where it is safe and sound.  img_1426

#newartstudio #artstudio #picoftheday #instalike #instagood #dreamcometrue #stainedglass #painting

Posted on Leave a comment

Christmas Vacation, Part 2

I need to show you the rest of our Christmas Vacation pics with our Son and Daughter-in-Love.  On Mon, the 26th we ventured out from Cedar Key to Manatee Spring, Florida.  What a beautiful place.
Scuba divers were in the springs, the water was crystal clear!img_1307

Trees all around the water, and the water was like glass.img_1308

Hubby, Rick, enjoying the walk along the river.img_1312

Map of where the springs are located.img_1315

So beautiful.img_1328

As we walked along the river walk it just got prettierimg_1343

Here is where the spring flows into the Swanee River.  We have decided we have to go back with our kayaks.img_1389Hope everyone had a wonderful Christmas and a hope 2017 is a fantastic year for all.

#christmas #christmasvacation #pickoftheday #instalike #instagood #cedarkeyflorida #manateespringflorida

Posted on Leave a comment

Christmas Vacation

Hope everyone had a wonderful Christmas, we did!!
We got to spend it with our Son and Daughter-in-Love in Cedar Key, Florida.  Here are some pics of Cedar Key, the kids and us.img_1257

It is a quaint little fishing village. I love how I caught the reflection in the water.

img_1279

img_1285

Here are our Son and Daughter-in-Love, Rob and Stephanie.
Rick took their pic with the sun in their eyes.

img_1273

A pic looking out from the dock. img_1288

Remnants of Hurricane Hermine are still to be seen around town.

img_1290

This place did not fare so well.

img_1266

Close up of the stairs

img_1269

Here are Rick and I.  We had fun!!

img_1302

#christmas #christmasvacation #pickoftheday #instalike #instagood #cedarkeyflorida

Posted on Leave a comment

The Next Group of New Art Studio Pics

The interior of the New Art Studio has taken me a lot longer than I thought, but working full-time with my Hubby the Attorney (running a full-time law practice) keeps me busy almost 24/7.  I try to fit a couple of hours out in the New Studio almost every evening, but it doesn’t always happen.

Here are the newest pics:

Coat #2 going in the cabinet doors for the south side, those are now done.

img_0864

The contractor finished closing in the opening between the north and south sides, all boxed in nice and neat.  Sorry the overhead lights caused a glare in this pic.  Now lots more wood to paint!img_0910

Another pic of the cased opening img_0912

Was able to sell that extra bat of insulation, yay! got it out of my way.

I got the final coat on the south side back section of the walls.  Once the cabinets and floor are done in this back section, my Hubby can build my counter top which will be under the cabinets for my two table top 110 kilns. img_0963

Got two coats of primer on the cabinet facing, the underside of the cabinet and right side of it, and then started the purple paint last night on the south side cabinets.

img_0971

Spent lots and lots of time this week caulking the corners and seams between boards, very tedious, but it has to get done.

#new art studio #artstudio #picoftheday #instagood #instalike #dreamcometrue

Posted on Leave a comment

More Pics of the Interior of the New Art Studio

Time for another update on my progress on the new art studio:

My wonderful Hubby got my counter top built with the wonderful piece of Corian we scored at Habitat for Humanity for $15.  I have to paint the wood.  It is so nice, and my Sterlite drawers will fit under it perfectly.

img_0803

I have steadily been bringing in art supplies from out of the old studio in the house into the new studio out back.  Just stacking stuff for now, will organize it all later.

img_0826

Two coats of primer on the walls around the cabinets on the south side.  Ready for the final coat of paint.

img_0856

Started the primer coats on the cabinet doors for the south side.

img_0851

Working on the south side cabinets so I can bring in more art supplies and put them in those cabinets, and so my hubby can build me a counter top under the cabinets.  I am making good progress.  More pics to come.

#newartstudio #picoftheday #instalike #instagood #artstudio #dreamcometrue

Posted on Leave a comment

New Art Studio, Interior Painting

Hi everyone.  Hope you are having a great week.  Thought you would like an update on the interior painting progress of my new Art Studio from last weekend.  Hurricane Hermine set us back a bit.  Several days of torrential rains prevented me from being able to get out into the back yard and get into the Studio.  The backyard became a swamp of water.  Thank the Lord we had nothing severe here, just tons and tons of rain and we were already waterlogged from a very wet summer.  On Saturday I had to make myself a walkway to the Studio with some paver bricks so that I could get out there to paint without getting my feet wet.  You can see in the pic the water is about ankle deep here near the Studio door, almost to the top of the bricks.  Out towards the center of the back yard, to the right of the pic, it was almost a foot deep.

img_0416

The back yard still has some standing water in it days later and is slowly drying out.  We are one house off the river so we had to literally watch the creek behind the house and make sure it did not rise too high.  Hubby put plastic and sand bags along the front edge of the house just in case.  The Counties north of us got hit really hard.  Lots of damage from high winds, trees falling on homes and cars, and lots and lots of flooded homes.  So we are definitely counting our blessings.

img_0406

I decided that painting the cabinets would be easier to do if I did them before Rick installs the sink and the counter top under them for me.  I cleaned the cabinets and got the cabinet doors taken off them.  These are the ones on the left hand side of the studio.

img_0402

Doors set up and ready to paint the primer.

img_0405

Two coats of primer painted on the doors.  There are 5 cabinet doors on this side of the Studio.

img_0419

I started putting the primer on the cabinet facings.  I am leaving the insides of the cabinets white, so not putting any paint on them.  Just painting everything that was pale pink previously.

img_0422

Two coats of primer on all the facings.

img_0426    And two coats of primer under the cabinet.   They are ready for the new paint.

I am not going to tell you what color I am painting the cabinets, not just yet.  You will have to wait for the big reveal!!  LOL.  Stay tuned for more updates to come.

#artstudio #interiorpainting #newartstudio #love #instagood #follow #followme #like #pickoftheday #instalike

Posted on 9 Comments

New Art Studio, Building the Interior

Sorry I haven’t posted in a while, been quite busy building my new Art Studio.  Getting so excited!!!  It is getting near being finished!!!  Cannot wait to actually start creating in it!!  Here are some chronological pics of the past 3 months:

RIMG0219

RIMG0222

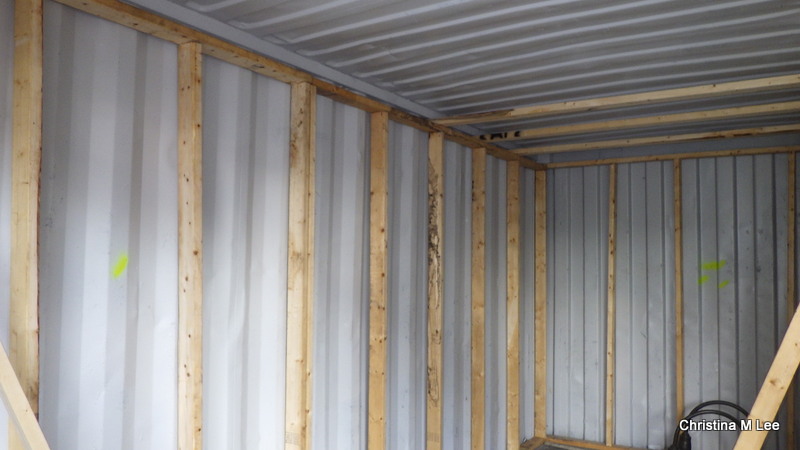
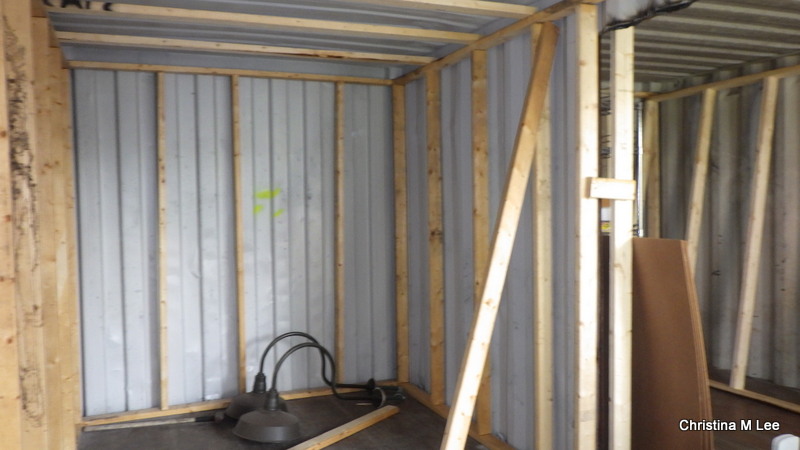
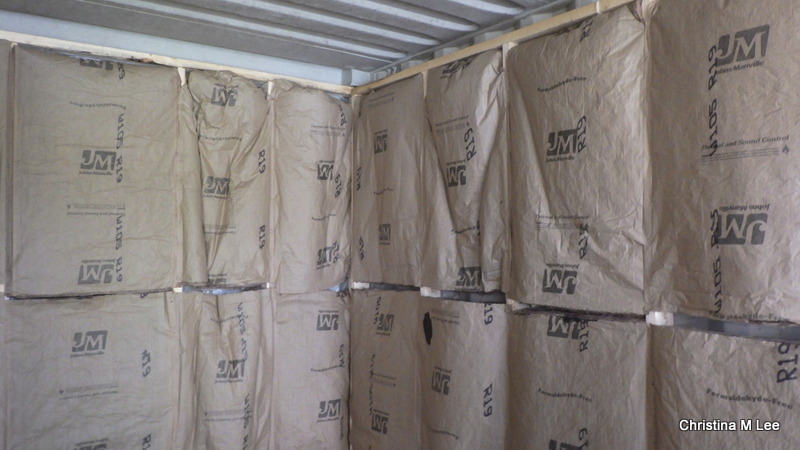
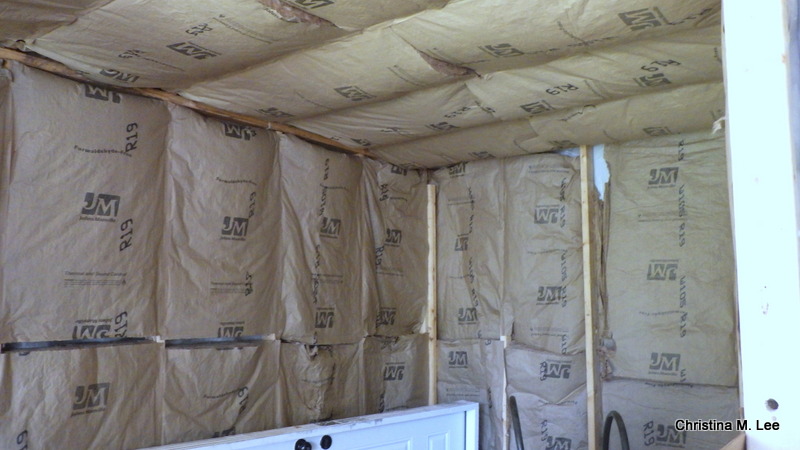
In May we began framing up the interior walls (above).  Then came the insulation (below).

RIMG0989

  RIMG0994My hubby found some great bargains, he trolls all the Swap shops and CraigsList when we need something.  We scored a brand new exterior door in the frame with the locks for $100 (you can see the door in the pic below sitting in the background).  I needed two windows, one for each of the two front walls, found them, brand new never installed $50 each, another great score (sorry no pics of the windows yet).

RIMG1087

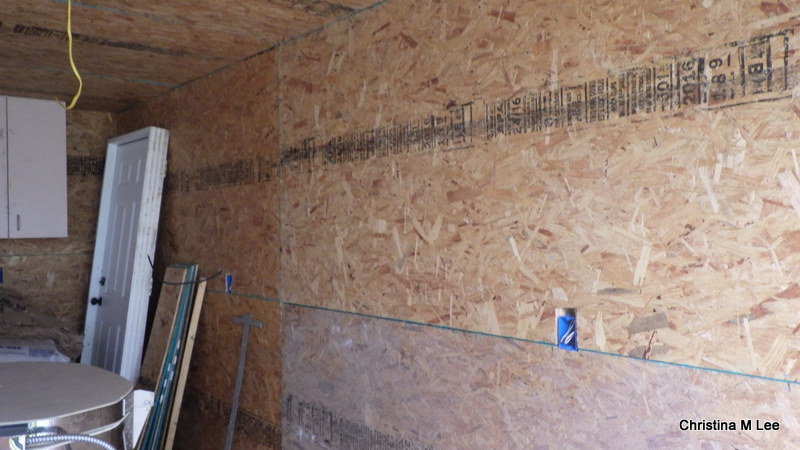
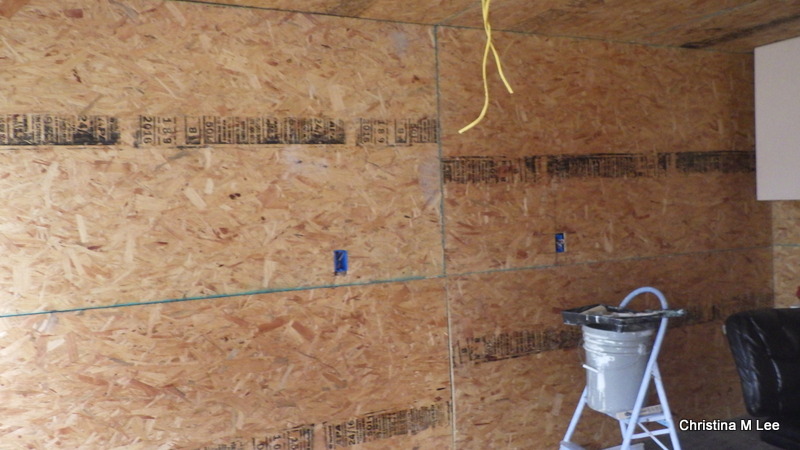
By July we were putting up the interior wall boards.  Joey and Bethany did the framing, the insulation, and the wall boards and ceiling in the back half of the two sections.  It is an art studio, so not getting fancy.  I thought about sheet rock, then I thought about all the tapeing, bedding, sanding, floating, and all the sheet rock dust, (been there, done that, with the house remodel) and I decided wall board would be much, much easier, and not as messy!!  Install it, caulk the corners and seams, and paint it!!

RIMG1088

RIMG1089

After the wall boards went up, we brought my cabinets out of storage.  My daughter-in-law’s brother, Randy, scored me these nice cabinets from a dentist office remodel, at the best price of all, they were free.  I have had them in storage waiting for this studio build for about a year and a half now!  By the way, hanging the ceiling boards was quite a bit of work, but we got them up.  Had some great help from one of the youth from church, Thomas, and also from my grandson, Matthew and his girlfriend Em, and his best friend, Joseph.  All of us hung the wall and ceiling boards in the front end of the studio.

RIMG1092

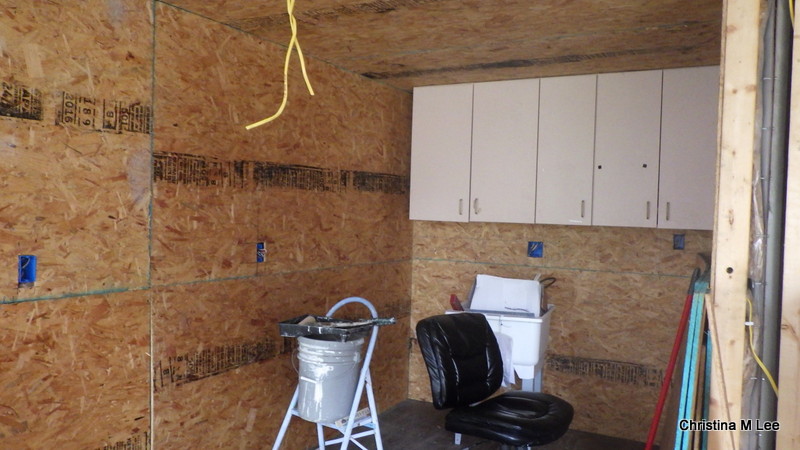
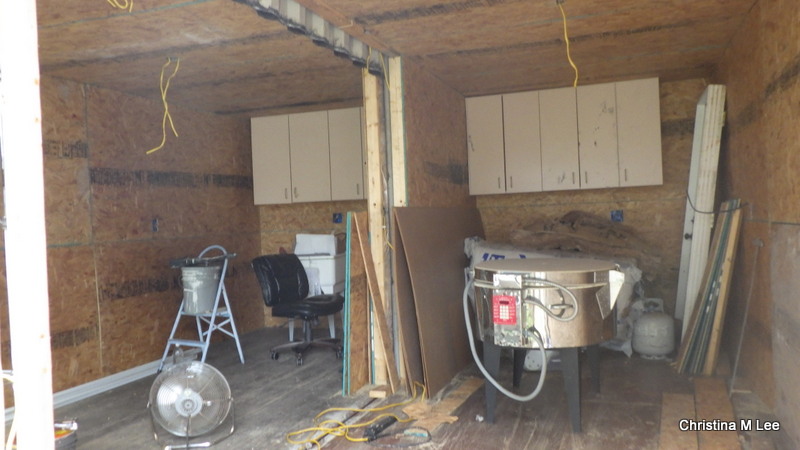
Here is what the two halves of the studio looked like in July.  The left side will have a sink and counter top under the cabinets.  The right side will be for my kilns.  I will have a wet side, on the left, and a hot side, on the right.  My glass band saw and glass grinder have diamond bits and are water cooled to keep the diamond bits cutting efficiently.  Having them near the sink will be fantastic, and will make it so much easier to fill them when needed.

In the above pic, on the right side, you can also see my brand new glass fusing kiln.  We brought it out of storage too.  We scored that about a year and a half ago also.  It has been patiently waiting in storage for it’s new home.  $3000 kiln, brand new, never fired, stole it for $1000.  The gentleman bought it for his wife and she got sick and never used it.  We drove to Atlanta to pick it up, but it was so worth it.  The small table top kilns will be on a counter top under the cabinets.

Below you can see by August I started painting the wall boards.  Here is the first coat of paint going on the walls,  and the ceiling.  (You can see my new sink in this pic.)  Had some great help painting from Thomas, and from my granddaughter, Sarah.

IMG_0393

More to come in the next post!!!  Just wanted to share the studio progress with you so you would know what I have been up to, and why I haven’t posted much in a while.

#artstudio #interiorpainting #newartstudio #love #instagood #follow #followme #like #pickoftheday #instalike

Posted on Leave a comment

Jewelry Care Tips

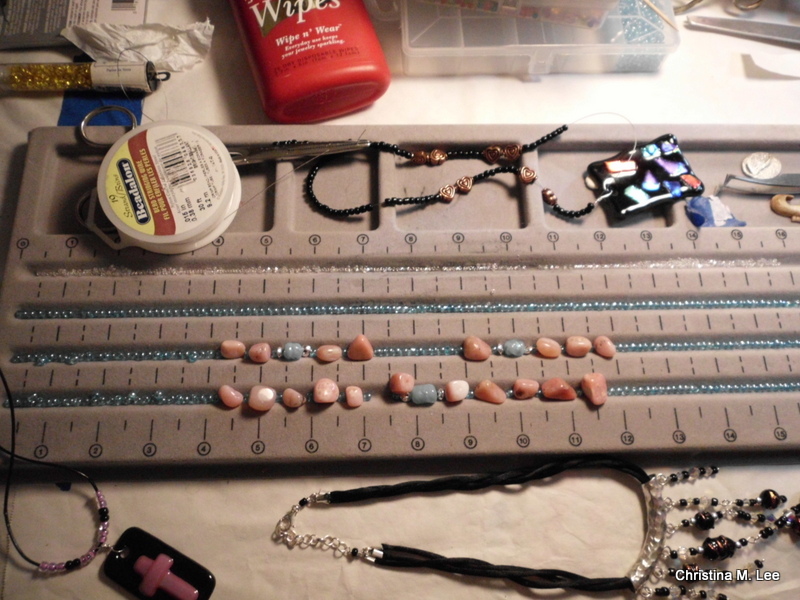
Here is my Jewelry Care Tip of the day.  This is how I keep my Sterling Silver, 14k Gold, my fused glass and precious metal clay (PMC) pendants, my glass lampwork beads and semi-precious stones looking shiny and pretty.  I use Connoisseurs Jewelry Wipes.  I am not affiliated with the company or the product.  I just use it, and like it.  One wipe can be used over and over and over again for months.  One box will last you for years.  The wipe also puts a protective non-tarnish coat on your sterling silver and protects your jewelry from tarnishing longer.

 Jewelry WipesI just thought I would share with you how easy it is to keep your jewelry looking shiny all the time.  You can buy them at any jewelry counter or on the web.

#jewelry, #jewelrycaretip, #sterlingsilver, #fusedglass, #PMC

Posted on 3 Comments

Free Crochet Pattern: Double V Shell Afghan with Scalloped Edges

Double V Shell Afghan with Scalloped Edges

By Christina M. Lee, June 30, 2015

(For Lapgan Measurements see end of pattern)

SANY0003

Skill Level:  Easy/Beginner

Materials:
Caron Simply Soft (5 skeins 6 oz skeins) or any 4 ply worsted weight yarn
Color A: 3 skeins Chocolate, Color B: 2 skeins Watermelon, or colors of your choice.
Crochet hook size H

Special Stitches: Double V Shell (dvs) = 2 dc, ch 2, 2 dc in same space, will be referred to as dvs in pattern below.

Gauge: Not important

SANY0011Close up of the Double V Shell stitch
SANY0016Close up of the scalloped edge.

Pattern:
With color A Ch 168.
Row 1. dvs (Double V Shell, see special stitches above) in 4th ch from hook (see above for instructions on how to make dvs), *skip 4 ch, dvs in 5th ch*, repeat across between **. Ch 3 turn.

SANY0002Here is what the Double V Shell (dvs) stitch looks Like and the beginning of row 1.
SANY0004End of Row 1

Row 2. *dvs in the top of the 2 ch space of the dvs in previous row*, (in the center top of shell) repeat between ** across. Ch 3 turn.

SANY0007End of Row 2, you can now see the scalloped edges starting to form.

Rows 3-17 (approximately the whole skein of yarn): Repeat row 2.
Rows 18-34: Change to color B. Repeat row 2.
Rows 35-51: Change to color A. Repeat row 2.
Rows 52-68: Change to color B. Repeat row 2.
Rows 69-85: Change to color A. Repeat row 2.
Final row. *sc in the top of the 2 ch space of the dvs in previous row, ch 5*, repeat between ** across. Fasten off.

Approximate final measurement of afghan are 45” x 60”

PATTERN UPDATE, 2/29/16: I made a nice lapgan out of this pattern by ending at row 55. Then going to the Final Row. I changed colors of yarn every 5 rows.  I used “I Love This Yarn” from Hobby Lobby.  Approximate Lapgan six 45” x 36”

~~~~~~~~~~~~~~~~~~~~~~~~~~~~~

I hope you have fun creating your afghan. Please share pictures of your completed afghan with me, feel free to post them here on my blog.  I would love to see your completed afghan.

You can also post your pictures of your finished afghan and comments about the pattern on my Facebook page, Knitting & Crochet Friends.

~~~~~~~~~~~~~~~~~~~~~~~~~~~~~

This is an Original Design by Christina M. Lee. Copyright June 30, 2015, Lee Creations, Inc., d/b/a Christina M Lee Designs.   Please feel free to use my pattern to make as many afghans as you desire, give them away, sell them freely.

You are prohibited from selling the pattern or claiming the pattern is your own, or publishing the pattern in any printed material without my explicit permission. You are prohibited from publishing, copying, or using the photographs in the pattern in any manner without my explicit permission.

I would please ask that when you share the pattern you give me credit for the pattern and post a link back here to my blog or my website.

If you have any questions about the pattern, or need any help with the pattern, please feel free to contact me. You may email me at Christina@creationsbychristina.net or post a comment here on this blog or my Knitting & Crochet Friends Facebook page.  Please feel free to share this pattern on social media.

Happy crocheting,  Christina

Follow my blog via email.  Be among the first to receive my blog posts and to know about specials and sales, click the ‘subscribe’ button in the right hand column .

Posted on Leave a comment

Classes I teach: Bead Stringing

BEAD STRINGING: In this class you will learn the basic bead stringing techniques, including crimping and how to make a basic loop and a wrapped loop.  Class fees are $40.00 and includes all supplies.  This is a one secession, 3 hour class.  You will take home a completed necklace or bracelet.

SANY0016

Classes are available by appointment only:

Due to limited space available for teaching, my Classes are limited to 1, 2 or 3 students per class depending on the class.  I can accommodate more students if the class is held at the location of your choice. 

Small class settings allow my classes to be very individualized providing you the one-on-one instruction that you will not receive in a larger class setting.  Small classes also allow me to be flexible in my teaching schedule.

Classes are generally weekday evenings, or Saturdays during the day or evenings, but I can work with you to fit your class around your schedule.  I thoroughly love teaching, click here to see a list of other classes I teach: http://creationsbychristina.net/?page_id=913

Follow my blog via email.  Be among the first to receive my blog posts and to know about specials and sales, click the ‘suscribe’ button in the right hand column .

Posted on Leave a comment

My First YouTube Video

Made my first video about my crocheted Sock Monkey Hat & Mittens for sale.

Sock Monkey Hat & Mittens It is basic and simple and no sound.  Was just trying to see if I could do it.  Proud of myself.  Check it out.  It is probably kind of corny for all you experienced YouTubers out there, but hey, gotta start somewhere, right?

https://www.youtube.com/watch?v=BNOh6OrU5lg

By the way, sold the sock monkey hat and mittens right away, so the video was a success.  If you would like a set I can crochet you one.

All fiber arts created in a smoke free, pet free environment.

Posted on Leave a comment

Classes I teach: Lampwork Bead Making

LAMPWORK BEAD MAKING:

This class I teach you how to make your own handmade lampwork or flamework glass beads.  Glass rods are melted under an open torch and formed into glass beads.  You will learn about expansion of glass, about compatible glasses, how to anneal your beads, and much more.  $100.00 includes all supplies and use of all tools (you take home your finished beads).  This is a one secession class, 5 hours long.  The class is limited to two students.

Classes are available by appointment only:

Due to limited space available for teaching, my Classes are limited to 1, 2 or 3 students per class depending on the class.  This makes my classes very individualized providing you the one-on-one instruction that you will not receive in a larger class setting.  This also allows me to be flexible in my teaching schedule.

Classes are generally weekday evenings, or Saturday during the day or evenings.  I can also work with you to fit your class around your schedule.  I can arrange a weekday afternoon class if that is the only time you have available.  I thoroughly love teaching, so click here to see a list of other classes I teach: http://creationsbychristina.net/?page_id=913

Follow my blog via email.  Be among the first to receive my blog posts and to know about specials and sales, click the ‘subscribe’ button in the right hand column.