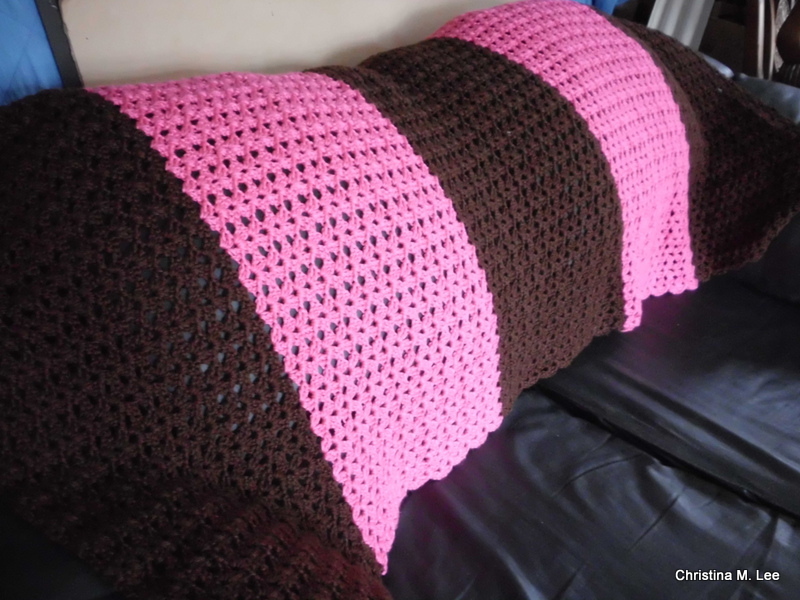
Double V Shell Afghan with Scalloped Edges
By Christina M. Lee, June 30, 2015
(For Lapgan Measurements see end of pattern)

Skill Level: Easy/Beginner
Materials:
Caron Simply Soft (5 skeins 6 oz skeins) or any 4 ply worsted weight yarn
Color A: 3 skeins Chocolate, Color B: 2 skeins Watermelon, or colors of your choice.
Crochet hook size H
Special Stitches: Double V Shell (dvs) = 2 dc, ch 2, 2 dc in same space, will be referred to as dvs in pattern below.
Gauge: Not important
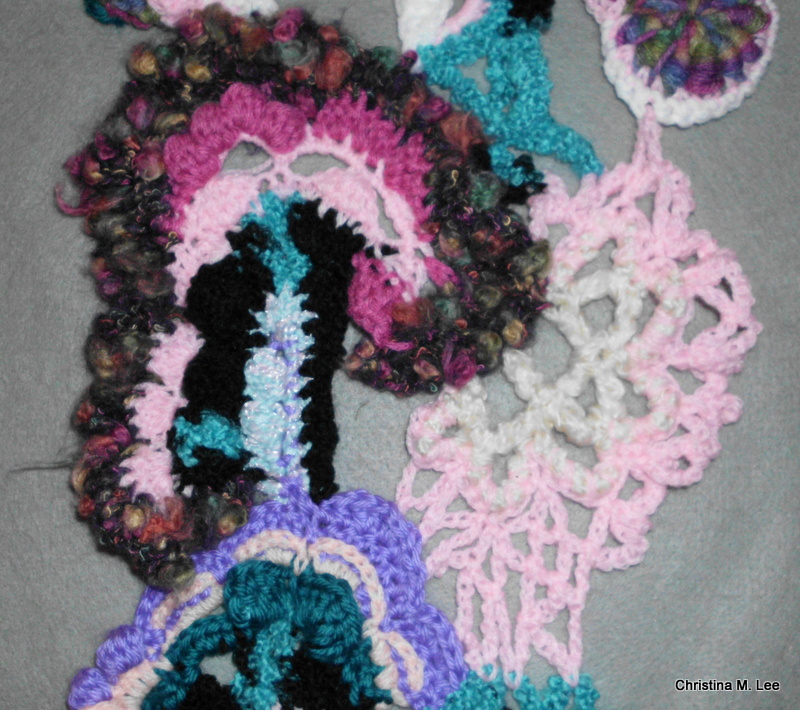
 Close up of the Double V Shell stitch
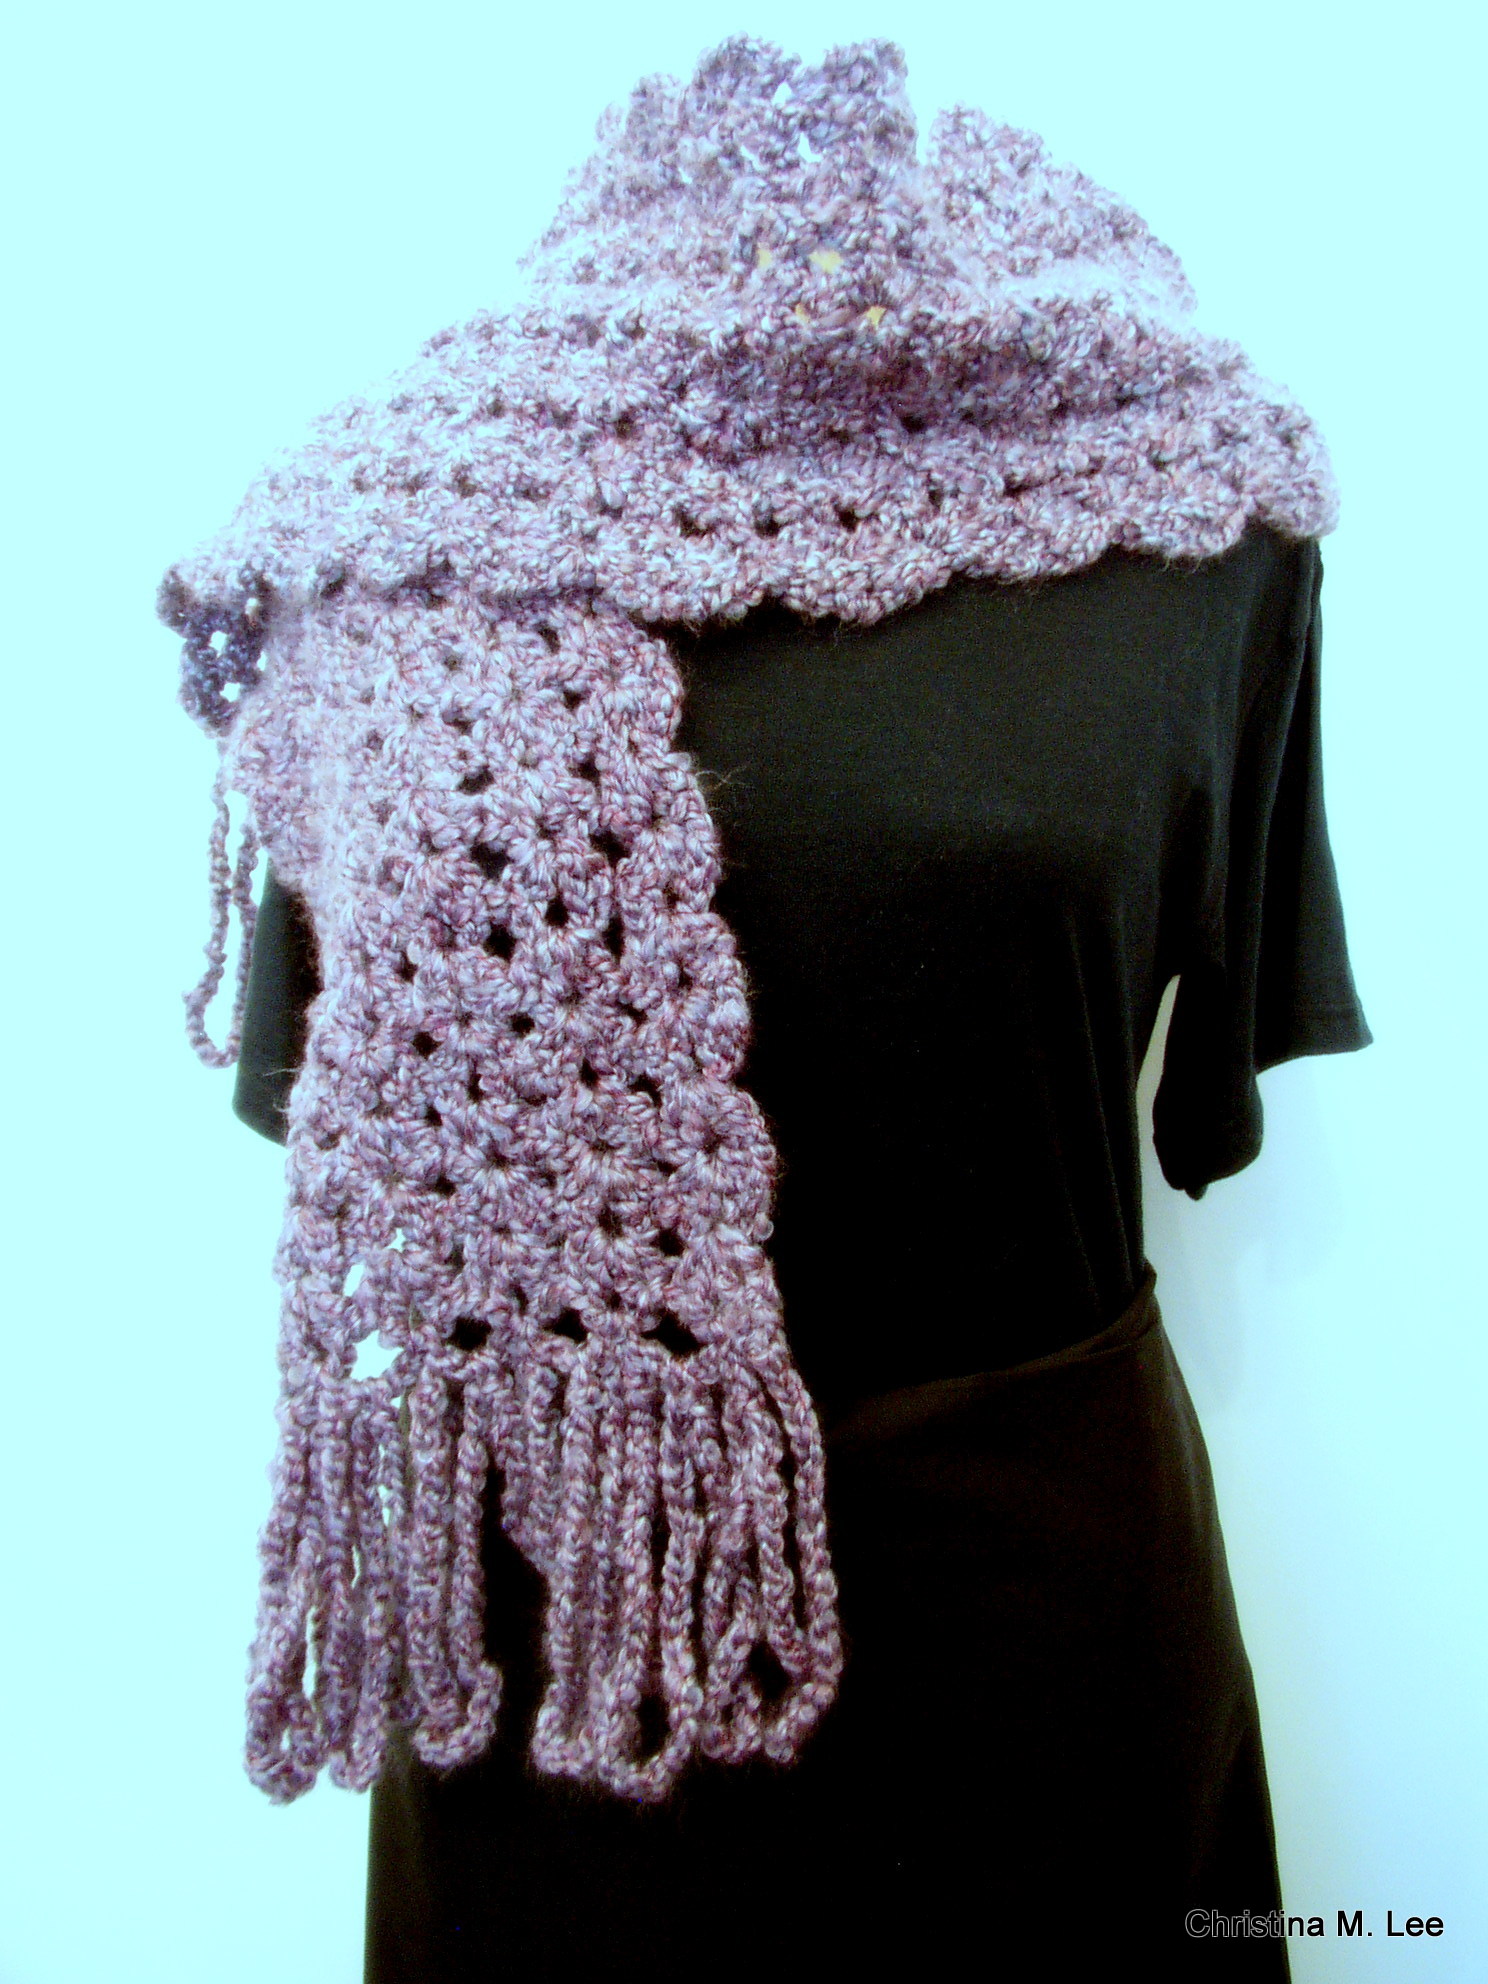
 Close up of the scalloped edge.
Pattern:
With color A Ch 168.
Row 1. dvs (Double V Shell, see special stitches above) in 4th ch from hook (see above for instructions on how to make dvs), *skip 4 ch, dvs in 5th ch*, repeat across between **. Ch 3 turn.
 Here is what the Double V Shell (dvs) stitch looks Like and the beginning of row 1.
 End of Row 1
Row 2. *dvs in the top of the 2 ch space of the dvs in previous row*, (in the center top of shell) repeat between ** across. Ch 3 turn.
 End of Row 2, you can now see the scalloped edges starting to form.
Rows 3-17 (approximately the whole skein of yarn): Repeat row 2.
Rows 18-34: Change to color B. Repeat row 2.
Rows 35-51: Change to color A. Repeat row 2.
Rows 52-68: Change to color B. Repeat row 2.
Rows 69-85: Change to color A. Repeat row 2.
Final row. *sc in the top of the 2 ch space of the dvs in previous row, ch 5*, repeat between ** across. Fasten off.
Approximate final measurement of afghan are 45” x 60”
PATTERN UPDATE, 2/29/16: I made a nice lapgan out of this pattern by ending at row 55. Then going to the Final Row. I changed colors of yarn every 5 rows. I used “I Love This Yarn” from Hobby Lobby. Approximate Lapgan six 45” x 36”
~~~~~~~~~~~~~~~~~~~~~~~~~~~~~
I hope you have fun creating your afghan. Please share pictures of your completed afghan with me, feel free to post them here on my blog. I would love to see your completed afghan.
You can also post your pictures of your finished afghan and comments about the pattern on my Facebook page, Knitting & Crochet Friends.
~~~~~~~~~~~~~~~~~~~~~~~~~~~~~
This is an Original Design by Christina M. Lee. Copyright June 30, 2015, Lee Creations, Inc., d/b/a Christina M Lee Designs. Please feel free to use my pattern to make as many afghans as you desire, give them away, sell them freely.
You are prohibited from selling the pattern or claiming the pattern is your own, or publishing the pattern in any printed material without my explicit permission. You are prohibited from publishing, copying, or using the photographs in the pattern in any manner without my explicit permission.
I would please ask that when you share the pattern you give me credit for the pattern and post a link back here to my blog or my website.
If you have any questions about the pattern, or need any help with the pattern, please feel free to contact me. You may email me at Christina@creationsbychristina.net or post a comment here on this blog or my Knitting & Crochet Friends Facebook page. Please feel free to share this pattern on social media.
Happy crocheting, Christina
Follow my blog via email. Be among the first to receive my blog posts and to know about specials and sales, click the ‘subscribe’ button in the right hand column .