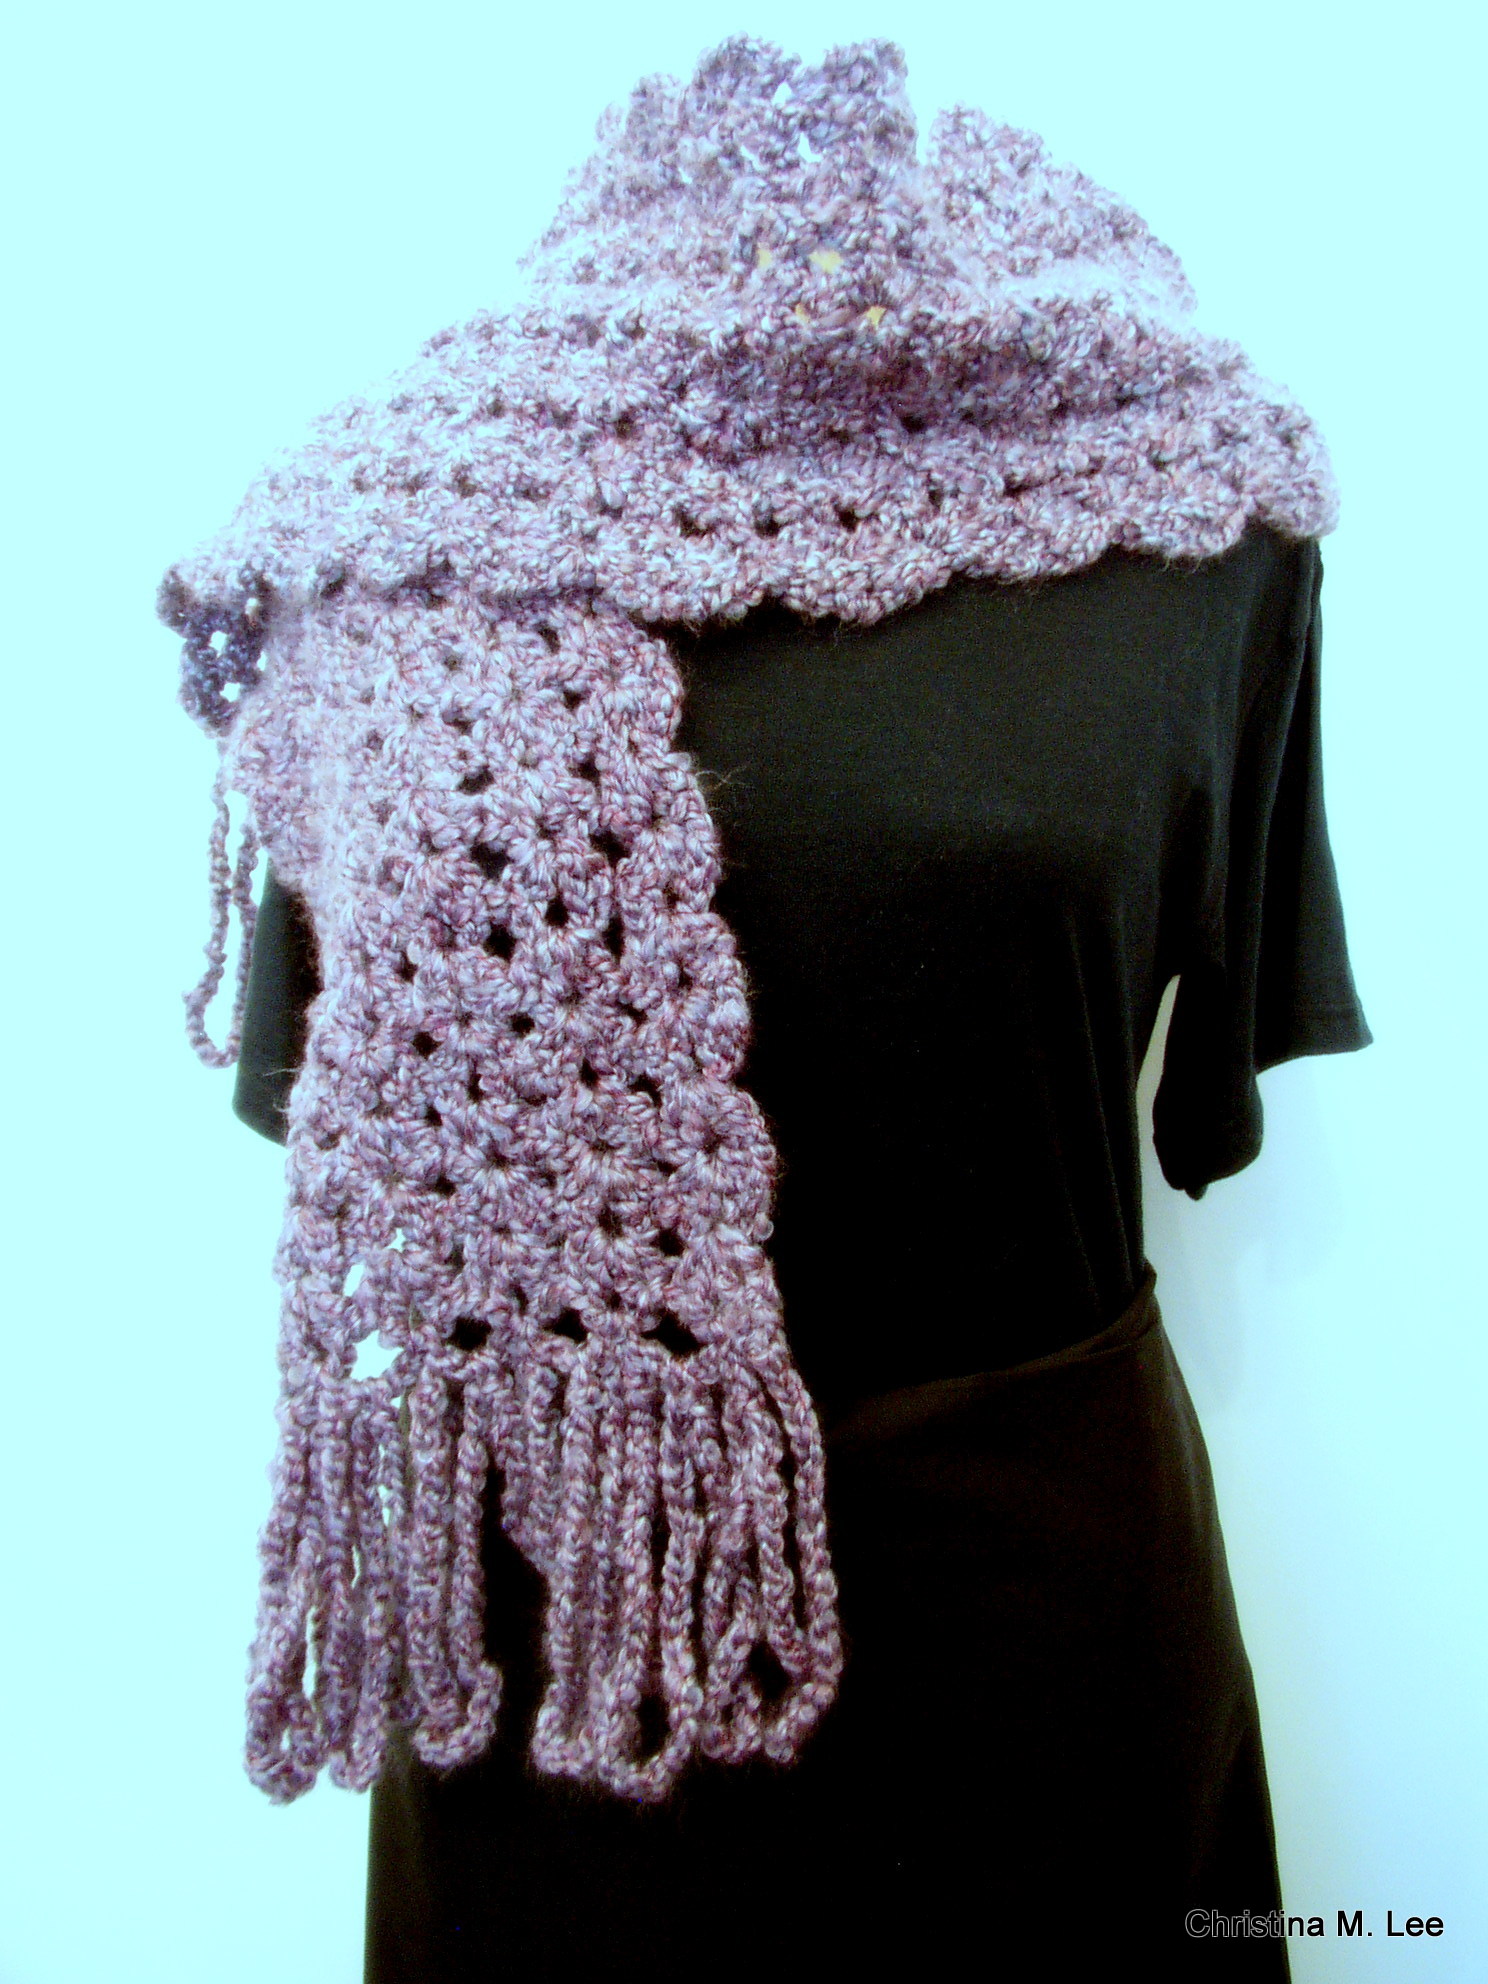
Double V Shell Scarf with Scalloped Edges
11/1/2010 by Christina M. Lee
Skill Level:
Intermediate: (If using Homespun, because it is a bulky yarn and hard to crochet with, I do not recommend beginners use this yarn.)
Easy: (If using any 4 ply worst weight yarn, see suggestions below).
Gage: Not important
Materials:
Lion Brand Homespun Yarn 2 Skeins, color of your choice
(Or for a not so bulky look use any 4 ply worsted weight (non-bulky) yarn, color of choice and a H hook. Ideal yarns would be Vanna’s Choice, Caron Simply Soft, I Love This Yarn, Red Heart Super Saver, Red Heart Soft, or Loops and Threads.)
Crochet hook size I
Special Stitches: Double V Shell = 2 dc, ch 2, 2 dc in same space, will be referred to as dvs in pattern below.

Pattern:
Ch 23 (28 for worsted weight).
Row 1. dvs in 4th ch from hook (see above for instructions on how to make dvs), skip 4 ch, dvs in 5th ch, repeat across. A total of 5 (6) Double V Shells. Ch 3 turn.
 Here is what the Double V Shell (dvs) stitch looks like.
For the sample pictures I used a regular 4 ply worsted weight yarn so you could see the dvs stitch.
 End of Row 1
Row 2. dvs in the top of the 2 ch space of the dvs in previous row, (in the center top of shell) repeat across. Ch 3 turn.
 End of Row 2, you can now see the scalloped edges starting to form.
Rows 3-79 (or to desired length): Repeat row 2. Ch 3 turn. At the end of row 79 Ch 4 turn. Finished length before fringe is 80”, with fringe is 88”.
Row 80: sc in the top of the 2 ch space of the dvs in previous row, ch 4, repeat across. Do not fasten off.
 Pretend this is row 80. Chain 4, sl st to the in the center top of the dvs stitch and repeat across.
Close up of chain fringe below:

Chain Fringe: ch 35, sl st in center of 4 ch sp, repeat across. Fasten off. Chain Fringe at beginning of Scarf: Attach yarn to the opposite end of the scarf, (the beginning), in the center bottom of the dvs, ch 35, sl st in to the center of 4 ch sp, repeat across. Fasten off. Work in ends.
 Chain 35
 Sl st into center top of dvs
 Chain 35
 Sl st into the top of the next ch 4 space, repeat across.
I hope you have fun creating your scarf. Please share pictures of your completed scarf with me, feel free to post them on my blog. I would love to see your completed scarves.
You can also post your pictures of your finished scarves and comments about the pattern on my Facebook page, Knitting & Crochet Friends https://www.facebook.com/KnittingAndCrochetFriends?ref=ts&fref=ts.
~~~~~~~~~~~~~~~~~~~~~~~~~~~~~~~
This is an Original Design by Christina M. Lee. Copyright Christina M Lee Designs and Christina M Lee, November 1, 2010. Please feel free to use my pattern to make as many scarves as you desire, give them away, sell them freely.
You are prohibited from selling the pattern or claiming is as your own, or publishing it in any printed material without my explicit permission. You are prohibited from publishing, copying, or using the photographs in any manner without my explicit permission.
I would please ask that when you share the pattern you give me credit for the pattern and post a link back to this blog page.
If you have any questions about the pattern, or need any help with the pattern, please feel free to contact me. You may email me at Christina@creationsbychristina.net or post a comment below.
Happy Crocheting,
Christina.
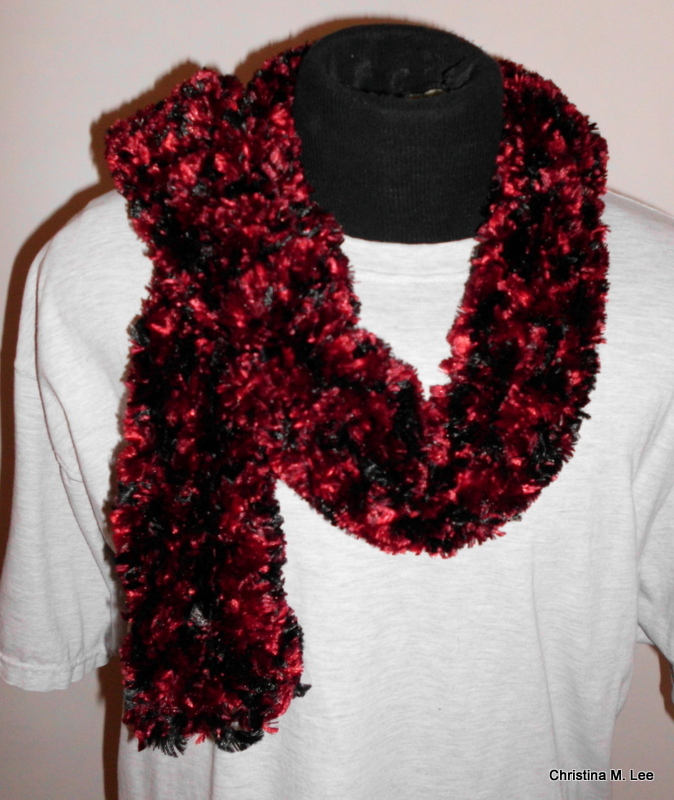
Here are some other scarves I have made with this pattern:
 These two were for granddaughters Allyson and KC. Christmas Presents.
 A Friend, Jessica’s scarf, a gift.
 Scarf for my best friend, Linda, for her birthday.
 I just love how some of the homespun yarn changes shades as you crochet.
 Another shot of Linda’s scarf, the chain fringe. I have now made 10 of these scarves for gifts.
#freecrochetpattern #crochetscarfpattern #doublevscarfwithscollopedges #crochetpattern
Like this:
Like Loading...