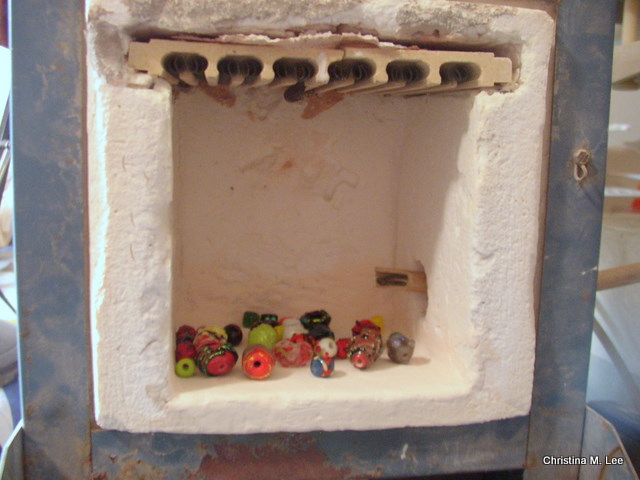
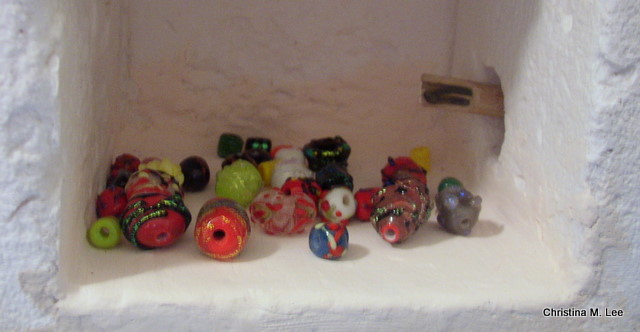
Once the beads are annealed in the kiln (see my previous posts) they are ready to incorporate into jewelry. Thus begins the process of design. I am constantly seeing design all around me. I take pictures with my cell phone, or on my camera. I grab a pen and paper and sketch out a design. Sometimes a design comes from something I see someone else wear. Maybe on a TV show or walking down the street. Sometimes I find a picture in a magazine I clip out. Sometimes designs just pop into my head, from trees or nature. I have even dreamed designs.
I take all the sketches, photos and magazine pics that I collect, and scan them into my computer. I save them in pdf format. I place all ideas in a folder I call ‘sketch pad ideas.’ Then I break them down into two categories. The first is ‘Others Ideas’ the second is ‘My Ideas’. I sign and date all my original sketches and write notes on the sketch. Others ideas I do not sign, but still date them and write notes on them. That way when I start looking for ideas I will remember when and where I saw the idea. I never steal someone’s design, but I use others ideas as a launching pad to stimulate my mind. The collection of sketch pad ideas are just that, ideas. A place to start. I look at someone’s piece of jewelry and think, how can I change that and make it my own unique piece of jewelry.
Example:

The drawing above was an idea I had for a necklace for a birthday present for my Daughter, Becky in December 2005. It was drawn on my computer in Paint program. Since then I have a computer program called Bamboo. (My Son’s family gave me Bamboo for Christmas in 2008.) It is a drawing tablet that looks like a mouse pad, and the mouse looks like a fat ink pen. You draw with the mouse/pen on the tablet just like on a sketch pad, which draws right on the computer screen. I love the Bamboo sketch pad.
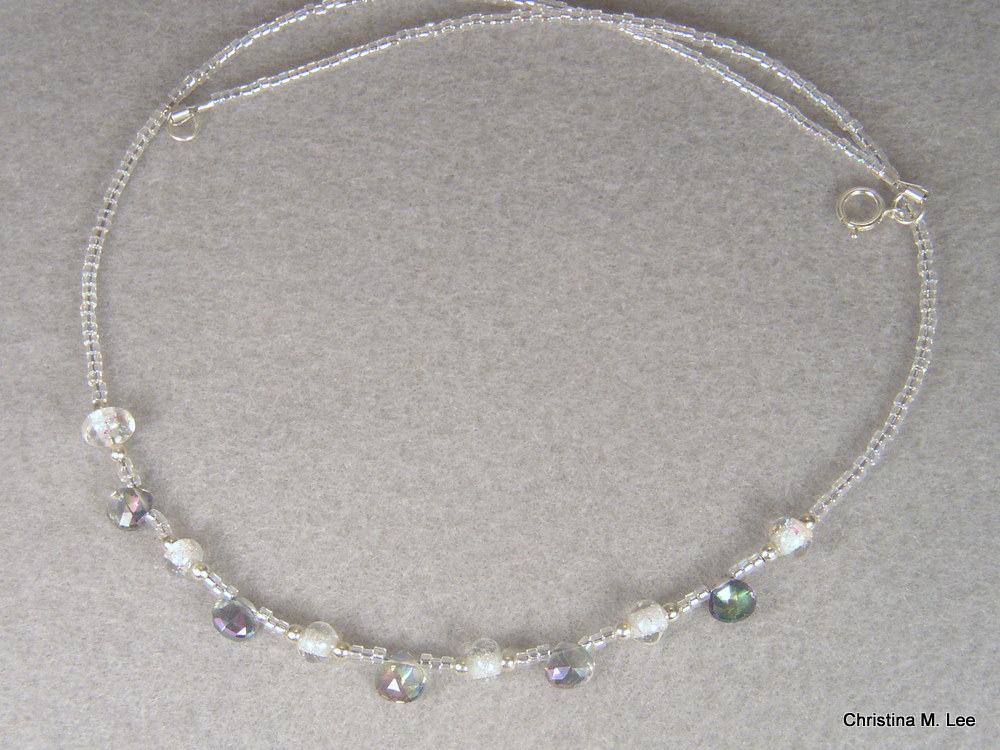
This necklace was designed around the small Topaz gems. I purchased them then had to design a necklace that would fit the small Topaz without overpowering them. Thus the making of the very small clear glass beads.
Below is the finished necklace which has 6 of my handmade beads. They are small, clear, wrapped in dichrioc glass and it has 5 Mystic Topaz gems, with a Sterling Silver clasp. Topaz is the Nov birthstone, my daughter’s birthstone.