Posted on Leave a comment

Amber Small Bead Necklace With Swarovski Crystals

I thought would share with you a pretty little necklace I made in 2009.  It has 4 very small amber handmade (lampwork) beads which I made under my torch.  I strung my handmade beads with Swarovski crystals, sterling silver beads, and seed beads.

Closeup of my handmade beads and the Swarovski and silver beads.

I would love to design a one-of-a-kind special necklace for you.  Please contact me.

Posted on Leave a comment

Classes I teach: Bead Stringing

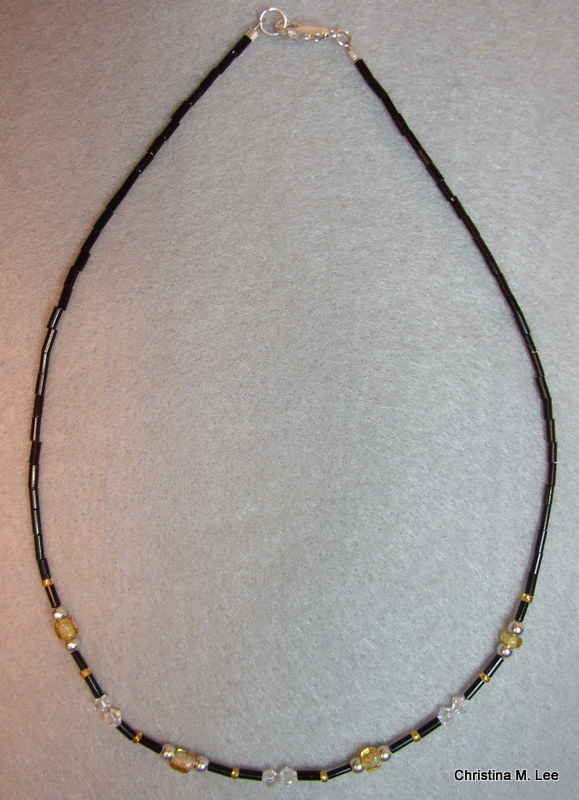
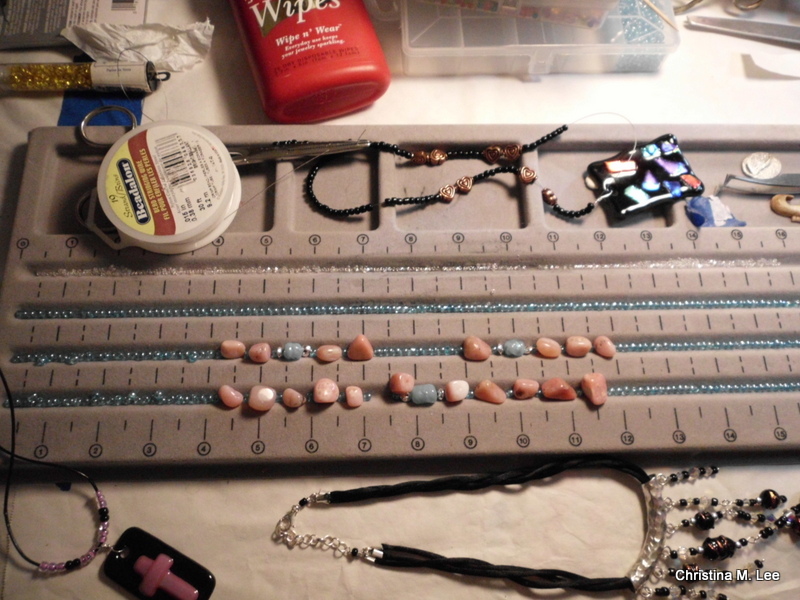
BEAD STRINGING: In this class you will learn the basic bead stringing techniques, including crimping and how to make a basic loop and a wrapped loop.  Class fees are $40.00 and includes all supplies.  This is a one secession, 3 hour class.  You will take home a completed necklace or bracelet.

SANY0016

Classes are available by appointment only:

Due to limited space available for teaching, my Classes are limited to 1, 2 or 3 students per class depending on the class.  I can accommodate more students if the class is held at the location of your choice. 

Small class settings allow my classes to be very individualized providing you the one-on-one instruction that you will not receive in a larger class setting.  Small classes also allow me to be flexible in my teaching schedule.

Classes are generally weekday evenings, or Saturdays during the day or evenings, but I can work with you to fit your class around your schedule.  I thoroughly love teaching, click here to see a list of other classes I teach: http://creationsbychristina.net/?page_id=913

Follow my blog via email.  Be among the first to receive my blog posts and to know about specials and sales, click the ‘suscribe’ button in the right hand column .

Posted on Leave a comment

Upcoming Blogs

In the next few weeks I will post some blogs about free form design, i.e. designing a necklace or bracelet when you have not drawn out a sketch in advance.  As in the pic below.

This is a carved bone pendant, strung abstractly with 6 of my handmade glass beads (lampwork) and various bone beads.  I dropped the beads on the bead board and let them fall where they may, then strung them. 

Most of the time I am very symmetrical in my designs, making each side of the necklace match, left and right of the focal piece in the center, whether it be a bead, a carved bone pendant or a fused glass pendant I created, but occasionally I get a little wild and just drop the beads and string them.  (My husband likes it when I do.  The necklace in the pic is one of his favorite pieces.)

Maybe you purchased some semi-precious gemstone beads or just some glass beads, and you have been looking at these beads in your bead box for quite some time trying to figure, what am I going to make with them.  How do you take them from just being a pile of beads, just sitting around the art studio, to finished jewelry?  I will do some layout on my bead board and shoot some pics and post them to give you a concept of how I get creative, whether symmetrical or abstract, how does one come up with a design. 

How do I get ideas for my designs, you ask?  I look at the seasonal color charts that are published and I look at clothing magazines and jewelry design magazines.  I get ideas from various places, nature, leaves, flowers.  I never copy anyone’s work.  All my pieces are my originals, but I can look at someone work and get a basic idea and then create my own unique piece from there.

If you have any questions, please post them.  I will try my best to answer them.

Christina


To follow my blog, click on the purple diamond on the right hand side of the screen below the links section.——>

Posted on Leave a comment

Light Defusing Photo Booth

How to make a Light Defusing Photo Booth.

Taking photos of your art work is a whole other art. Good photos will help sell your work, bad photos will turn people away from purchasing your work. Good photos will give you a better chance of being juried into art shows.

Several companies sell photo booths for very expensive prices.  As a beginning artist  purchasing an expensive booth is not an option.  So you can make a simple light defusing booth, rather inexpensively.

A plastic Rubbermaid file box with three desk lamps shining through the plastic (defused light) makes an very good light box for a very reasonable price.  Place one light on each side of the box and one above the box.   You can also place a 4th lamp behind the box if desired.  The file box cost me $10 or $12 at Wal-mart or you can probably find one at an office supply store.  The desk lamps are about $10.00 each.  I have those on my work bench already, because I like lots of light when I work.  Use a hanging file box as it is square.  Other Rubbermaid containers have rounded corners and may not work as well.

I stand the box on it’s end and set it on my work bench and put a piece of gray felt in it and place the piece of jewelry on the felt.  I turn the flash off on the camera.  Glass jewelry will have a reflective glare if not.  If the pic is a bit dark because of no flash, I can always lighten it a bit in the photo program.  (As a note, I use Picasa by Google as photo organizing and editing program.  It is free, just go to google.com and download it.)

Close up of jewelry inside the box.

Finished pic of necklace.

I usually take 8 or 10 pics, then choose the ones I like best.  I take pics of the completed necklace and a close ups of my handmade beads or fused glass focal pieces.

As an added note, a gray background is the best colored background to use.  I have tried other colors.  Black is good, only if you have a piece of artwork that is very brightly colored.  Otherwise black will just absorb your artwork and it will not show up in your photos.  White is to bright of a back ground and will detract from your artwork.  Tan is a second best color, next to gray, but can show up with a orange tent using no flash.  Through trial and error, I have discovered gray is the best background to use and a piece of felt is very inexpensive, and brings out the best of your artwork.

Close up of my handmade beads in the Necklace

Close up of 2 fused glass pendants I made, strung on Sterling Silver wire with my handmade beads and Sterling Silver beads.

Note in all of the above pics the piece of jewelry stands out very clearly on the gray background, no matter what the color, blue, green, red, black purple, gold, or teal.

Hope this article helps you take the best pics of your art work.  If you have questions about photographing your artwork feel free to ask.  Christina