Posted on Leave a comment

Fused Glass Kitchen Cabinet Door and Drawer Pulls

Finally finished all my Fused Glass kitchen cabinet Door and Drawer Pulls.

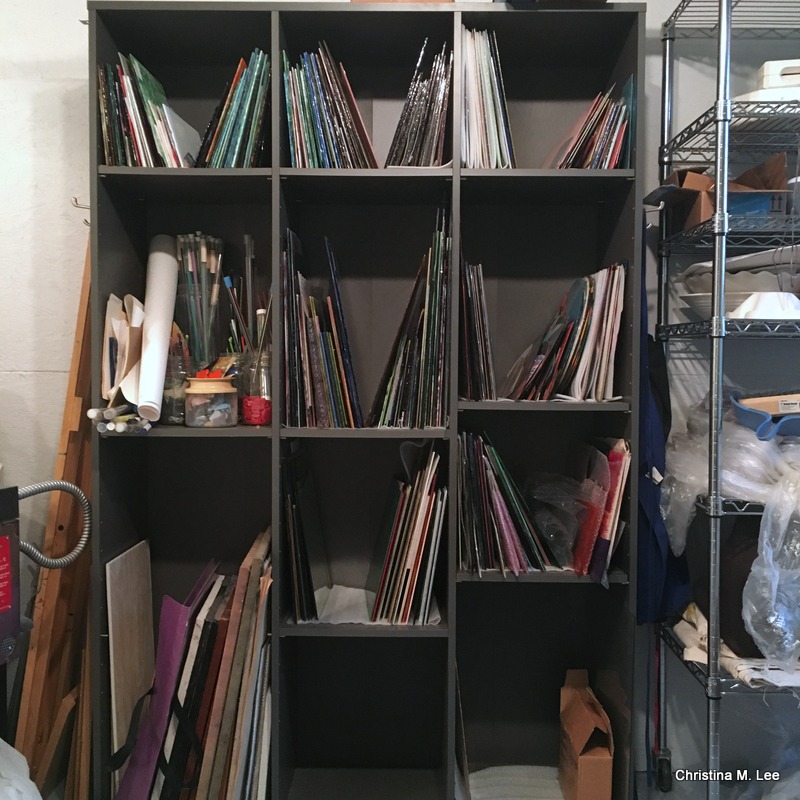
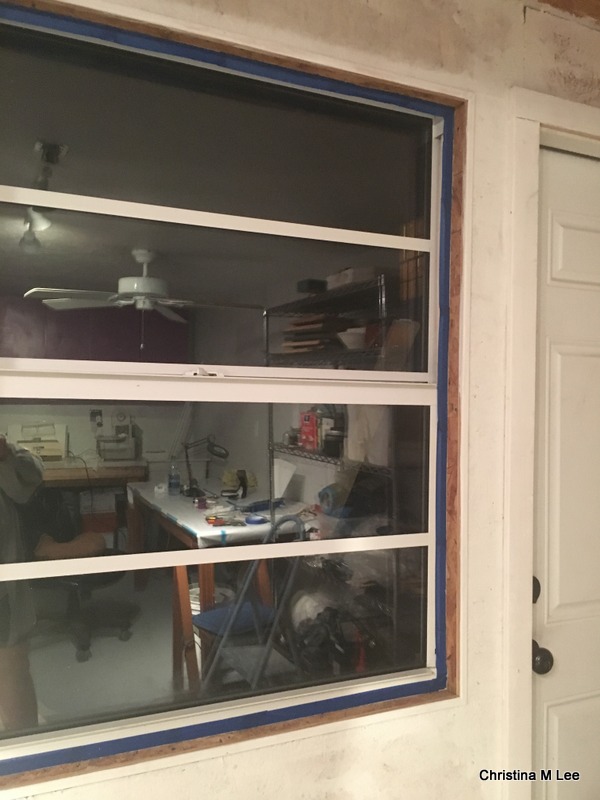
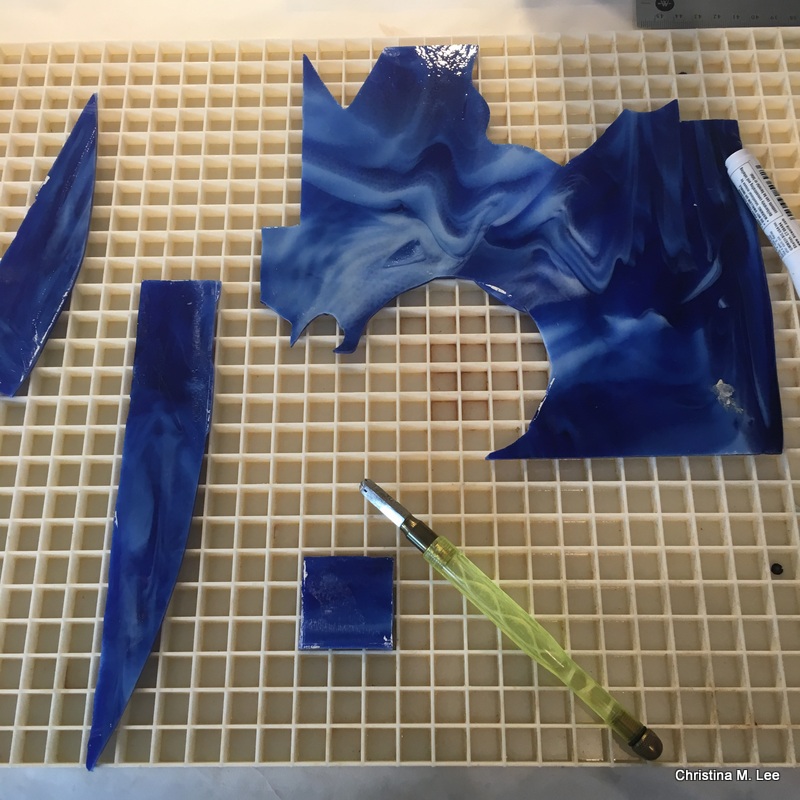
I started by out laying out and cutting my glass in 1 and 1/2 inch squares.  I actually started these quite some time back in the old art studio upstairs, and finished them in the new art studio.

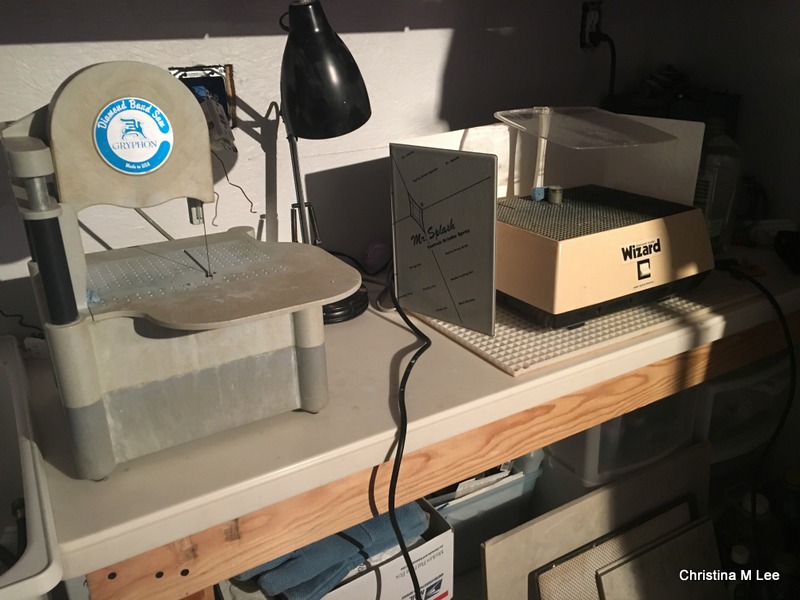
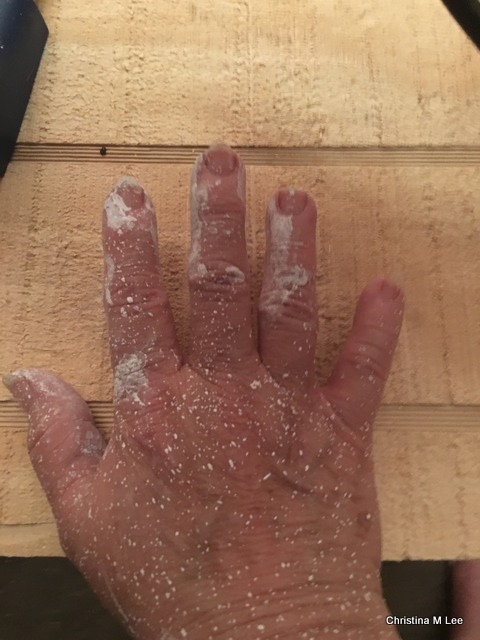
I ground the edges so they were not sharp on my glass grinder.

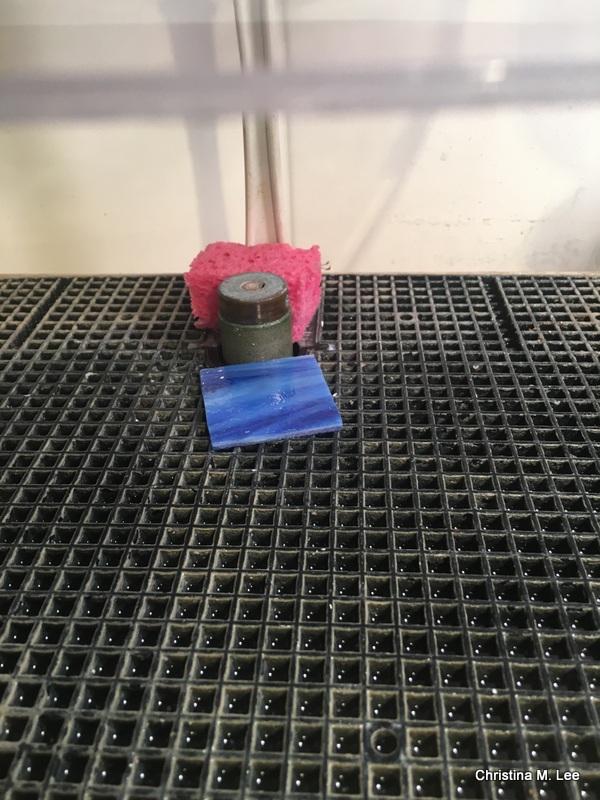
Here is a group all cut and ready to start placing the diachroic pieces on top.

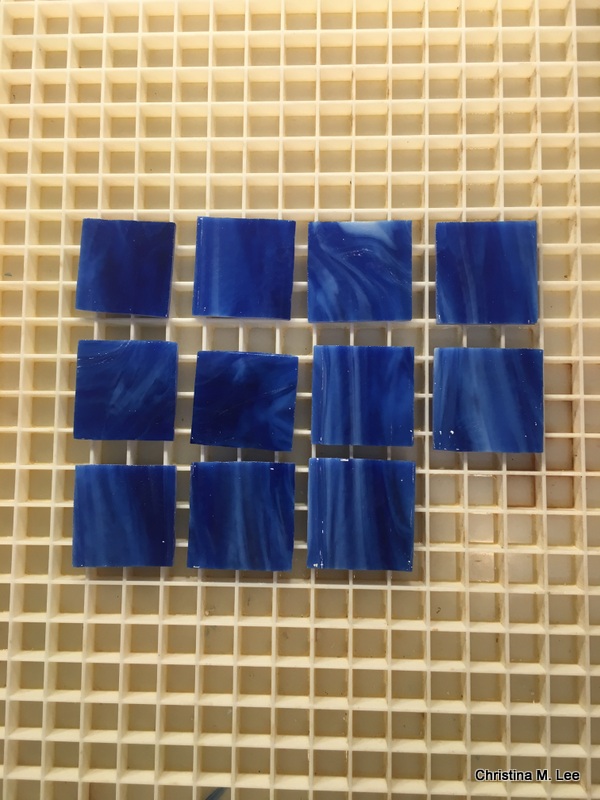
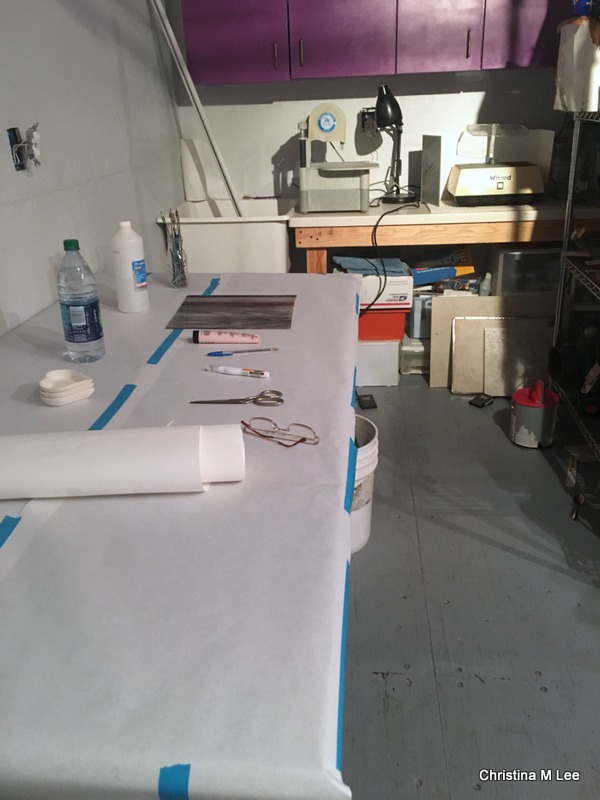
Then I started laying out the little dichroic pieces of glass and the stringers on top of the blue glass and securing them with a drop of clear craft glue, so they don’t move in the kiln as the glass begins to work when firing.

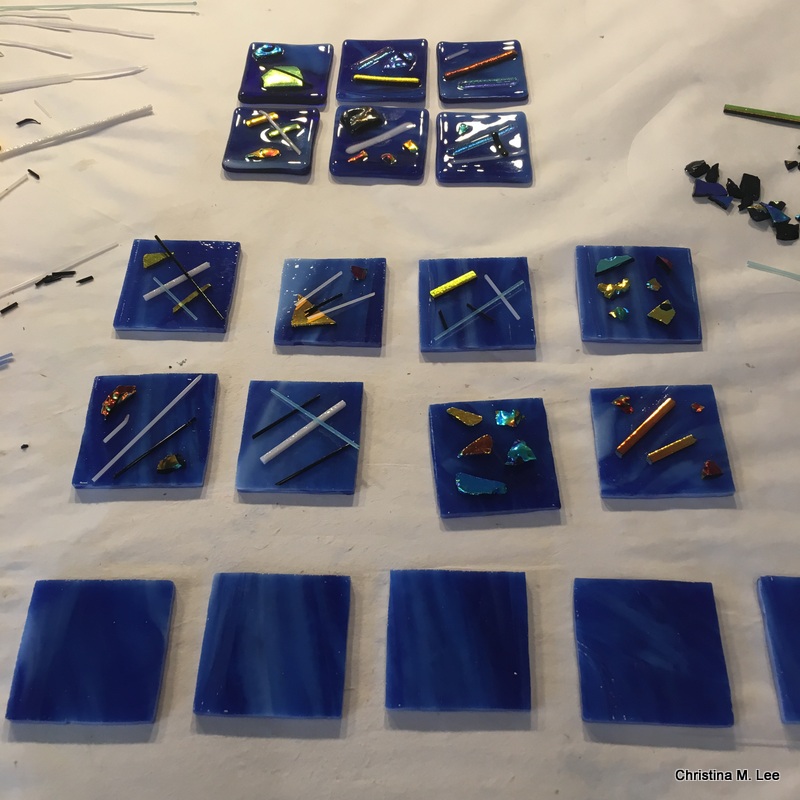
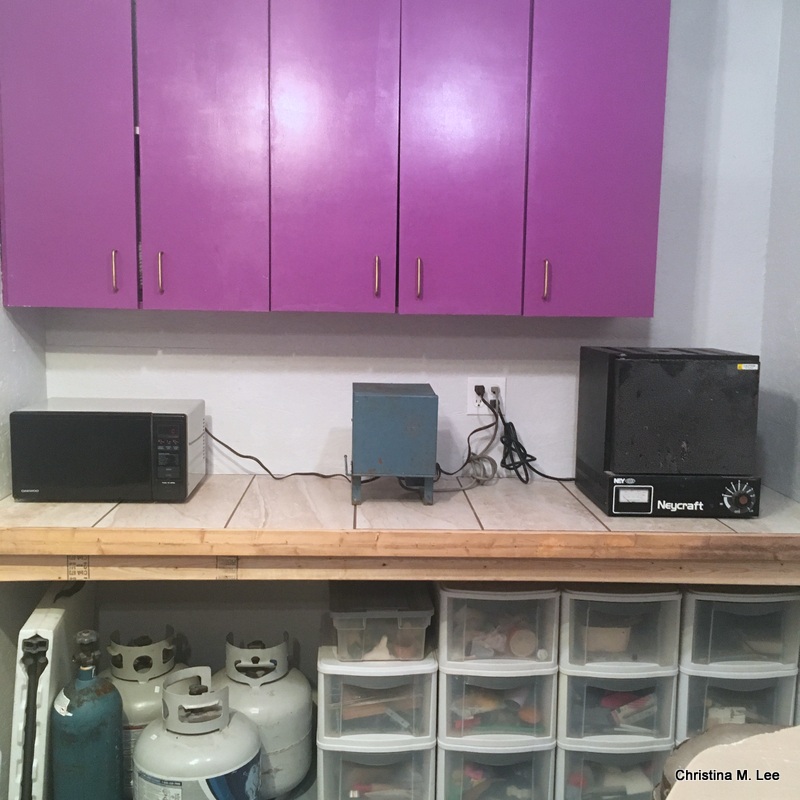
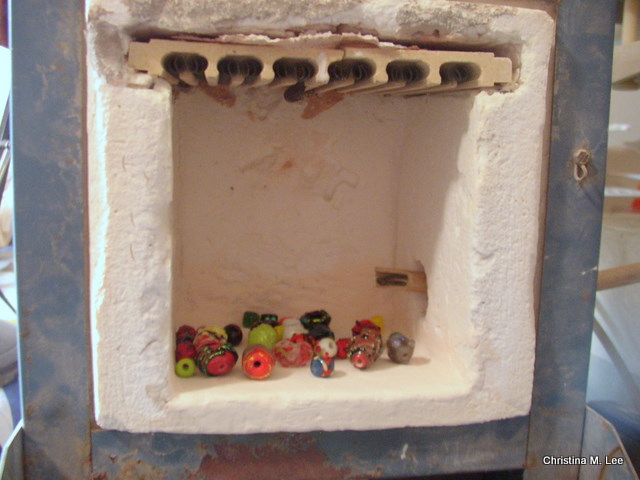
In the top section of the pic above you can see 6 already fused drawer and door pulls.

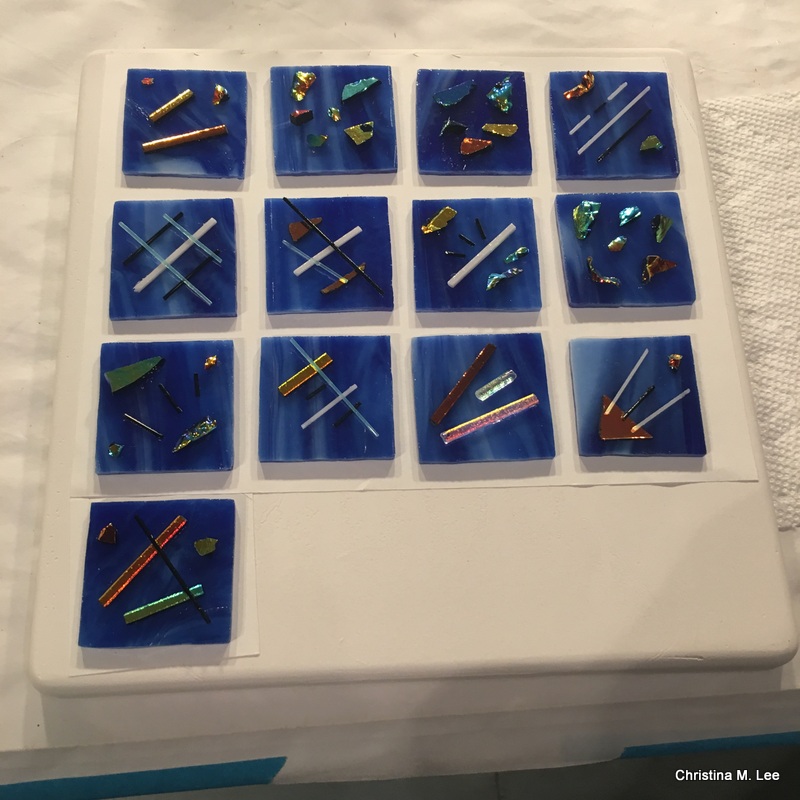
I fired a total of 47 door and draw pulls.  I needed 45 for my kitchen.  I wanted a couple of extras, just in case one breaks in the future.  Below, another group cleaned, laid out, glued and ready to fire in the kiln.

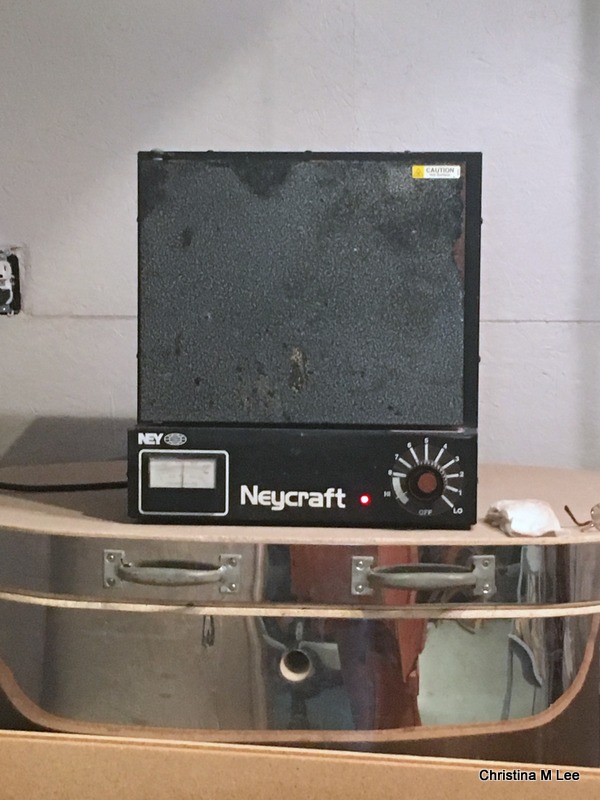
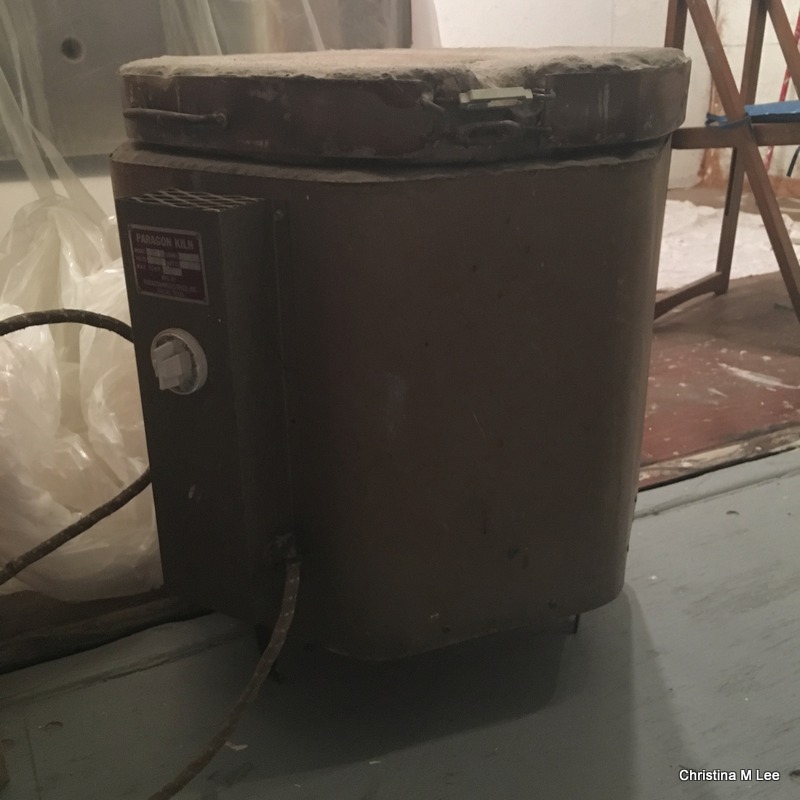
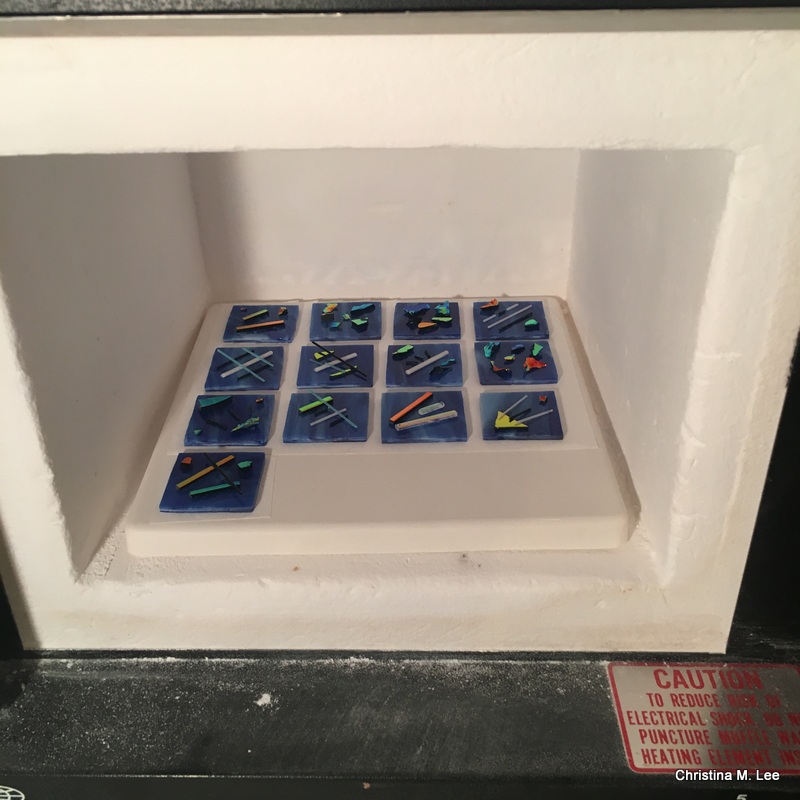
Below: In the kiln ready to fire.

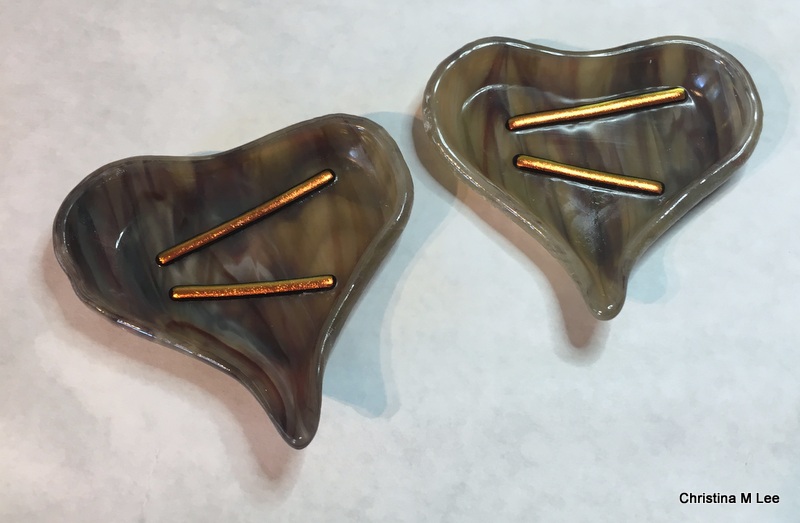
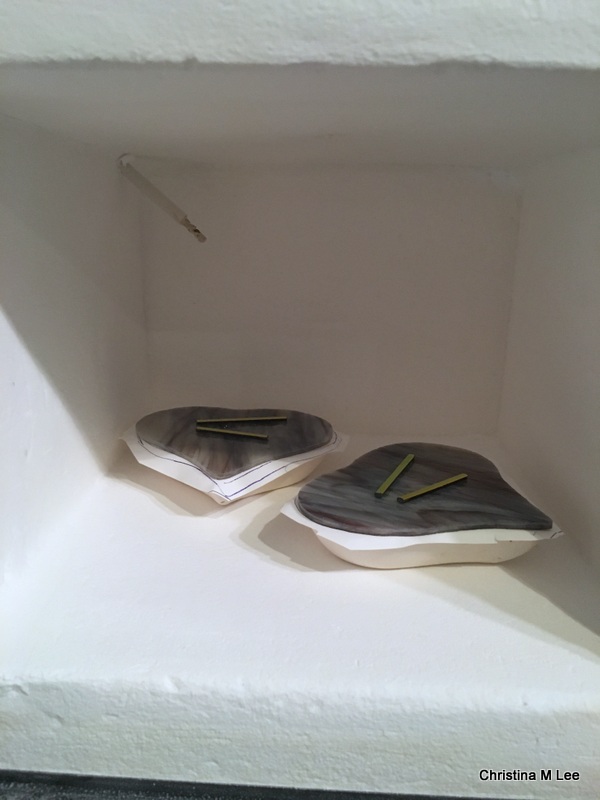
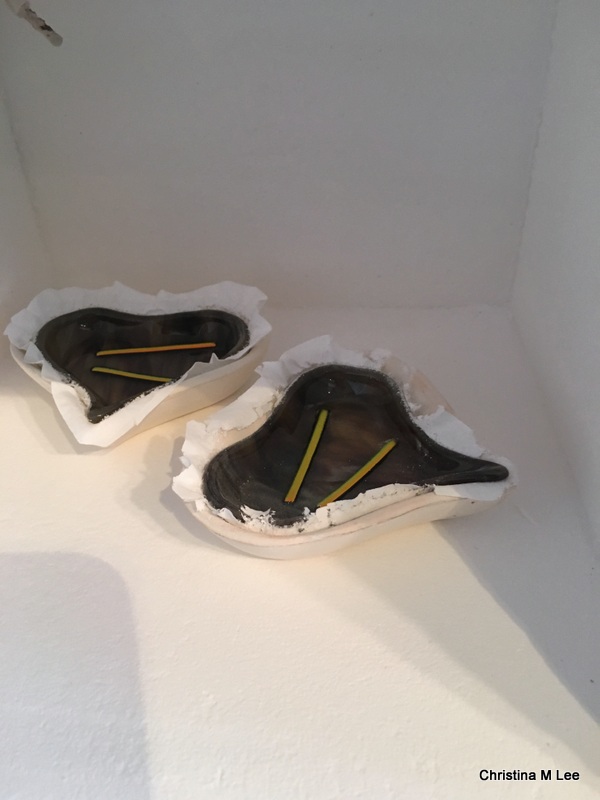
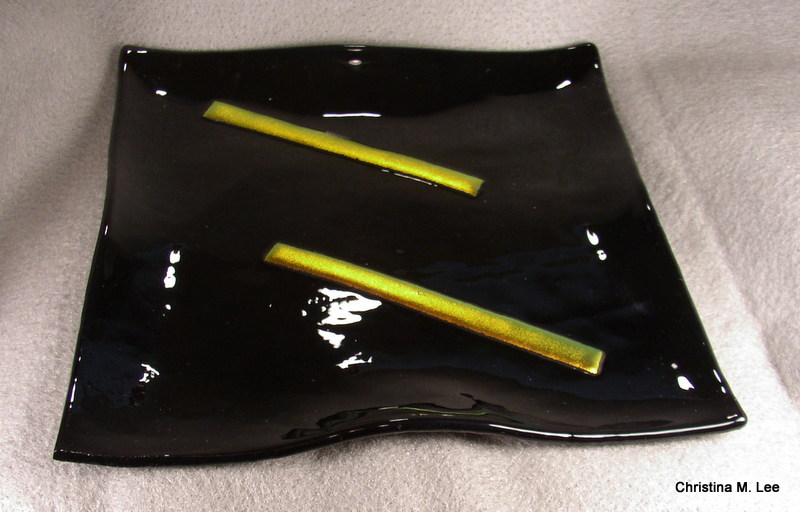
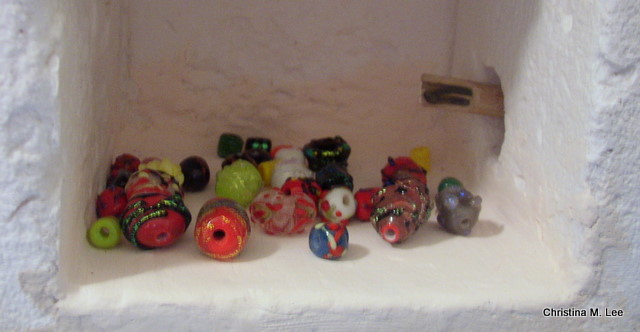
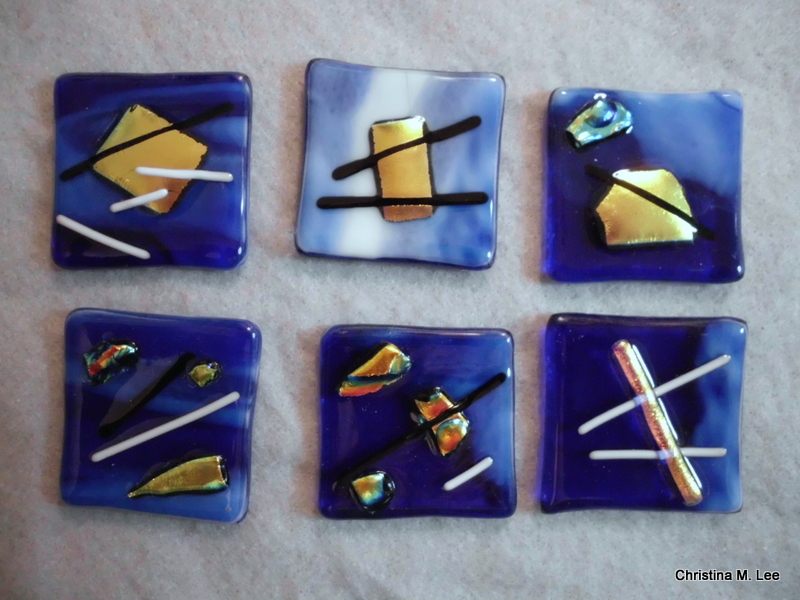
The two pics below show some of the finished, fired pulls after they came out of the kiln.

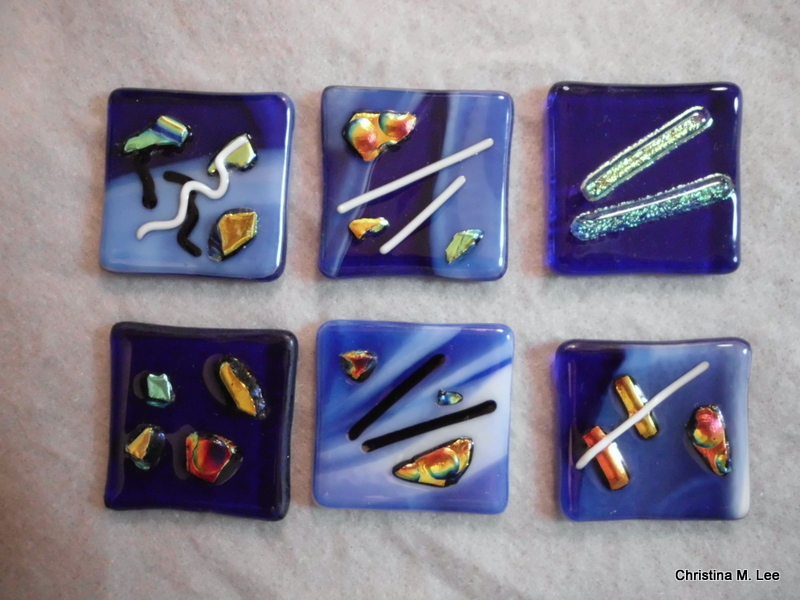
Each draw and door pull is a one-of-a-kind original piece of art.

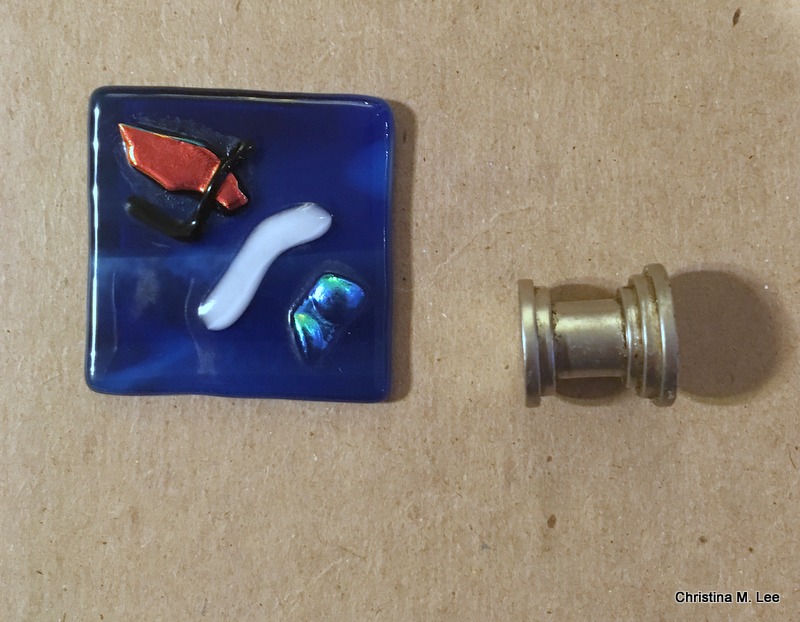
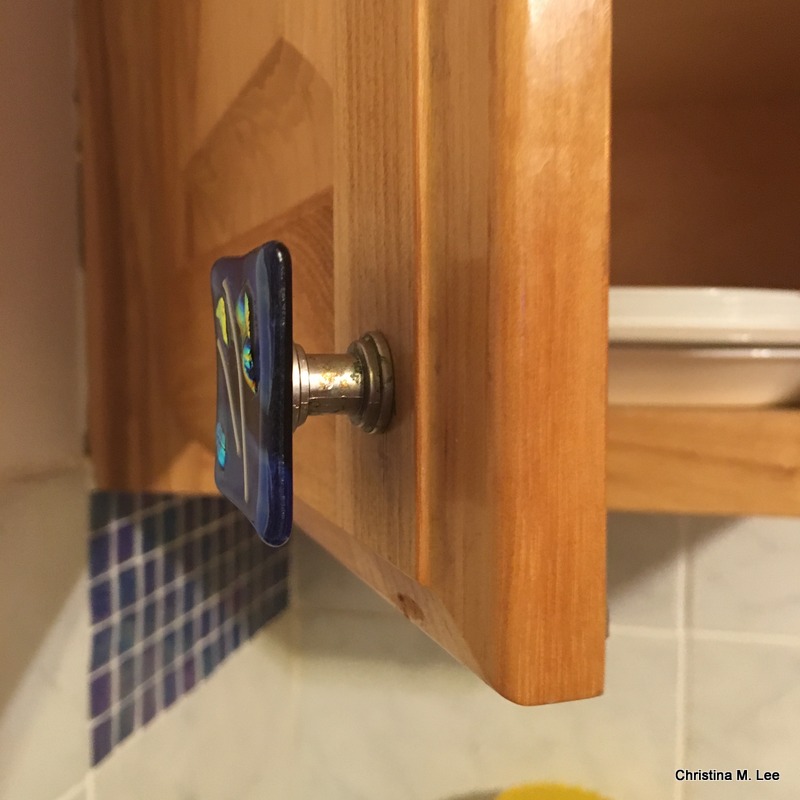
Below is a pic of the backing pieces I purchased especially for mounting on fused glass door and drawer pulls.

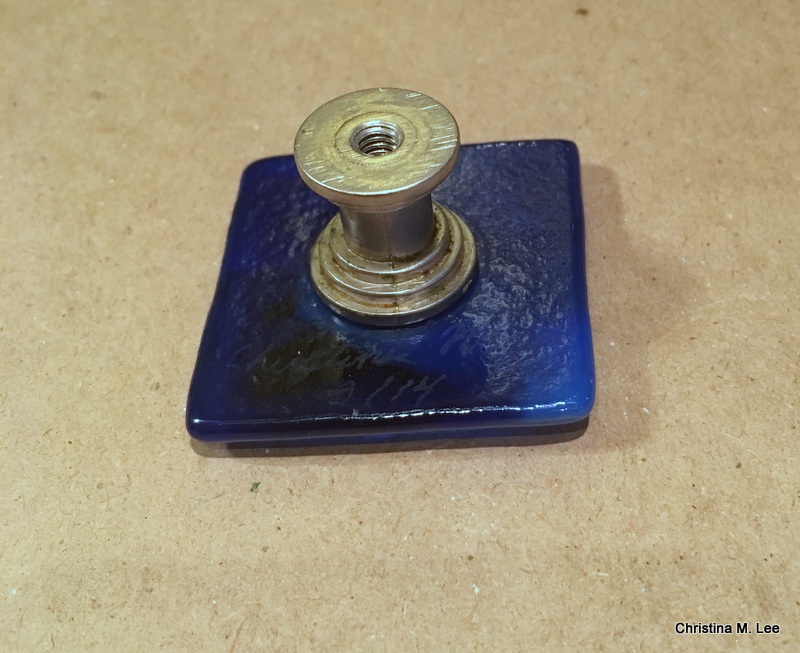
Backs epoxied on and ready to mount on the cabinets.

Mounting them on the kitchen cabinets

Here we have some of the hand built Hickory cabinets, built especially for my kitchen by a wonderful friend!!  I had to do his beautiful cabinets justice and make special door and drawer pulls for them.

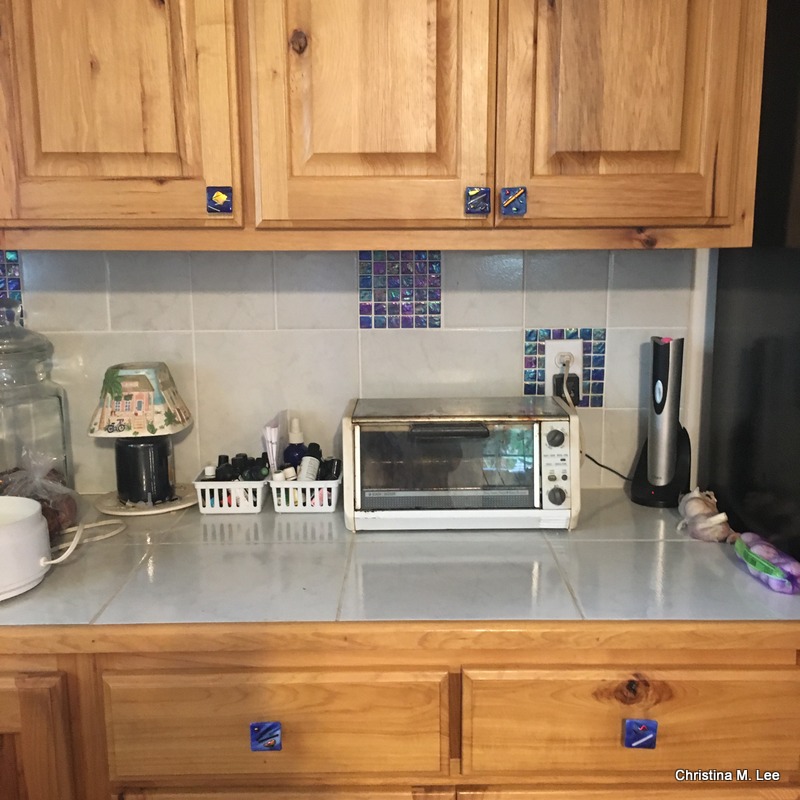
Below: Close up of a couple of the upper cabinets with pulls mounted.


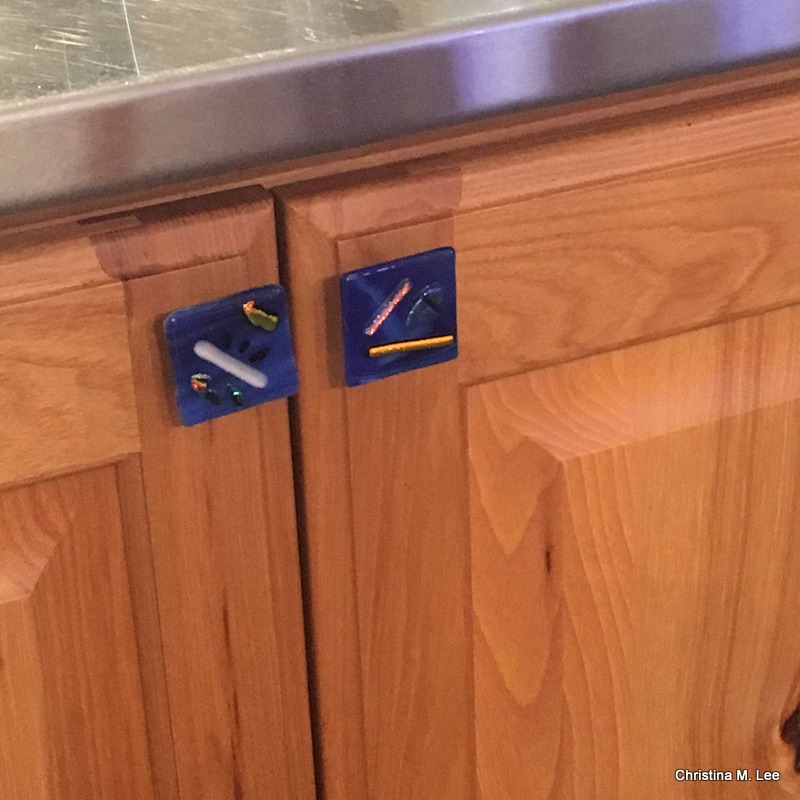
Below: Close up of under Island cabinets with pulls mounted.

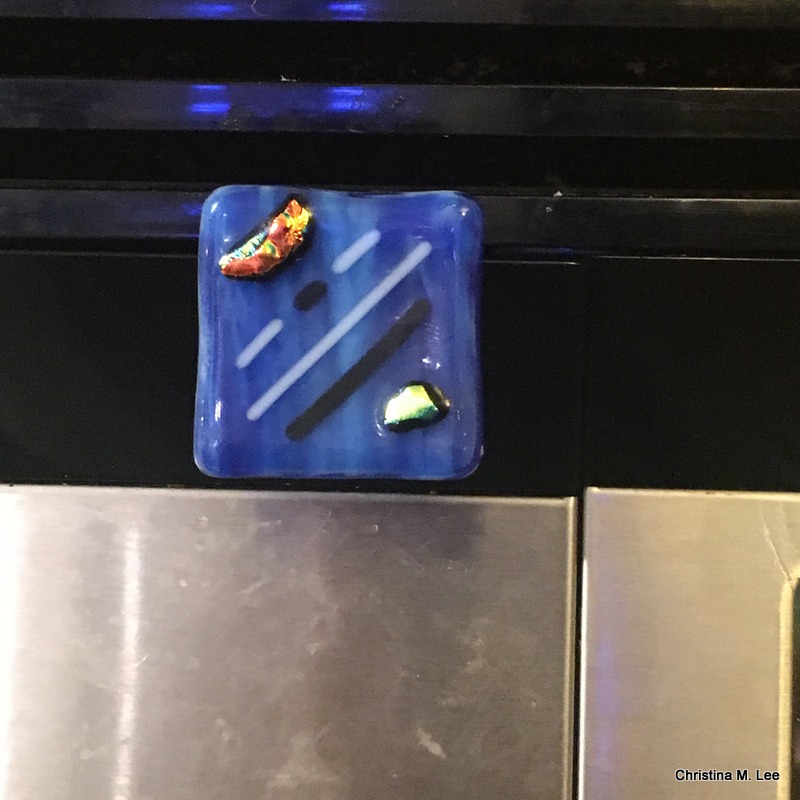
I even added a pull to my microwave door.

  Thanks for checking out my blog post.

#christinamleedesigns #christinamlee #leeshorestudio #followme #floridaartist #fusedglassartist #lampworkbeadartist #fiberartist #art #artist #florida #followme #awesome #picoftheday #artstudio #newartstudio #kiln #fineart #awesone

Posted on Leave a comment

First Class Taught in the New Art Studio

It is so nice to get back to teaching again, and to have the space to teach in.  Just loving the New Art Studio!!  Such a great creative energy in my new space!!  If you know me you know I love creating and I love teaching.
I am a little slow with this post, as you know life and work sometimes gets sometimes gets in the way.

A couple of weeks ago I had the pleasure of teaching a Precious Metal Clay (PMC) Class to a student named Pat.  Pat declined to be photographed, but I did take pics of the projects we worked on.  It was a fun class.

In this pic we are sculpting some of the PMC.

For those who don’t know anything about PMC, it is like modeling clay.  You have to keep it moist while you work with it.  You can roll it, press it, draw on it and/or carve designs in it, just like modeling clay or FIMO.

Here are some of Pat’s pieces she was creating in Class.

You can see some of the tools on the table, cookie cutters, textured sheets to press designs into the clay.  It is a lot of fun to work with.

After you are done sculpting and the clay has dried, you can clean up any rough edges on the pieces, and the put them in the kiln and fire them.  Two hours later, presto you have a metal pendant.  In this case we used Silver Clay and it comes out .999 Silver, better than Sterling Silver.

Below, Pat’s finished pieces.  Three after polishing, one before polishing up.

And my finished pieces.

  I would love to teach a class for you, and love to share my knowledge with you.  Contact me to arrange your class.  Click here for more info on classes:  “Classes I Teach”

#class #classes #teaching #preciousmetalclay #pmc #newartstudio #studio #picoftheday #jewelrydesignartist #fiberartist #fusedglassartist #lampworkbeadartist #art #artist #artstudio #kiln #instalike #instagood #followme #christinamlee #christinamleedesigns #followme
Posted on Leave a comment

Tour of the New Art Studio

Ladies and Gentlemen, Here we have it:  (Drum roll please), a tour of the New Art Studio!!!

Lee Shore Studio:

#newartstudio #artstudio #video #art #artist #fiberartist #lampworkbeadartist #fusedglassartist #christinamlee #christinamleedesigns #picoftheday #instalike #instagood #followme #awesome

Posted on Leave a comment

Finishing Up The New Art Studio

I am down to all the finishing touches on the new art studio.

Here you can see I finally got all my sheets of stained glass out of the house and back into the cabinet where they belong safe and sound!  Yay!!  Only chipped the corner of one piece.  I thought that was a pretty good accomplishment.  It took me months and months of carrying a few sheets out at a time every time I went out back.   As you can see I have a lot of beautiful stained glass to work with.  I have it all organized by brand and by fusible and non-fusible, and have one cubby for my glass rods for lampwork or flamework glass bead making.  This will make everything very easy to access when I want to create!!

I started grouting the tile on the new counter top, messy, but a necessity.  My wonderful Hubby, Rick, got the trim board mounted on the front of the counter top.

Finally all the grouting mess is done and the tile cleaned!!!  Yay!!!

My two 110 Kilns and my microwave are now reposing on the new counter top in their new home.

Now I am back to finishing the painting of the floor!  You can also see I put spray foam in the crack in the floor between the two units to seal it up.

Prepping the next section of the floor for paint, under the window on the South side.

In between waiting on paint, grout and caulk to dry, and while cleaning out the old art studio upstairs in the house, I found this old Dave’s Insanity hot sauce bottle rack.  I stuck it away some years ago on a shelf and forgot I had it, thinking I could use it for something.

I flipped it upside down, and got my wonderful Hubby to cut a dowel and drill holes in it for the dowel.

I put a couple of coats of some pretty blue paint on it and, presto change o, I now have a new “upcycled”/”recycled” rack for my spools of bead stringing wire and my small pliers, cutters and crimping tools!!!  I love my little rack!!

Things are progressing nicely!!

#stainedglass #cabinet #fusedglass #fusible #art #artist #artstudio #newartstudio #instalike #instagood #picoftheday #dreamcometrue #awesome #upcycled #recycled #davesinsanitysauce #beadstring #beadstringingwire #countertop #grout #paint #pliers #crimpingtool #painting #lampwork #flamework


Posted on Leave a comment

The Next Installment, New Art Studio Progress

Wow, I have not posted in a few weeks.  Time to catch you up on my progress report.   As you all know it is a very busy time of year.  In between painting in the Studio, working in the Law Office, holiday events, we got to take a week’s vacation (pics later in the post about that).

My Grandson, Matthew, came over several times and assisted in the painting.  In this pic he is putting primer on the walls.  We had fun painting together.  He is a very talented, award winning, artist in his own right and he is excited about coming to play with his Nana in the New Art Studio when it is done.  We always have fun being creative together.

img_1032

I got part of the floor painted and the large kilns moved into their new spot where they will live.

img_1152

We got two coats of primer finished around the window and a/c.

img_1157

My hubby built my second counter top under the south side cabinets.  The clamps on the edges and weights on the top are to hold it all together until the glue dries. img_1160

Here is the Counter top without the weights and clamps.  I think I am going to tile it, as my two small table top 110 kilns will live on it.img_1163

Here you can see all the rest of the wood getting two coats of primer around the cased opening. img_1166

And finally started the primer around the last bit of raw wood around the smaller window and door on the north side!!! img_1171

The tediousness of taping off around the window so I can paint around it.  img_1173

Now more about our Vacation.  We were blessed, so very blessed!!!  We were given one week’s free stay in a timeshare near Disney.  Yes I said free!!!  A very dear friend, Chris, so totally blessed us!!!  We lounged at the pool, the hot tub and the Lazy River, which floats around part of the resort.  We sleep in, we did nothing but rest and relax for a week!!!  It was so wonderful and such a blessing!!

img_1175

More pics of the Lazy River.  Sorry about the sun glare on this one.

img_1176

img_1177

The waterfall at the Lazy River.img_1180

A pic of the resort, Holiday Inn Resort, Orange Lake, such a wonderful place.img_1181

A shot of the Christmas Tree.  Gotta love living in paradise.  Only in Florida can you go swimming in December!!!  I just love the shadow over the Christmas Tree, look closely, it is in the shadow of a palm tree, with another palm tree behind it!

img_1186

The vacation was truly wonderful!!!  The rest and relaxation we much needed!!!
And now you know why I have not posted in a while.
I am back at my painting and caulking in the new art studio, so more pics to come in the next post.

#newartstudio #artstudio #vacation #picoftheday #christmastree #instalike #instagood #dreamcometrue #painting #resort #Christmas #holidays

Posted on Leave a comment

First Artwork Done in New Art Studio

I took a break from all the painting of walls and floors to do a little creating.  I needed a birthday gift for a friend, so decided to fuse some glass.

Covered my table with butcher paper and set up all my tools, molds and glass.

img_1041

Set up my glass band saw and glass grinder and filled them with water.  They have diamond bits and so I have to water cool the bits.img_1043

Laid out the glass and the mold and drew up the pattern on the glassimg_1044

Shinning the light through the stained glass so you can see how pretty it is. img_1046

Cutting the first glass heart. img_1052

Cutting the second glass heart.img_1062

Laying out the stained glass and the dichroic glass I plan to fuse onto the heart-shaped bowls, and preparing the molds for fusing. img_1063

Fiber paper placed between the molds and the glass so the glass will not stick to the molds as it slumps down into the molds.  Molds in the kiln, and ready to fire. img_1076

Kiln door closed and started on high.  I set my desktop 110 kiln on top of the large kiln temporarily so I could fire it, as the counter top has not been build yet where it will repose permanently. img_1079

50 minutes of firing in the kiln, then cool down.  Once the kiln is shut off I cannot look in it until the glass is completely cooled for risk of it cracking.  That is always the hardest part, waiting to see the finished pieces! The next morning I opened the kiln and, yay!  Good firing!!!  img_1081

Glass removed from the molds and cleaned, signed and dated on the back. The finished fused glass heart-shaped bowls!img_1086

Linda loved her birthday gift.  These small fused glass heart-shaped bowls are great for putting rings and earrings in on top of your dresser at night.  They are one of my popular sellers.  I can create them in any color under the rainbow.img_1141

And there you have the very first artwork created in my new art studio.  It was so nice having all that room to spread out, work and create, and so much fun creating after the long break of building the studio.  Even though the studio is not done yet, I improvised.

#newartstudio #artstudio, #instalike #instagood #picoftheday #dreamcometrue #fusedglass #creative


Posted on Leave a comment

More Pics of the New Art Studio Progress

I hope everyone had a wonderful Thanksgiving.  We did!!   We spent it with wonderful friends and stuffed ourselves!!  What a spread of food!  As you can see little Joey was in his place and ready to eat first!img_1005

I know your anxious to see the next group of pics of the New Art Studio, so here they are:

We started getting 2 coats of primer and the top coat of paint on all the walls and ceilings.  My Grandson, Matthew, who is 20 years old, came over and helped me paint a couple of times last weekend.  We got a lot accomplished.  And we also got all the leftover construction materials moved out of the new studio, out of my way, as you can see it is making painting easier.

img_0978

We got lots of primer and paint put on the walls and ceilings on the south side (above) and, (below) you can see how much we got accomplished.  Painting together with my grandson was fun, we had a great time.  He is quite a talented, award winning artist and he is anxious to come play in my New Art Studio with me.img_0982

We brought my glass storage cabinet down from the old art studio upstairs in the house out to the New Art Studio, and brought another set of wire shelves from storage.  Now I have to put the shelves back in the cabinet and assemble the wire shelves, then I can bring all my stained glass out and put back in it the cabinet.  img_0988

We brought my old Paragon Kiln down from upstairs in the old art studio in the house out to the New Art Studio.  I bought it in the 1980s for $50, back then it would have cost $400 or $500 new, now days it would be about $2000 new.  It has seen lots of firings of glass and pottery over the years.  It is Old Faithful for sure, and it just keeps on ticking.  We acquired the assistance of several strong young men to help carry the heavy stuff down and out!! img_0993

I put the freshly painted cabinet doors and the door pulls back on the south side cabinets.img_0995

I started painting the floor in that south side back section.  Now my hubby can build my second counter top.  This south side will be the hot side where my 4 kilns will live.  img_0997

Yes, we made major accomplishments last weekend and this past week.  Now off to paint some more walls and floors.  Hope the rest of your Thanksgiving break goes wonderful.

#newartstudio #artstudio #picoftheday #instalike #instagood #dreamcometrue #happythanksgiving

Posted on Leave a comment

New Art Studio, Latest Pics

Time for a new update.  Like I said after vacation we hit the ground running.  Still hold my full time job working for my husband as his paralegal in our law practice.  Catch up there took president over the art studio.  The electrician got all the lights, outlets and ceiling fans working.  Yeah, no more electric cord from my hubby’s wood shop!!!  You can see the lights and fan working.

img_0800

My pics are mostly taken at night, because that is when I get out back to work on the studio.

Below you can see, I got most of the floor painted on the north side of the Studio. img_0606

I mentioned before that I have been cleaning out the old art studio upstairs in the house and moving an armload of art supplies at a time down the stairs and piling it to go out.  Figured there had to be a better way to get it all out there besides one armload at a time, so I borrowed my hubby’s new wheel barrow.  Brought it to the front door, loaded it full and rolled it out back and unloaded.  Great mode of transportation for moving art supplies out of the house.  LOL

img_0799

Took the doors off the cabinets on the south side and prepared to start painting the south back corner.

img_0814

First coat of primer going on the walls on the south side.  These cabinets are smaller than the ones on the north side.

img_0815

As soon as I get the walls and cabinets painted on this side my hubby will build my counter top.  This is going to be the hot side.  My 4 kilns will go on this side.  2 small table top 110 kilns and 2 large 220 glass fusing and ceramic kilns.

#newartstudio #artstudio #instalike #instagood #picoftheday #dreamcometrue

Posted on Leave a comment

New Art Studio, Update

Here is the next set of pics of the new Art Studio:

img_0545

Exterior wall and window are in on the right side unit, or the south side.  So studio is completely closed up now.

img_0553

Photo of the window and wall from the inside looking out.  Forgive the yard and the construction zone.

img_0566

Started painting the floor on the left side or north side.  I am really happy with the way the floor is coming out.  The north half of the studio is almost done!!

img_0574

Started painting the ceiling and walls of in the south side of the studio with the primer.

img_0590

I really make a mess when I paint….lol.  Been scraping paint off my hands, face and glasses for days.  Ceilings really splatter when you paint them.

img_0598

The electrician was working today on the lights, ceiling fans and outlets, this is the north side.  Yeah!!  Getting so excited!!  I should have electricity connected soon!!!

img_0599

And lights and fan on the south side.  I just put a final coat of paint up where the lights and fan were going and will come back and finish the rest when all the primer is done.

I have been cleaning up the old studio up stairs, sorting stuff and getting preparing to move the work table and glass storage cabinet out to the new studio.  Started taking small stuff out every trip outside, and putting it in the purple cabinets, such as beads and glass rods for bead making.  I am moving out my glass band saw, glass grinder and two small table top 110 kilns.   I have to clean off the work table and empty out the glass storage cabinet so I can move them out.  Tons of work painting, and painting, and painting, and moving stuff, but will be so worth it when I get it done!!!  The old studio upstairs inside the house will be turned into my fiber arts studio for sewing, yarn, spinning and weaving.  All the glass work, fusing, bead making, torches, jewelry design will all be done outside in the new studio.  I will also have room to teach classes again!!!  Yeah!!!

#newartstudio #artstudio #picoftheday #instagood #instalike

Posted on Leave a comment

Black & Gold Fused Glass Sushi Plate and 2 Sauce Dishes

Just added to the website on the fused glass page:

I love glass fusing, is such a fun process.  I cutting the glass, I layer the pieces and place them into the slumping mold.  I then place them in the kiln and turn it on.  I ramp up the temp in increments of 100 degrees every 10 minutes, working my way up to 1450 degrees.  Holding it at that temp and checking every 10 minutes to see how the fusing process is coming along.  When it gets to the place I want it to be, then I start the cool down process.  The anticipation of waiting to see how the glass turns out is so much fun.  I can hardly wait until the kiln cools enough to open it.  Of course, I have to wait for it to cool completely so I do not crack the glass, so that takes 2 or 3 more hours after the kiln is turned off.  The glass starts out hard, gets soft as it slumps and fuses, then hardens again as cools.  Fascinating to say the least.

Black & Gold Fused Glass Sushi Plate and 2 Sauce Dishes


I layered the glass, in put it in the my kiln and fused it together while slumping it into the wavy plate mold.  The glass is taken to a temp of about 1450 degrees.  One plate takes about 3 1/2 hours in the kiln.  Plate is approximately 7 inches square.  The gold dichroic glass is original Wasser glass.  $72.00 for the set.

Black and Gold wavy sushi plate


Two sauce dishes


o follow this blog post look for the purple diamond on the right hand side of the page under the ‘links’ section and click on it.——–>

Posted on Leave a comment

Making Glass Beads, Part 2

After I make the beads, I put them in my kiln and fire them.  The process is called annealing.  It strengthens the glass so the bead will not crack and break.  The glass has gone through severe thermal shock in the making of the bead, starting with the glass at room temperature to the very hot flame of the torch, about 2000 degrees, then slowly cooling again back to room temperature.  Annealing them takes the glass up through all the temperature ranges slowly, allowing the glass to slowly acclimate and strengthen.  I hold the kiln at 940 degrees for 30 minutes, which is called soaking, further strengthening beads before slowing cooling the kiln down.  This process takes about 3 1/2 hours.


My kiln is an older model, I have been using it since the 1980’s when I bought it new, but I love it.  I usually spend several days making about 75 to 100 beads.  When I have enough beads to cover the kiln floor, then I anneal them all at once.

In creating a piece of jewelry I will be selling to the public, I want a finished bead that I know will endure.  I don’t want to have a bead crack in half while someone is wearing the jewelry.

Christina