Posted on Leave a comment

More Pics of the New Art Studio Progress

I hope everyone had a wonderful Thanksgiving.  We did!!   We spent it with wonderful friends and stuffed ourselves!!  What a spread of food!  As you can see little Joey was in his place and ready to eat first!img_1005

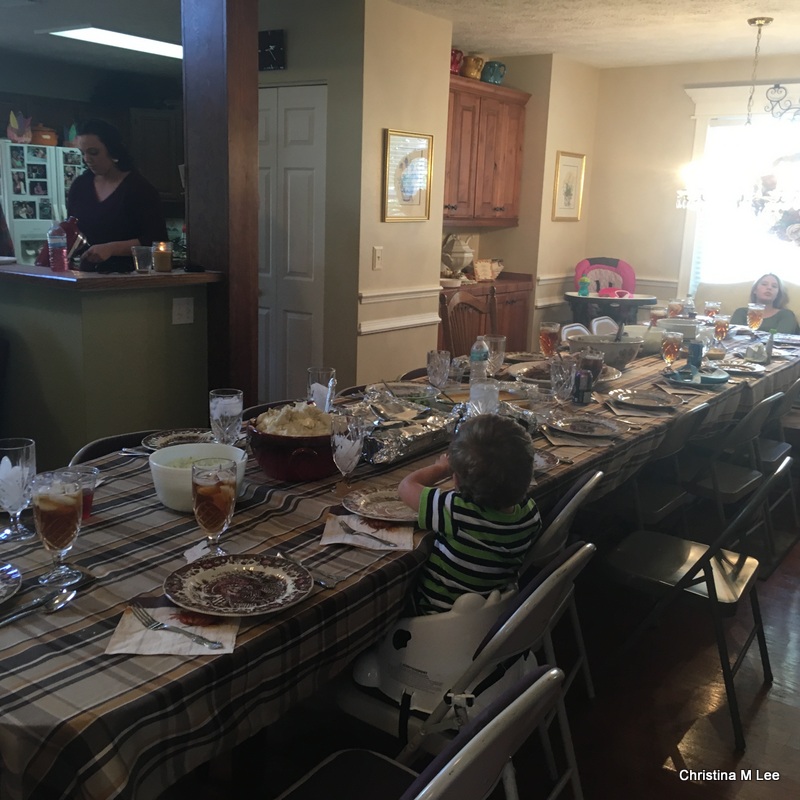
I know your anxious to see the next group of pics of the New Art Studio, so here they are:

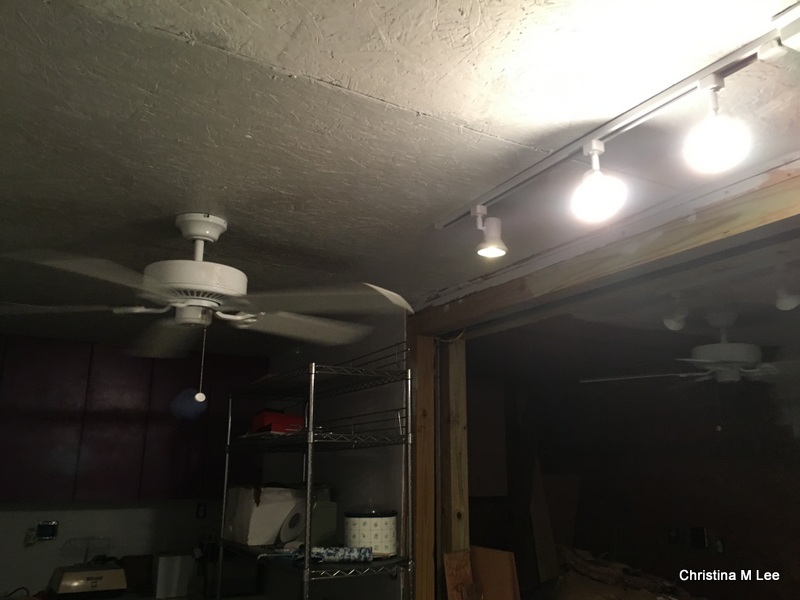
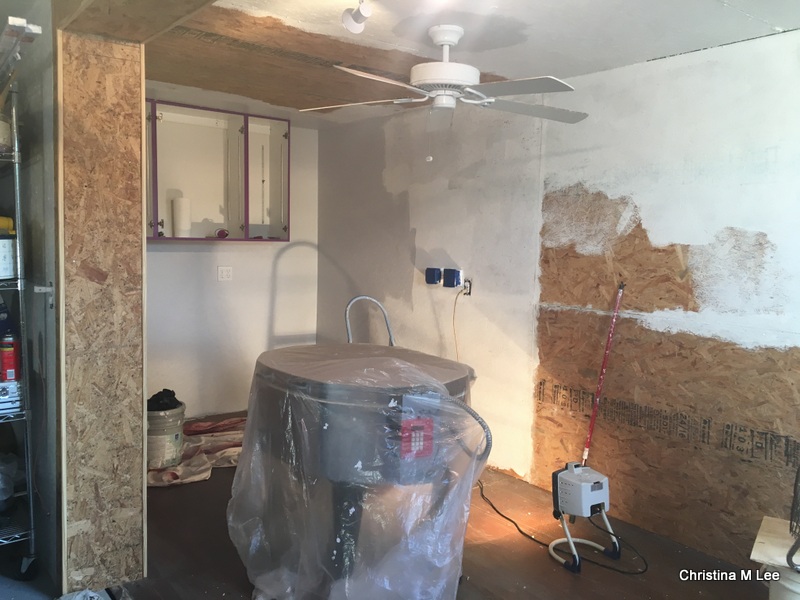
We started getting 2 coats of primer and the top coat of paint on all the walls and ceilings.  My Grandson, Matthew, who is 20 years old, came over and helped me paint a couple of times last weekend.  We got a lot accomplished.  And we also got all the leftover construction materials moved out of the new studio, out of my way, as you can see it is making painting easier.

img_0978

We got lots of primer and paint put on the walls and ceilings on the south side (above) and, (below) you can see how much we got accomplished.  Painting together with my grandson was fun, we had a great time.  He is quite a talented, award winning artist and he is anxious to come play in my New Art Studio with me.img_0982

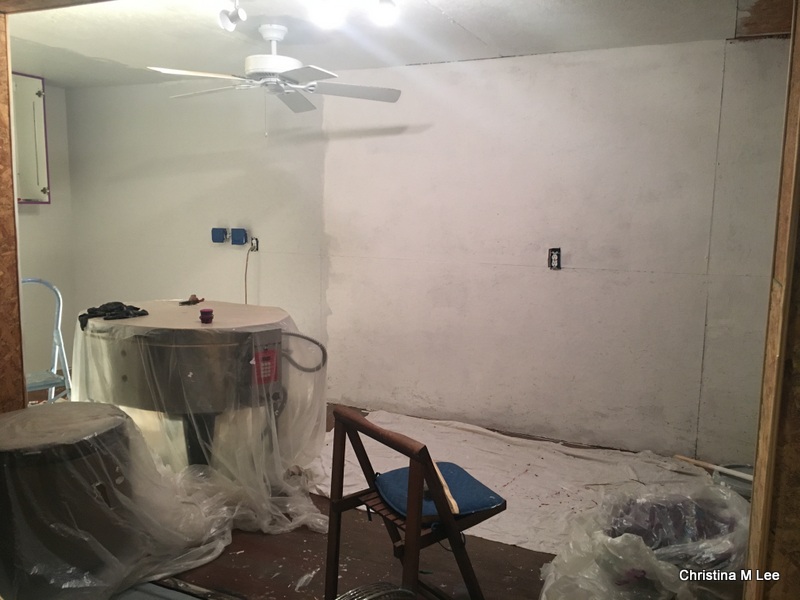
We brought my glass storage cabinet down from the old art studio upstairs in the house out to the New Art Studio, and brought another set of wire shelves from storage.  Now I have to put the shelves back in the cabinet and assemble the wire shelves, then I can bring all my stained glass out and put back in it the cabinet.  img_0988

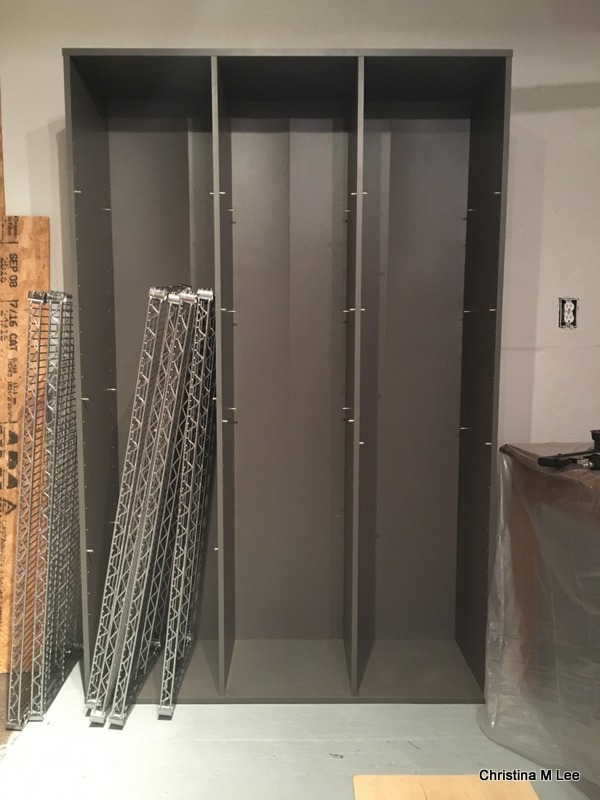
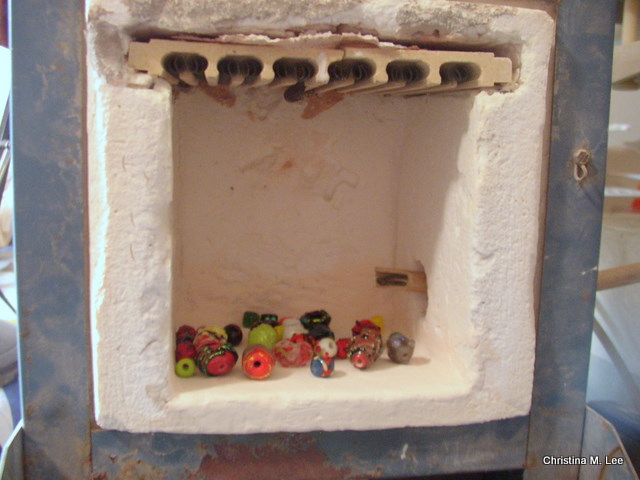
We brought my old Paragon Kiln down from upstairs in the old art studio in the house out to the New Art Studio.  I bought it in the 1980s for $50, back then it would have cost $400 or $500 new, now days it would be about $2000 new.  It has seen lots of firings of glass and pottery over the years.  It is Old Faithful for sure, and it just keeps on ticking.  We acquired the assistance of several strong young men to help carry the heavy stuff down and out!! img_0993

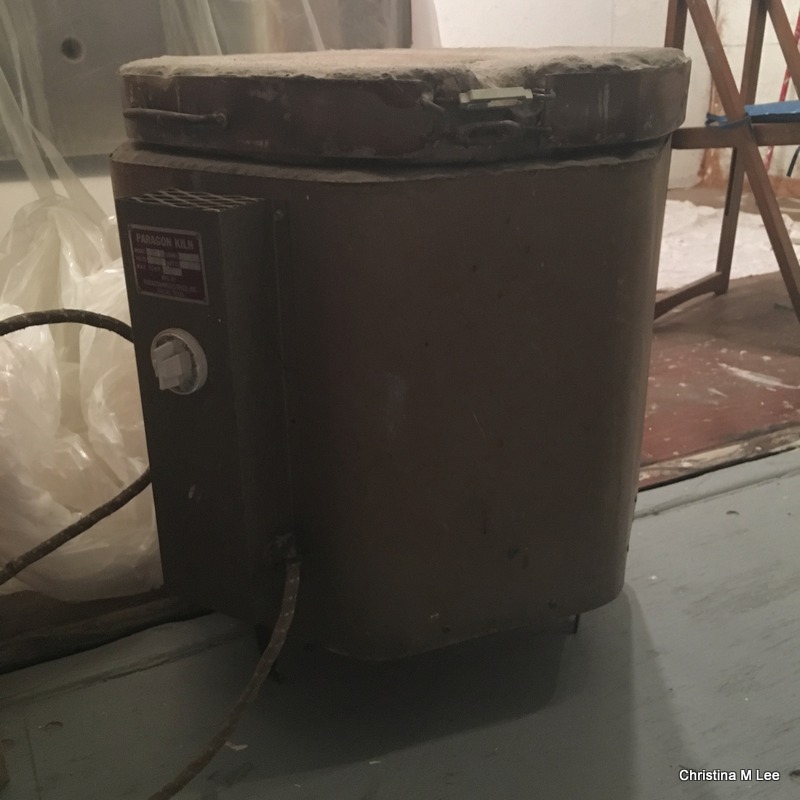
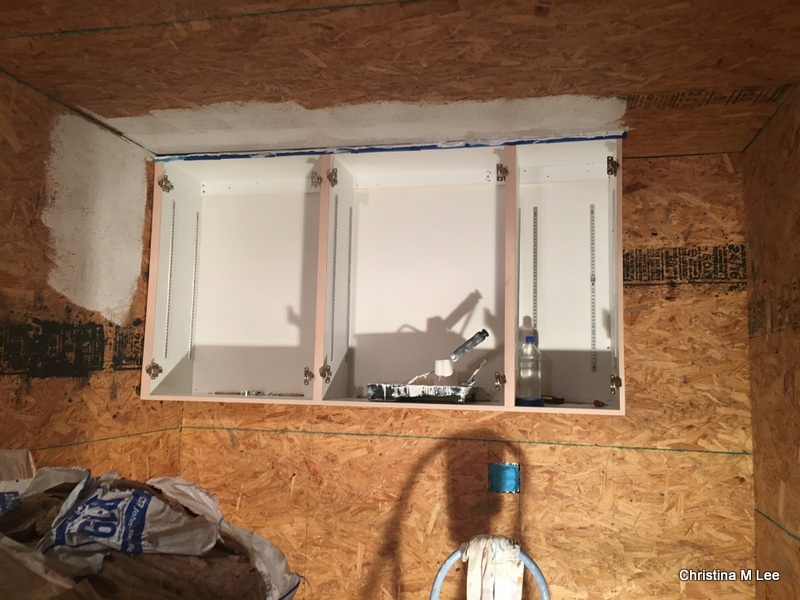
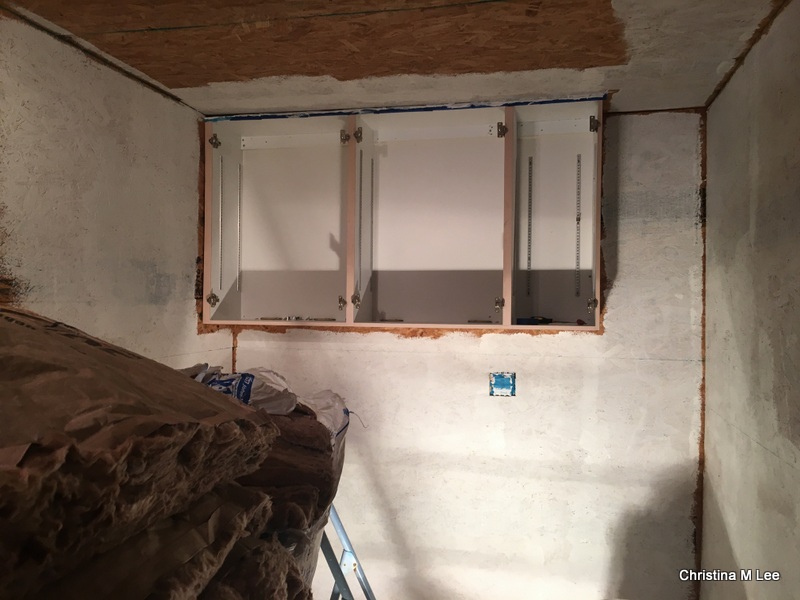
I put the freshly painted cabinet doors and the door pulls back on the south side cabinets.img_0995

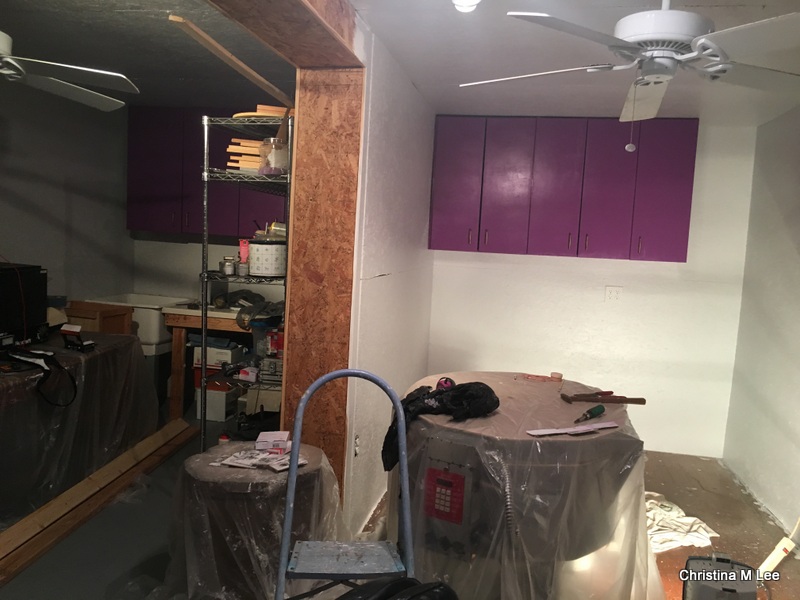
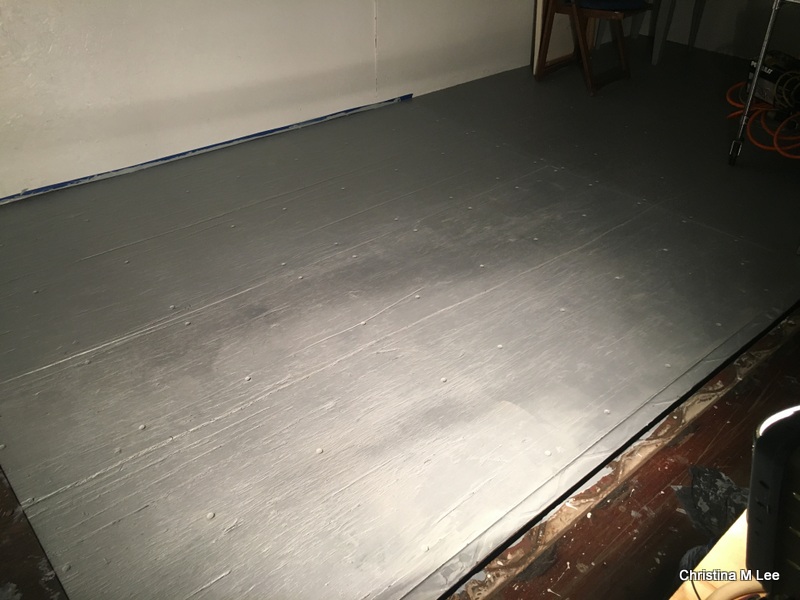
I started painting the floor in that south side back section.  Now my hubby can build my second counter top.  This south side will be the hot side where my 4 kilns will live.  img_0997

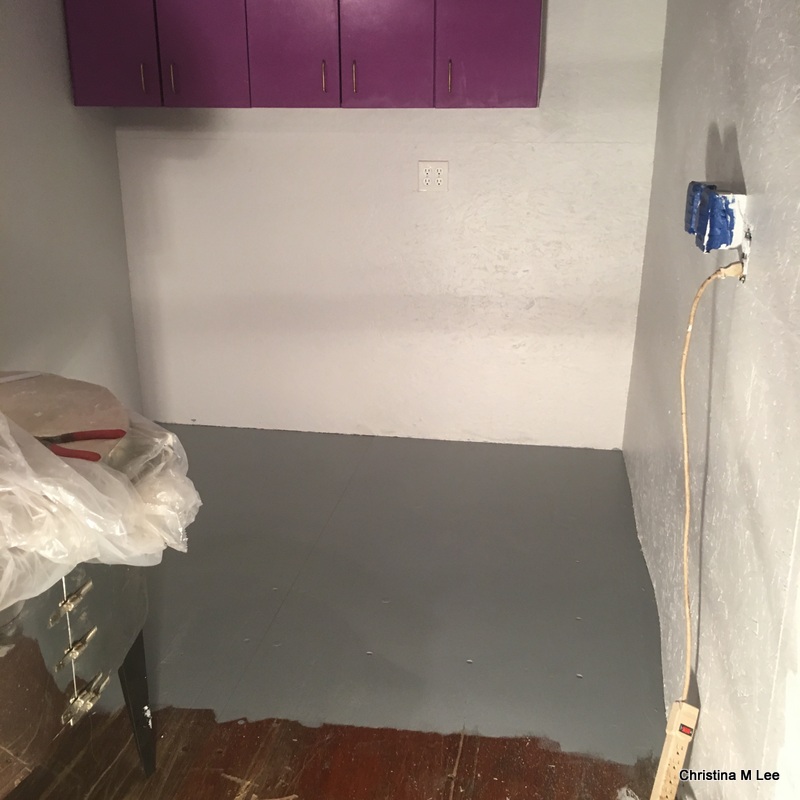
Yes, we made major accomplishments last weekend and this past week.  Now off to paint some more walls and floors.  Hope the rest of your Thanksgiving break goes wonderful.

#newartstudio #artstudio #picoftheday #instalike #instagood #dreamcometrue #happythanksgiving

Posted on Leave a comment

New Art Studio, Latest Pics

Time for a new update.  Like I said after vacation we hit the ground running.  Still hold my full time job working for my husband as his paralegal in our law practice.  Catch up there took president over the art studio.  The electrician got all the lights, outlets and ceiling fans working.  Yeah, no more electric cord from my hubby’s wood shop!!!  You can see the lights and fan working.

img_0800

My pics are mostly taken at night, because that is when I get out back to work on the studio.

Below you can see, I got most of the floor painted on the north side of the Studio. img_0606

I mentioned before that I have been cleaning out the old art studio upstairs in the house and moving an armload of art supplies at a time down the stairs and piling it to go out.  Figured there had to be a better way to get it all out there besides one armload at a time, so I borrowed my hubby’s new wheel barrow.  Brought it to the front door, loaded it full and rolled it out back and unloaded.  Great mode of transportation for moving art supplies out of the house.  LOL

img_0799

Took the doors off the cabinets on the south side and prepared to start painting the south back corner.

img_0814

First coat of primer going on the walls on the south side.  These cabinets are smaller than the ones on the north side.

img_0815

As soon as I get the walls and cabinets painted on this side my hubby will build my counter top.  This is going to be the hot side.  My 4 kilns will go on this side.  2 small table top 110 kilns and 2 large 220 glass fusing and ceramic kilns.

#newartstudio #artstudio #instalike #instagood #picoftheday #dreamcometrue

Posted on Leave a comment

Black & Gold Fused Glass Sushi Plate and 2 Sauce Dishes

Just added to the website on the fused glass page:

I love glass fusing, is such a fun process.  I cutting the glass, I layer the pieces and place them into the slumping mold.  I then place them in the kiln and turn it on.  I ramp up the temp in increments of 100 degrees every 10 minutes, working my way up to 1450 degrees.  Holding it at that temp and checking every 10 minutes to see how the fusing process is coming along.  When it gets to the place I want it to be, then I start the cool down process.  The anticipation of waiting to see how the glass turns out is so much fun.  I can hardly wait until the kiln cools enough to open it.  Of course, I have to wait for it to cool completely so I do not crack the glass, so that takes 2 or 3 more hours after the kiln is turned off.  The glass starts out hard, gets soft as it slumps and fuses, then hardens again as cools.  Fascinating to say the least.

Black & Gold Fused Glass Sushi Plate and 2 Sauce Dishes


I layered the glass, in put it in the my kiln and fused it together while slumping it into the wavy plate mold.  The glass is taken to a temp of about 1450 degrees.  One plate takes about 3 1/2 hours in the kiln.  Plate is approximately 7 inches square.  The gold dichroic glass is original Wasser glass.  $72.00 for the set.

Black and Gold wavy sushi plate


Two sauce dishes


o follow this blog post look for the purple diamond on the right hand side of the page under the ‘links’ section and click on it.——–>

Posted on Leave a comment

After Annealing The Beads/Design

Once the beads are annealed in the kiln (see my previous posts) they are ready to incorporate into jewelry.  Thus begins the process of design.  I am constantly seeing design all around me.  I take pictures with my cell phone, or on my camera.  I grab a pen and paper and sketch out a design.  Sometimes a design comes from something I see someone else wear.  Maybe on a TV show or walking down the street.  Sometimes I find a picture in a magazine I clip out.  Sometimes designs just pop into my head, from trees or nature.  I have even dreamed designs.

I take all the sketches, photos and magazine pics that I collect, and scan them into my computer.  I save them in pdf format.  I place all ideas in a folder I call ‘sketch pad ideas.’  Then I break them down into two categories.  The first is ‘Others Ideas’ the second is ‘My Ideas’.  I sign and date all my original sketches and write notes on the sketch.  Others ideas I do not sign, but still date them and write notes on them.  That way when I start looking for ideas I will remember when and where I saw the idea.  I never steal someone’s design, but I use others ideas as a launching pad to stimulate my mind.  The collection of sketch pad ideas are just that, ideas.  A place to start.  I look at someone’s piece of jewelry and think, how can I change that and make it my own unique piece of jewelry.

Example:


The drawing above was an idea I had for a necklace for a birthday present for my Daughter, Becky in December 2005.  It was drawn on my computer in Paint program.  Since then I have a computer program called Bamboo.  (My Son’s family gave me Bamboo for Christmas in 2008.)  It is a drawing tablet that looks like a mouse pad, and the mouse looks like a fat ink pen.  You draw with the mouse/pen on the tablet just like on a sketch pad, which draws right on the computer screen.  I love the Bamboo sketch pad.

This necklace was designed around the small Topaz gems.  I purchased them then had to design a necklace that would fit the small Topaz without overpowering them.  Thus the making of the very small clear glass beads.

Below is the finished necklace which has 6 of my handmade beads.  They are small, clear, wrapped in dichrioc glass and it has 5 Mystic Topaz gems, with a Sterling Silver clasp.  Topaz is the Nov birthstone, my daughter’s birthstone.


The closeup shows the small hand made beads.  They are about 5 millimeters, and the Mystic Topaz are about 8 millimeters.  I hope this blog post gets your design juices to start flowing or at least gives you some insight into my mind and how I come up with a design for a piece of jewelry.  Christina

Posted on Leave a comment

Making Glass Beads, Part 2

After I make the beads, I put them in my kiln and fire them.  The process is called annealing.  It strengthens the glass so the bead will not crack and break.  The glass has gone through severe thermal shock in the making of the bead, starting with the glass at room temperature to the very hot flame of the torch, about 2000 degrees, then slowly cooling again back to room temperature.  Annealing them takes the glass up through all the temperature ranges slowly, allowing the glass to slowly acclimate and strengthen.  I hold the kiln at 940 degrees for 30 minutes, which is called soaking, further strengthening beads before slowing cooling the kiln down.  This process takes about 3 1/2 hours.


My kiln is an older model, I have been using it since the 1980’s when I bought it new, but I love it.  I usually spend several days making about 75 to 100 beads.  When I have enough beads to cover the kiln floor, then I anneal them all at once.

In creating a piece of jewelry I will be selling to the public, I want a finished bead that I know will endure.  I don’t want to have a bead crack in half while someone is wearing the jewelry.

Christina