Posted on Leave a comment

New Lampwork Beads

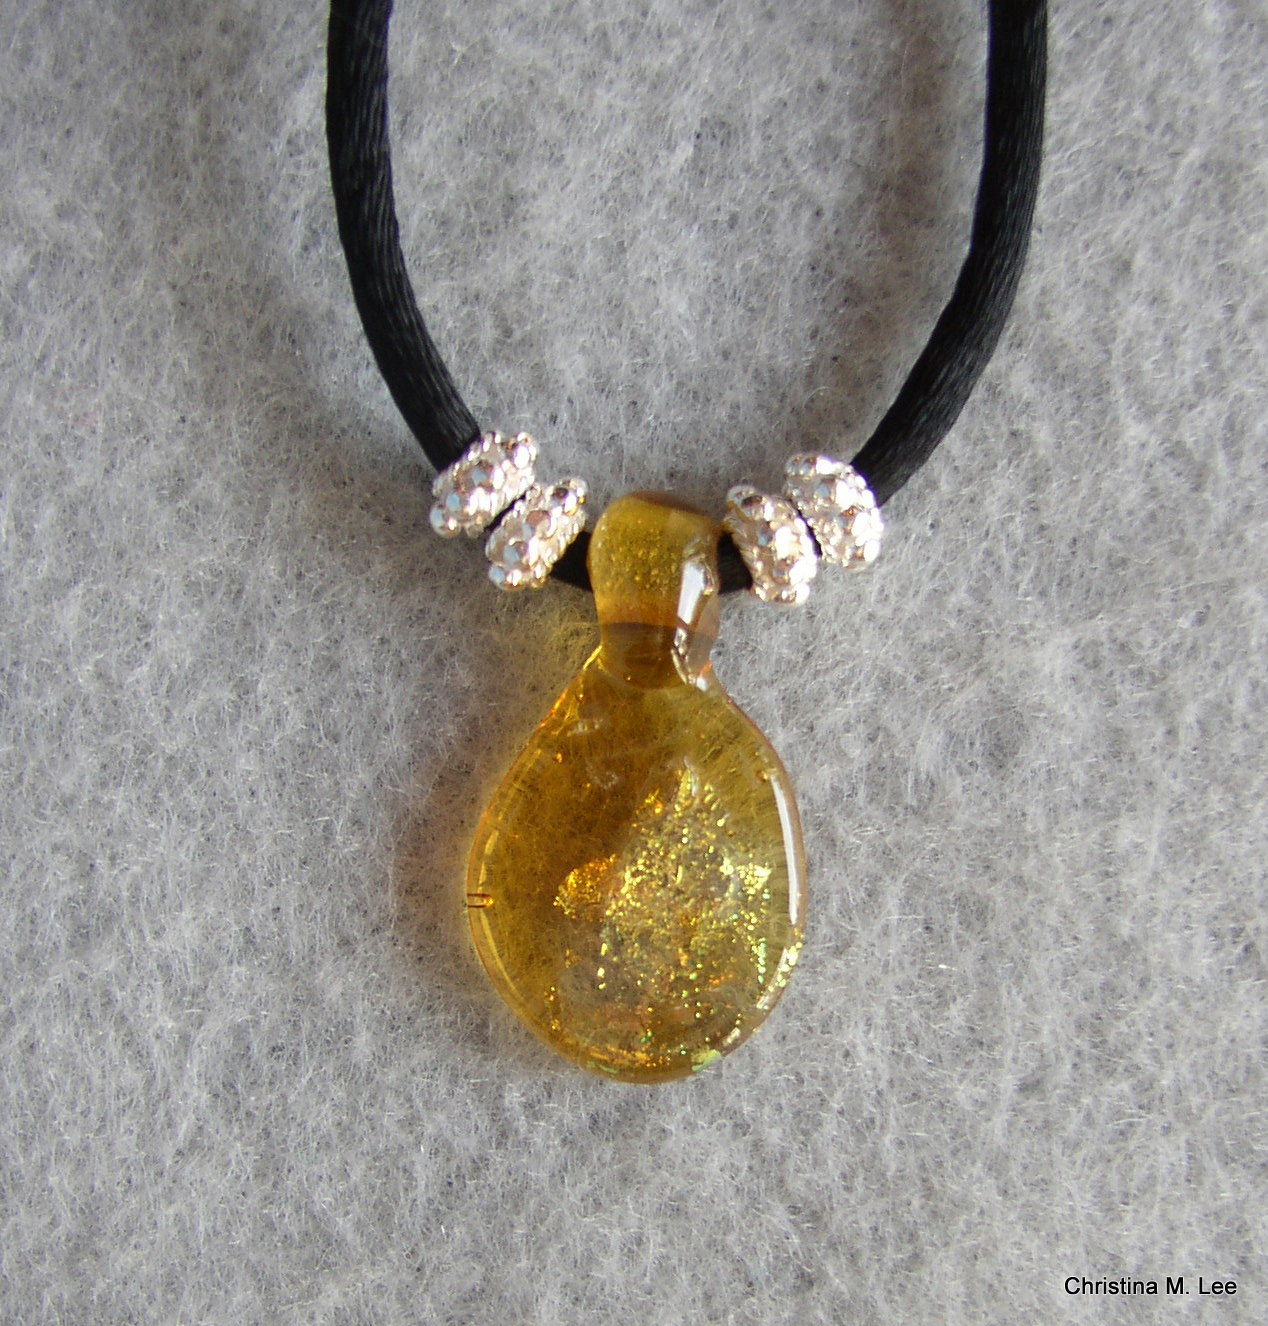
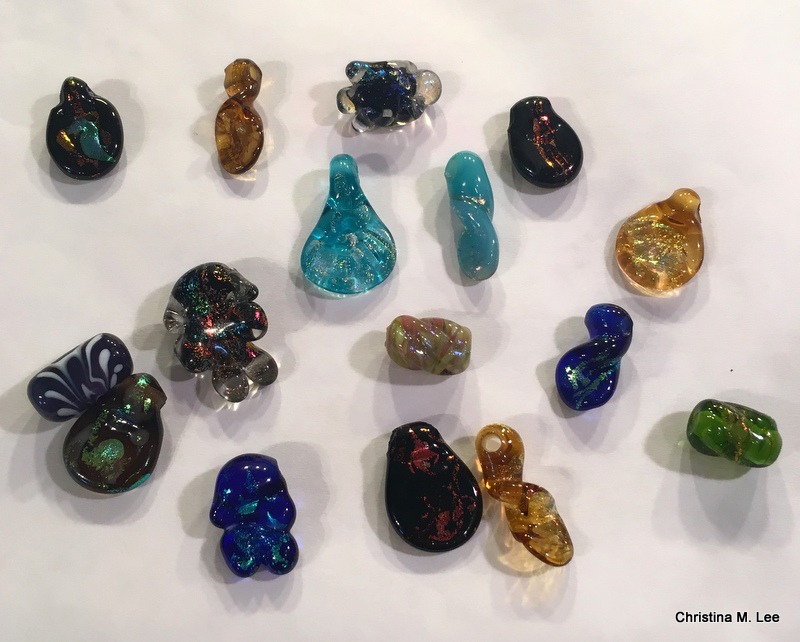
Here are some new lampwork beads I have recently made.  They will make some fun new jewelry pieces.  Sign up for my email list to get advance notice of upcoming new jewelry releases and advanced sales.

#artstudio #newartstudio #florida #floridaartist #floridalife #art #artist #awesome #christinamlee #christinamleedesigns #leeshorestudio #followme #picoftheday #instalike #instagood #lampworkbeadartist #fiberartist #jewerlydesignartist #lampwork #lampworkbeads #artstudio #beads #blog

Posted on Leave a comment

Free Form Scarf, Part 3

Welcome to Part 3 of my Free Form Scarf.

See earlier posts on this blog for Free Form Scarf Part 1 and Part 2.  This is my very first Free Form Crochet piece.  I have ventured out into a new to me art form in fiber arts, no patterns, just crochet; changing stitches, changing yarns and just creating as you go along.  I love the textures that I am creating.  Each small section is called a ‘Scrumble’  I finished it some weeks back and am just getting around to posting.  Sorry, life happens and I get busy.

In Part 1, I showed my very first 3 scrumbles, the beginnings of the Scarf.

In Part 2, I showed scrumbles 4-10, and the completed scarf to that point, which was about two thirds complete.

In this post, I have decided to show the creating of scrumble # 11 in some detail.  To give you an idea of how I created each scrumble and how I created this scarf, and to also give you inspiration to create your own FF piece.

SANY0079

 I started at the top of the 10th scrumble creating the 11th scrumble.  I hooked the pink and white stripped yarn on, and single crocheted around the purple chain stitch, (pic above).


SANY0082I then started across the top of the purple with a couple of single crochets.  I chained 5 stitches and skipped 4 single crochets and slip stitched in the 5th single crochet of the purple row.


SANY0086At this point I decided to turn my work.  I then chained 2 and turned.  I am now working on the back side.  I started making puff stitches across the open chain stitch area.  Puff stitches are created by making 4, 5 or 6 double crochets but not finishing the stitch and keeping the last loop of each stitch on the hook and starting the next double.  You then pull one final loop through all 4, 5 or 6 loops on the hook and pull them together tight and slip stitch, forcing the yarn to puff out ward.  The puffs show on the right side.

SANY0091

 The rest of the puff stitches are complete across the open chain space.  Remember this is the back side of the work, they are puffed out on the right side.

SANY0094At this point I decided to change yarn.  I changed to a pretty blue and pink textured yarn.  I am having so much fun.  You look through the bag of scrap yarn and think, that color would be good to use next, and you go for it.

SANY0095I created some more puff stitches across the top of the single crochets from the row before with the blue and pink yarn.

SANY0098 Here is a pic of the front of the work showing the puff stitches.  I really love the texture of this yarn.


SANY0100

This pic shows the front side of both the blue and pink puff stitches and the pink and white puff stitches.  Notice the different look and texture of they yarns and the difference in the puff stitches.  Quite interesting effect making the same stitches with different yarns.


SANY0104

Next, I worked behind the pink and white twisted yarn puff stitches.  Chaining 1 or 2 stitches and slip stitching between the puffs.  Laying some foundation chain stitches behind the puffs to work the next row off of.  I worked these behind the puffs, then at the end of the row I chained 2 and turned and started placing double crochets around my chain stitches behind the pink and white puff stitches.  Now I am again working on the back side of the scrumble. (You can see the chain stitches behind the puffs I placed on the row before.)

SANY0107I continued putting some double crochet stitches, some triple crochet stitches behind the pink and white puff stitches I made on the previous row.  Still working on the back side of the scrumble and working these around the 1 or 2 chain stitches I placed between the puff stitches on the back side.

SANY0117This pic shows the completed row.  I came across the row with double crochets, triple crochets, then dropped down to single crochets as I came across to the purple through the center.

SANY0124

I then attached the coral yarn and chained 1 and turned.  I started putting 3 single crochets in each stitch to force the piece to ruffle.  (Note the blue and pink doubles and triples behind the pink and white puff stitches on the left hand side of the pic.)

SANY0125You can now see the coral is forcing a ruffle.  3 single crochets in each stitch across.

SANY0131And here is the completed # 11 scrumble in my Scarf.

I will show the rest of the scrumbles and the completed scarf in my next blog post.  If you have not tried Free Form Crochet or FF for short, I encourage you to try it.  It is quite fun.

I have become a member of the International Free Form Fiberarts Guild.  It is free to join.  There are plenty of wonderful people out there who will help you and encourage you to venture out into FF.  If you have any questions please message me.  If I cannot answer them I will find someone who can.

Here is a link to the Free Form Fiberarts Guild  http://groups.yahoo.com/group/FFCrochet/

Happy crocheting!!!


To follow my blog, click the purple diamond on the right hand side of the screen under the links section—–>


Posted on Leave a comment

Knitting & Crochet Friends

Hello everyone. I am venturing back out into blogland, adding my Knitting & Crochet Friends group and fiber arts to my blog.  In these blog posts, I plan to share links to patterns I find on others websites and other blogs, share some patterns of my own that I am currently creating, and help you with any crochet or knitting questions you might have.  I hope you to feel free to ask for help.  Also I want you to meet Spike, whose picture you see here on this post.  Spike, the scuba diving doll (amigurumi), is our mascot for our group.  I will share more about Spike in a future post.

First let me share how this group got started.  It was May 2009 when my best friend, Linda, asked me to teach her to knit.  We were in Michaels arts and craft supply store, Linda, our husbands and myself.  We were looking at some very pretty yarns and Linda asked me, Do you know how to knit?  I told her that I did.  She asked me if I could teach her.  I told her I had not knitted in many years, but yes I could teach her.

We both decided to buy some yarn.  As we looked at all the pretty yarns, I started to pick out something I liked for myself, when my Husband, Rick, said, If your going to knit something, make me an afghan for the couch to cover up with when I take a nap.  Rick picked out a a nice variegated yarn in burgundies, browns, blues and tans, (to match the couch), and then I went home and dug out all my knitting needles from years prior and Linda and I started meeting every week.

It wasn’t long before more people wanted to learn first knitting, then crochet and by Sept 2009 we officially started a local group here in Bradenton, Florida called Knitting & Crochet Friends.  About a year later I created our Facebook page: https://www.facebook.com/KnittingAndCrochetFriends

Leading this group has been a blast for me.  I love teaching.  I had not knitted or crocheted in about 25 years and I forgot how much I love the needle arts too, along with my Jewelry Design and Silk Painting Design.

Various people have passed through the group in the past three years.  Mothers and daughters learning together, from ages 6 to 70 we have had quite the variety, some rank beginners, some intermediate, and some well accomplished needle artists.  It has been fun getting to know each one.

If you in the Bradenton, Florida area, or are in the area for a visit, please join us on Sunday nights, we would love to have you.

Here is a pic of that first knitted afghan for Rick:

This afghan was my own design.  I knitted 6 rows, with the standard knit stitch (garter stitch), then I knitted one row and purled one row, for 10 rows (sockinette stitch), and alternated that pattern to create an afghan.

Over the past 3 years, I have went on to make afghans for each of my 7 grand children, and have made hats, scarves, fingerless gloves, angels and snowflakes (more about all these in future blogs).  It has been a fun adventure and I am looking forward to many more years of teaching.  I especially love teaching young people, seeing them learn handcrafts is so rewarding.

In wrapping up this post, I will share two great places to find all kinds of patterns for free.

If you are looking to find crochet patterns this is a great place is:  www.crochetpatterncentral.com

For knitting patterns:  www.knittingpatterncenteral.com

Christina

To follow my blog, click on the purple diamond on the right hand side of the screen below the links section.——>

Posted on Leave a comment

I am back

Well hello everyone.  I know, it has been months and months since I wrote the blog.  Sorry, life happens.  I have migrated all my websites over to my Son’s servers and that took a few months getting them all arranged again.  Then he moved my blog to my new website.  So it has taken me a while to get back to the swing of things.   If you were a follower of my blog you will have to re-follow me.

In the next few months I will be continuously adding new jewelry and hand painted silk creations to my website and I also plan to add some fiber arts creations to my line of “ELEGANT ART YOU CAN WEAR.”

You will find my jewelry and silk creations for sale here on my website on my products page.  I am constantly adding new products so check back frequently.

Thanks for being patient with me while I got re-adjusted.  I hope to start writing more blog entries about creating jewelry.    Christina

Posted on Leave a comment

Newbee

Hello everyone. I am new to blogging. I understand it is the thing to do. I have just opened my Etsy Shop and want to promote my handmade, one-of-a-kind jewelry designs and hand paints silk designs.

Check out my etsy shop at: http://www.etsy.com/shop/ChristinaLeeDesigns

Also go to Facebook and like my Page: 

http://www.facebook.com/pages/CreationsByChristinanet/234298023283612

Thanks, Christina M. Lee