Sorry I haven’t posted in a while, been quite busy building my new Art Studio. Getting so excited!!! It is getting near being finished!!! Cannot wait to actually start creating in it!! Here are some chronological pics of the past 3 months:

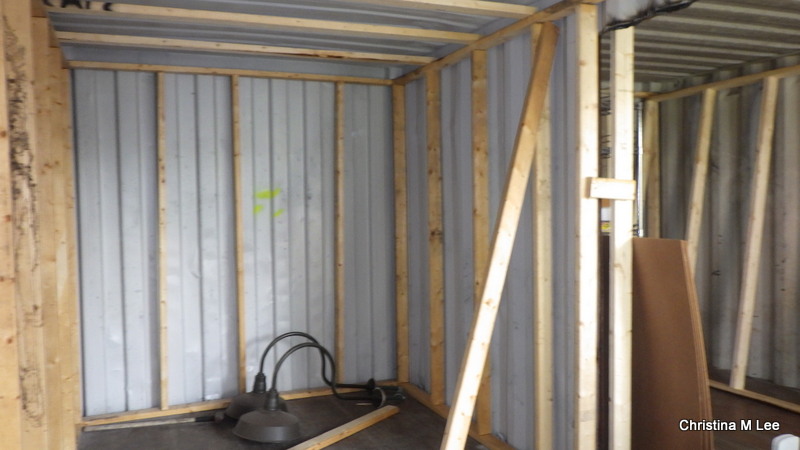
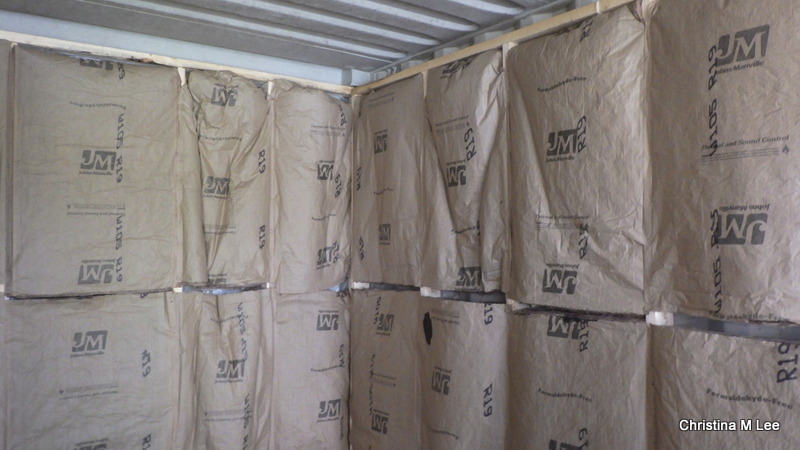
In May we began framing up the interior walls (above). Then came the insulation (below).
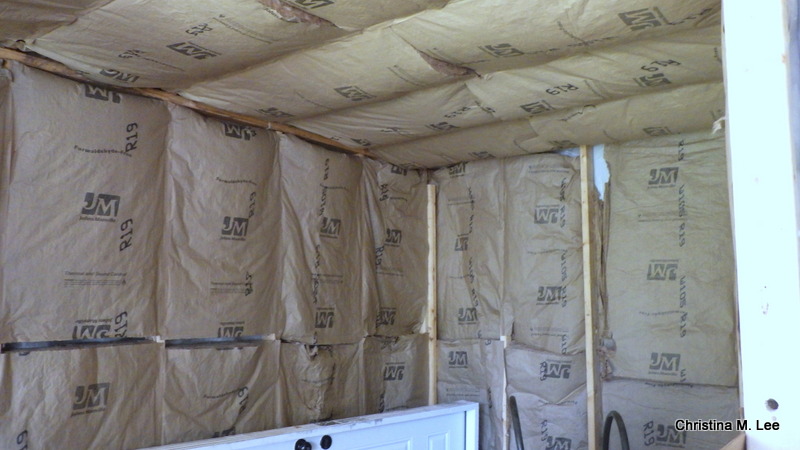 My hubby found some great bargains, he trolls all the Swap shops and CraigsList when we need something. We scored a brand new exterior door in the frame with the locks for $100 (you can see the door in the pic below sitting in the background). I needed two windows, one for each of the two front walls, found them, brand new never installed $50 each, another great score (sorry no pics of the windows yet).
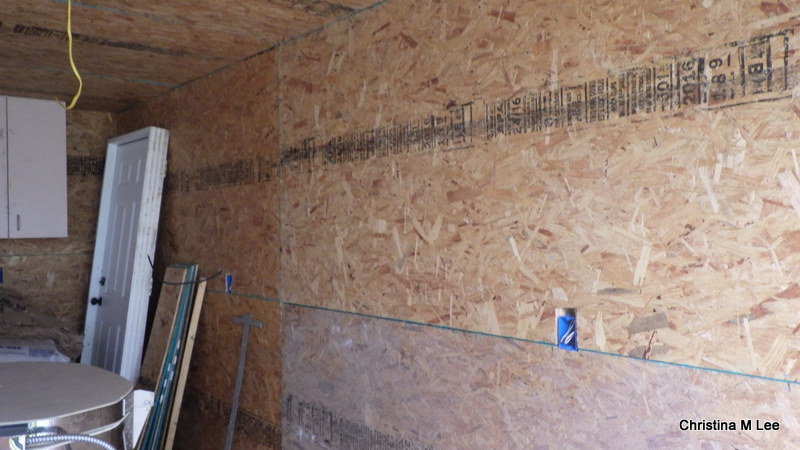
By July we were putting up the interior wall boards. Joey and Bethany did the framing, the insulation, and the wall boards and ceiling in the back half of the two sections. It is an art studio, so not getting fancy. I thought about sheet rock, then I thought about all the tapeing, bedding, sanding, floating, and all the sheet rock dust, (been there, done that, with the house remodel) and I decided wall board would be much, much easier, and not as messy!! Install it, caulk the corners and seams, and paint it!!

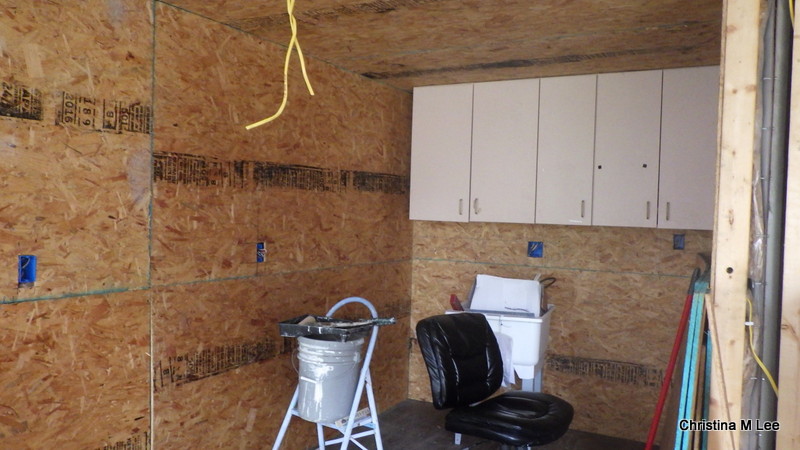
After the wall boards went up, we brought my cabinets out of storage. My daughter-in-law’s brother, Randy, scored me these nice cabinets from a dentist office remodel, at the best price of all, they were free. I have had them in storage waiting for this studio build for about a year and a half now! By the way, hanging the ceiling boards was quite a bit of work, but we got them up. Had some great help from one of the youth from church, Thomas, and also from my grandson, Matthew and his girlfriend Em, and his best friend, Joseph. All of us hung the wall and ceiling boards in the front end of the studio.
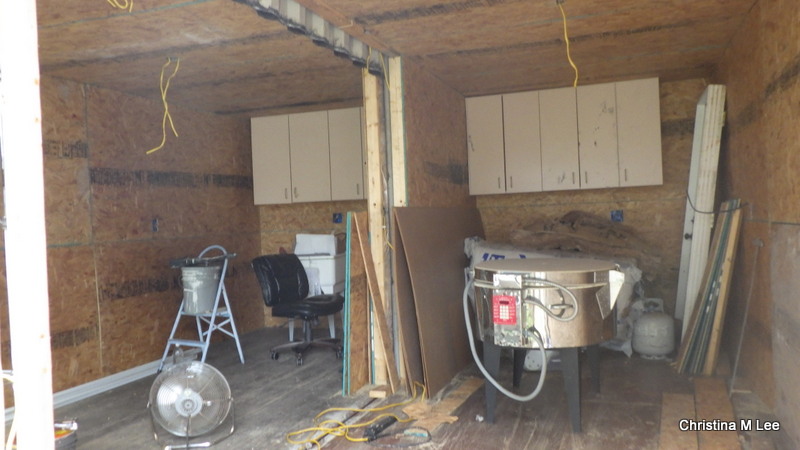
Here is what the two halves of the studio looked like in July. The left side will have a sink and counter top under the cabinets. The right side will be for my kilns. I will have a wet side, on the left, and a hot side, on the right. My glass band saw and glass grinder have diamond bits and are water cooled to keep the diamond bits cutting efficiently. Having them near the sink will be fantastic, and will make it so much easier to fill them when needed.
In the above pic, on the right side, you can also see my brand new glass fusing kiln. We brought it out of storage too. We scored that about a year and a half ago also. It has been patiently waiting in storage for it’s new home. $3000 kiln, brand new, never fired, stole it for $1000. The gentleman bought it for his wife and she got sick and never used it. We drove to Atlanta to pick it up, but it was so worth it. The small table top kilns will be on a counter top under the cabinets.
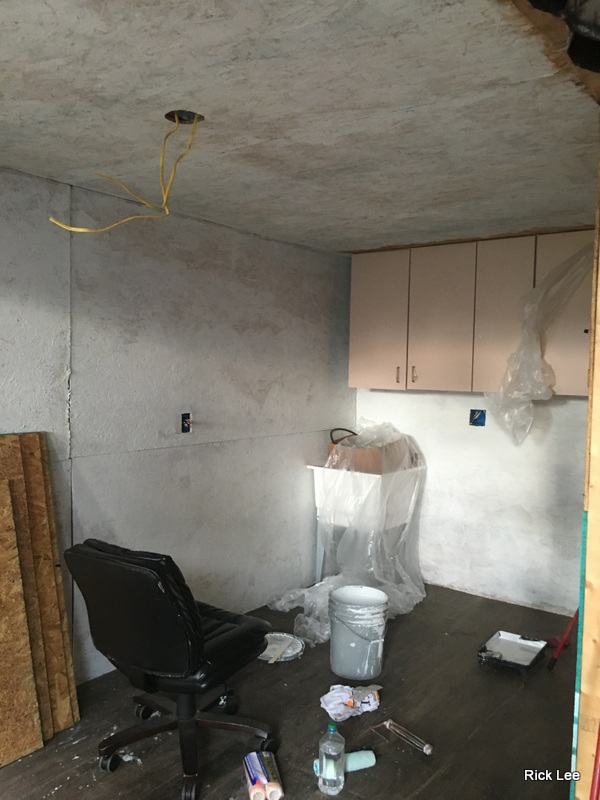
Below you can see by August I started painting the wall boards. Here is the first coat of paint going on the walls, and the ceiling. (You can see my new sink in this pic.) Had some great help painting from Thomas, and from my granddaughter, Sarah.
More to come in the next post!!! Just wanted to share the studio progress with you so you would know what I have been up to, and why I haven’t posted much in a while.
#artstudio #interiorpainting #newartstudio #love #instagood #follow #followme #like #pickoftheday #instalike

how did you attach framing to steel walls
We didn’t. We built the wooden framing outside the box and inserted it into the box. We used the roof rafters to support it up against the walls. We anchored the framing into the wooden floor with large wood screws. At the top of the interior box, every so often there are large loops for attaching strapping to support items being shipped inside the containers from moving. We also used zip ties and anchored the studs to those for extra support. Basically we built a frame and inserted it into each box.
Also we built framing in sections. It was easier to build it in sections and insert it into the containers, 1/2 of the framing at a time for each container. As you can see by some of my pictures. It took my husband quite a bit of time to figure out how to do that, as we did not want to screw the studs directly to the container walls and put holes in the container walls that could cause water intrusion from rain. Once the framing was in, we stapled that insulation to the wooden studs in between each stud on both the walls and ceiling.
Looking really nice Tina
Thanks Doreen.
Looking good love it
Thanks. When you come to visit next time we will be able to go out to the studio and play!!!
It is really coming along great! Wish I was closer. I know you are going to love it when it is finished! I enjoyed the progress pictures.
Nancy
Yes, wish we were closer together. We could have some fun playing in the studio. Yes, thanks, I will enjoy it. More pics to come.