Devin’s Scarf
May 5, 2013
Free Crochet Pattern
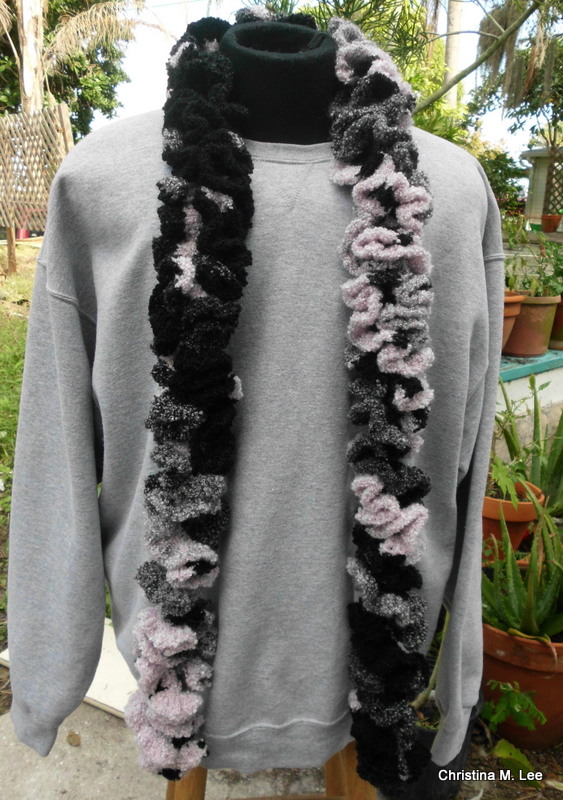
 Devin’s My handsome Grandson, Devin, modeling his scarf, Christmas 2010
This is a scarf I designed for my grandson, Devin, for Christmas December of 2010. I just got around to writing up the pattern almost two and a half years later.
Silk Level: Easy
Gauge: Not important
Materials: Vanna’s Choice by Lion Brand, 2 skeins Denim Mist or color of your choice.
(Or any 4 ply worsted weight yarn, such as Red Heart Super Saver, Red Heart Soft, I Love This Yarn, Loops and Threads, Caron Simply Soft, or Patons Classic Wool)
Crochet Hook: Size I
Stitches used: chain stitch, single crochet, and double crochet.
Finished Measurements of Scarf: Approximately 7 inches wide and 75 inches long.
Download a pdf version of pattern here: Devin’s Scarf
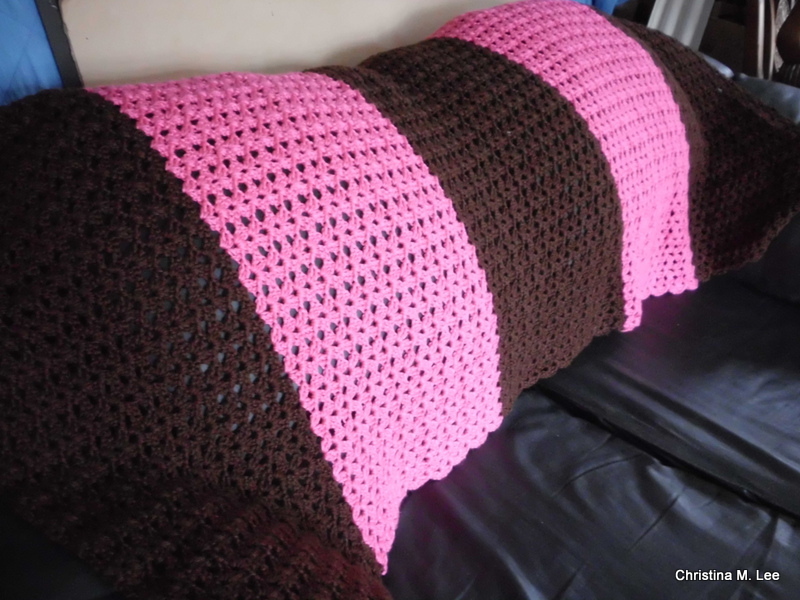
 Finished Scarf
Pattern:
Ch 24
(Note: The two turning chains at the end of each row count as a double crochet at the beginning of the next row throughout.)
Row 1: dc in third ch from hook and in each ch across, ch 2 turn. (22 stitches)
Row 2: dc in very first stitch and in each dc across, ch 2 turn. (maintaining 22 stitches)
Rows 3-6: Repeat row 2.
Row 7: dc in each of the first two dc (for a total of 3 dc counting the turning chains as a dc), *ch 1, skip next stitch, dc in each of the next 2 dc, repeat from * to last 3 stitches and dc in each of the last 3 stitches, ch 2 turn.
 3 dc counting the turning chains as a dc at beginning of Row 7
Continuing after the 2 dc: 1 ch, skip 1 sp, 1 dc (see row 7 above)
 Continuing row 7 in pattern stitch
Rows 8-9: Repeat row 2.
 This is what the pattern looks like, row 7 will be the row with the open spaces above.
Rows 8 and 9 will look like the two rows after the row with the opens spaces in the pic above.
Row 10: Repeat row 7.
Rows 11-16: Repeat row 2.
Row 17: Repeat row 7.
Rows 18-19: Repeat row 2.
Row 20: Repeat row 7.
Row 12-85: Repeat row 2.
(Note: For a shorter scarf delete rows from this section. In order to have the opposite end of the scarf match the first end, delete rows evenly by twos.)
Row 86: Repeat row 7.
Rows 87-88: Repeat row 2.
Row 89: Repeat row 7.
Rows 90-95: Repeat row 2.
Row 96: Repeat row 7.
Row 97-102: Repeat row 2. Fasten off. Work in ends.
 Close up of pattern stitching
Add some fringe if you desire and make this for a female. I hope you have fun creating your scarf. Please post pictures of your finished scarf in the comments section of my blog page or on my Facebook page. I would love to see what you created with my pattern.
Thank you, Happy Crocheting. Christina.
~~~~~~~~~~~~~~~~~
This is an Original Design Crochet Pattern by Christina M. Lee. Copyright Christina M. Lee and/or Christina M. Lee Designs May 1, 2013. Please feel free to use my pattern to make as many scarves as you desire, give them away, sell them freely.
You are prohibited from selling this pattern or claiming is as your own, or publishing it in any printed material without my explicit permission. You are prohibited from publishing, copying, or using the photographs in any manner, any place, or any format, without my explicit permission.
I would please ask that when you share the pattern that you give me credit for the pattern and post a link back to my blog page http://christinamleedesigns.com/?p=1765
If you have any questions about the pattern, or need any help with the pattern, please feel free to contact me. You may email me at christinaleedesigns@verizon.net.
Like this:
Like Loading...


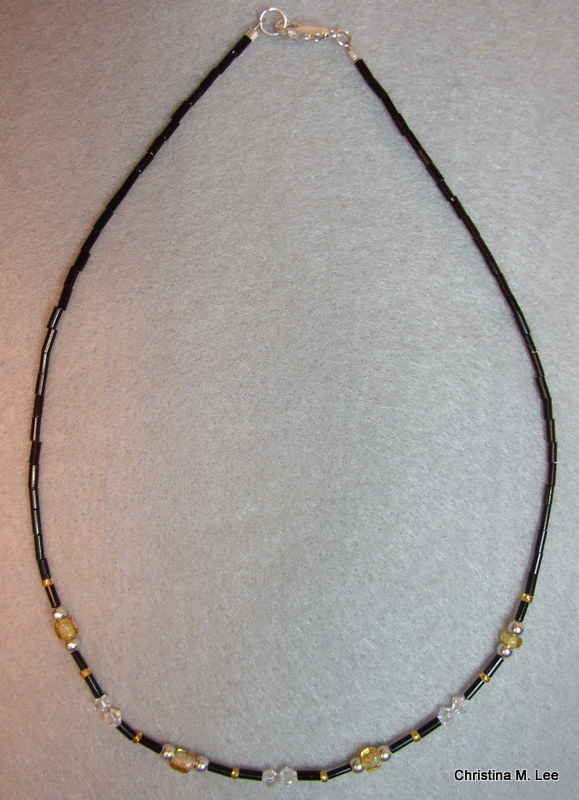


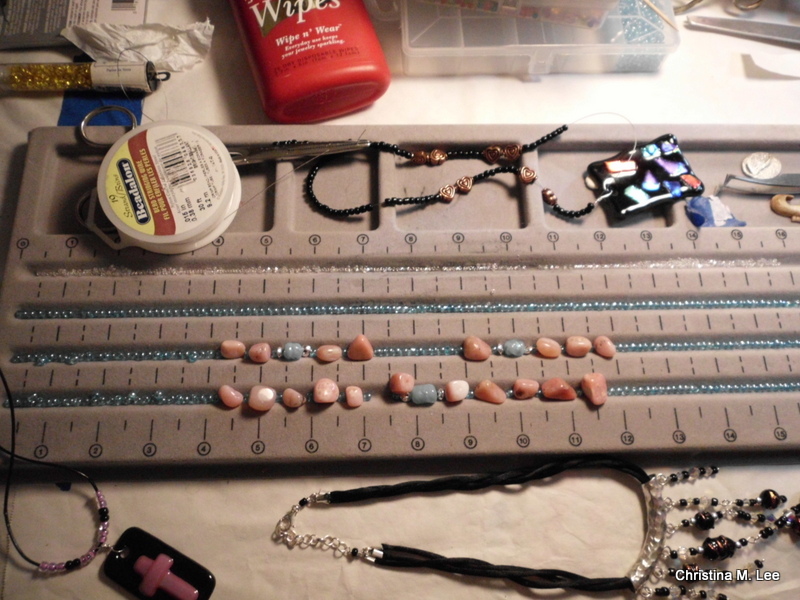
 Final beads after they come off the rods. Bead in the center is the one I am making in the pics above.